My oldest brother, who's a pilot in West Texas, was filling up an airplane with fuel one afternoon when some of it back-splashed and basically ruined his clothes. Don't worry, Sean didn't become engulfed in flames or sustain any injuries, but he did ask me to make him a black leather belt because the smell of airplane fuel is forever embedded in his current one. His misfortune was my gain, really, because I've been wanting to experiment with black leather dye and now I had an excuse to go back to Tandy and stock up on some goodies.
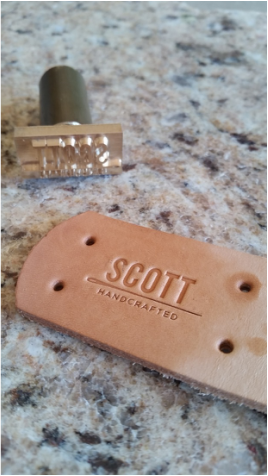
He wanted a 1.5" wide belt with nickel-plated hardware. This project actually took me a about two months to complete because I returned my leather stamp I purchased from Daryl Barberousse and bought a new one from a store on Etsy which took a month to be shipped to me. Daryl's stamp was difficult to use due to it's large shank and the fact that it wasn't brass or steel. The new one I got was made in China, which bummed me out a little bit because I prefer to buy American-made products, but the reviews were great as well as the price so I just went for it. I'm super glad I did, too, because it turned out better than I expected.
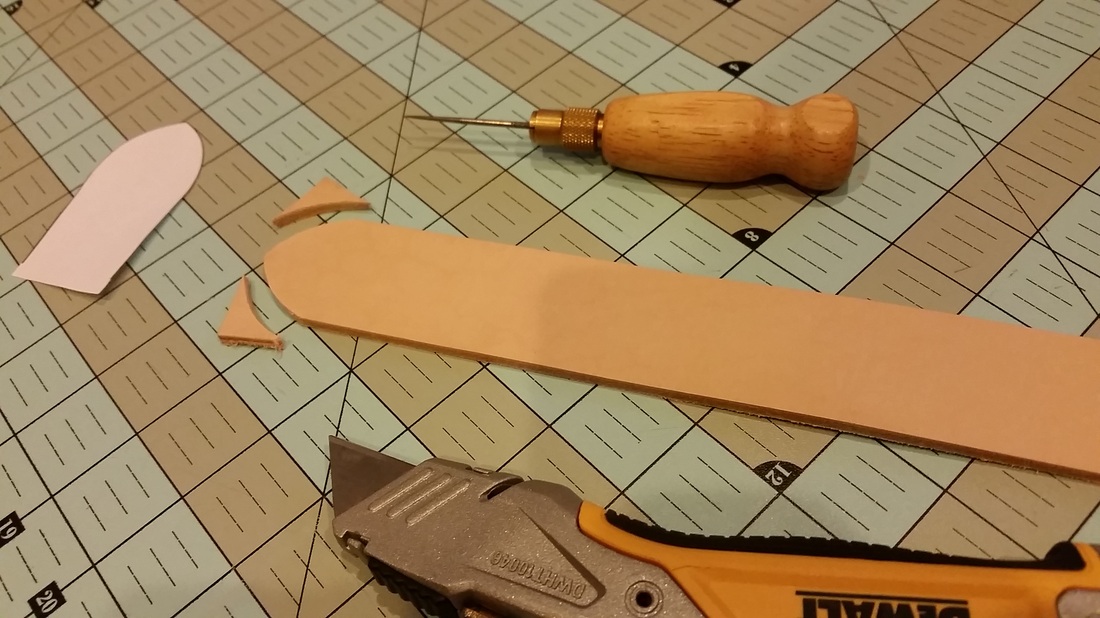
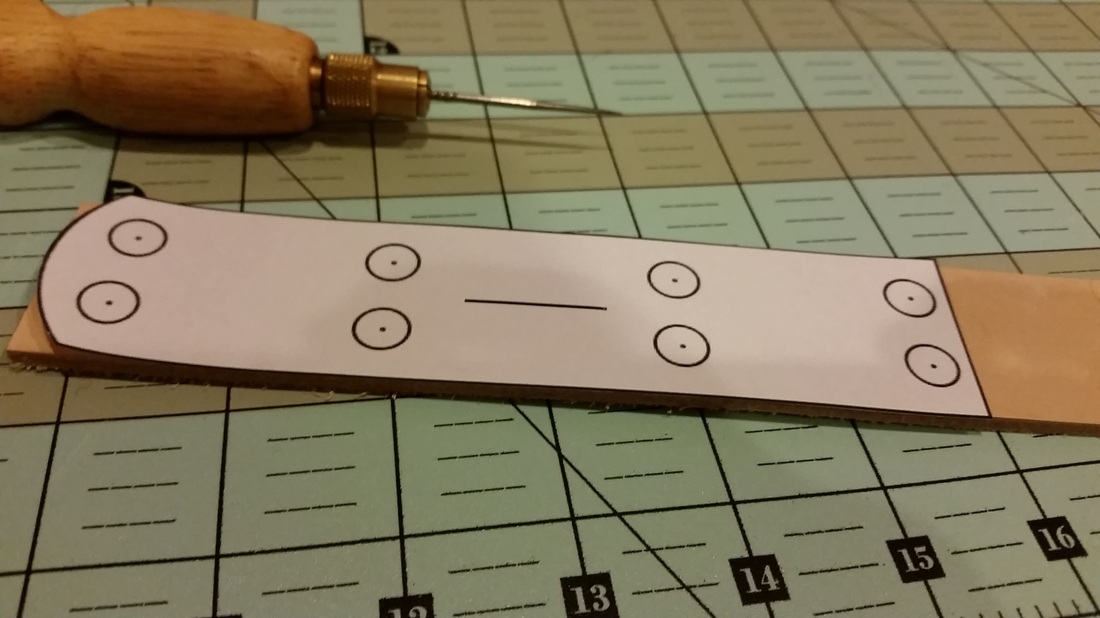
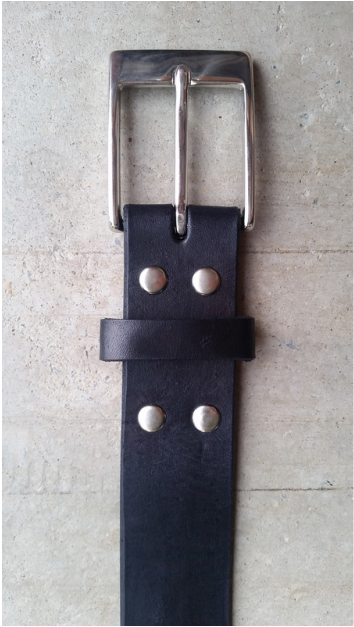
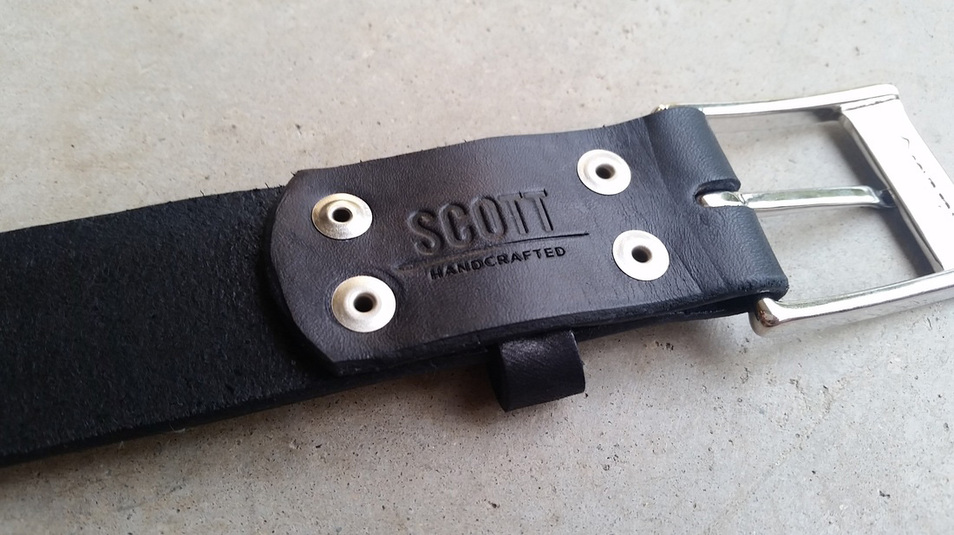
After receiving the new stamp in the mail, I got to work. I designed patterns in photoshop for the belt tip (because I still don't have a strap-end punch) and the opposite end that folds over for the buckle and hardware to be set. Sean decided he wanted 4 rivets (2 on either side of the belt loop) as opposed to only having 2 like I've done on the other belts I've made. I used my awl to poke through the pattern on the buckle-end to mark where the holes needed to be punched.
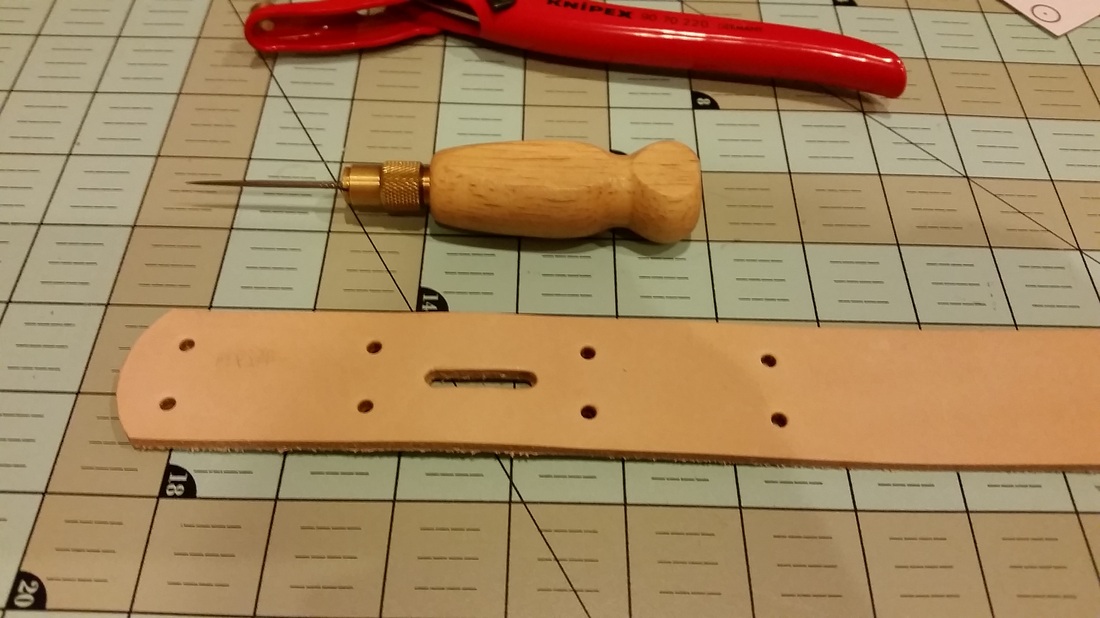
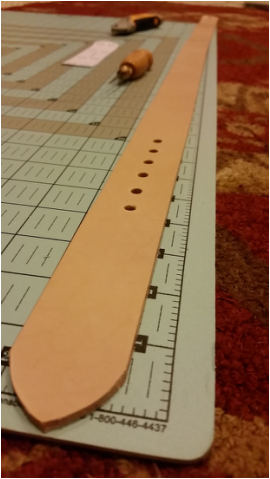
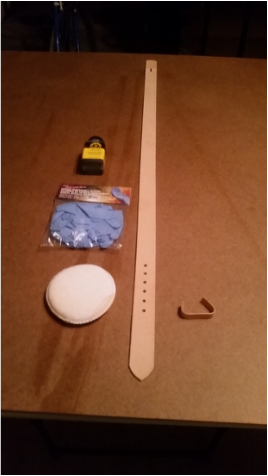
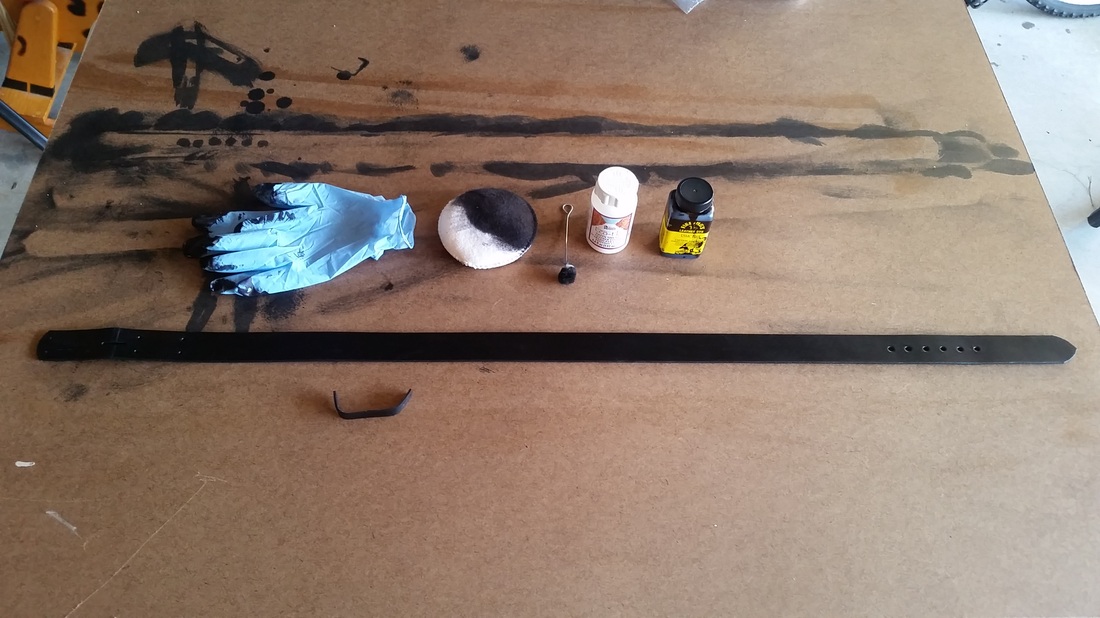
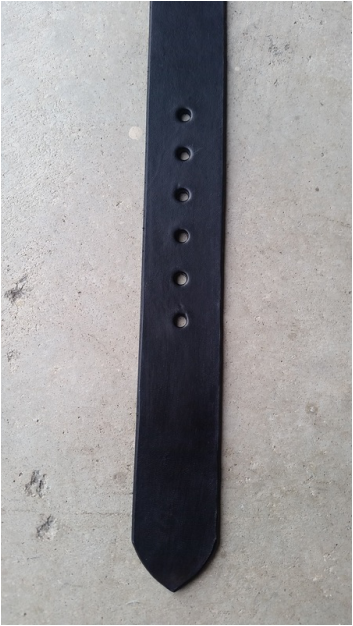
I then punched out the holes for the buckle's needle to go through for when the belt is worn, and stamped in my maker's mark. The key to stamping is to run the leather under water or douse it with a sponge, then stamp it as it begins to dry. Once that was done, I beveled the edges and fetched the materials to begin dyeing. I bought latex gloves to handle the dye this time. I learned the hard way with my first belt that doing this with bare hands is a kind of messy I don't want to experience again.
I applied one coat of dye on each side of the belt and let it dry for 30 minutes. Afterwards, I buffed the whole belt with a cloth, applied a second coat, and waited another 30 minutes and buffed it again. It was then time to apply the finisher. This is very important because if you don't apply finisher, the dye will rub off on your pants. I applied a nice even coat on both sides of the belt, waited 30 minutes, and buffed it out to ensure there wasn't anymore dye rubbing off.
It was then time to burnish the edges to give them a nice smooth finish. I applied some gum tragacanth and use a piece of canvas and elbow grease to burnish all around the belt. This is pretty tedious and takes a bit of time. I've got my eye on a wooden burnisher that attaches to a drill press to save time and produce a much nicer edge on leather projects.
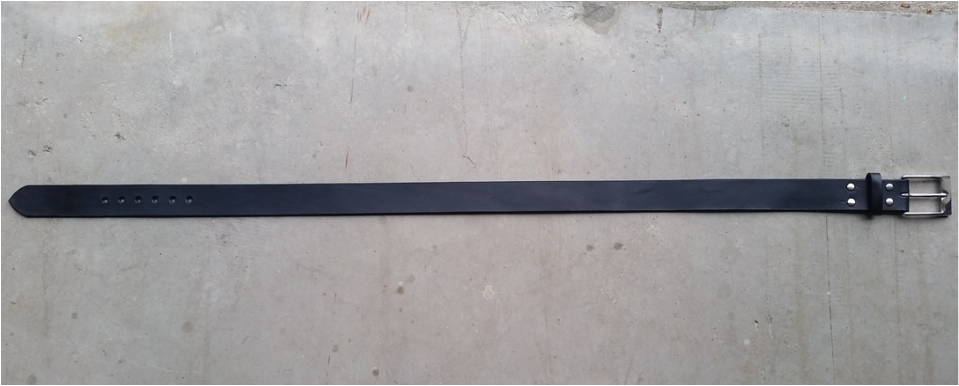
After burnishing I applied one more coat of finisher around the edges, just in case. Then I applied the buckle and belt loop and hammered in the hardware to complete the belt!
After burnishing I applied one more coat of finisher around the edges, just in case. Then I applied the buckle and belt loop and hammered in the hardware to complete the belt!
