I finally got around to making a leather belt after buying all of the supplies over a month ago. It got a little messy, but boy was it worth it.
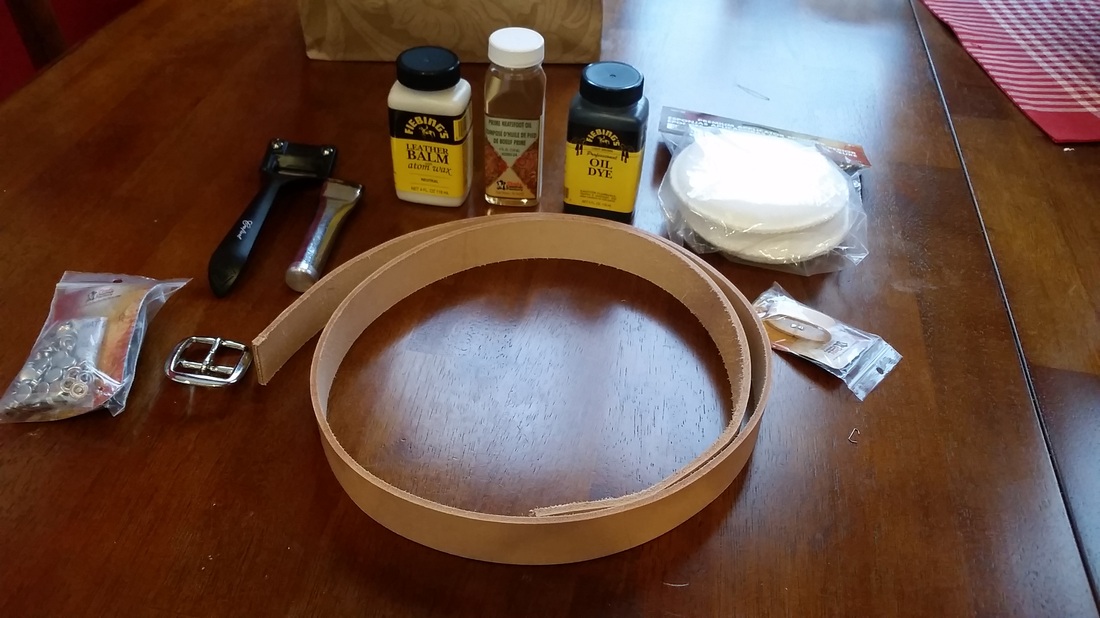
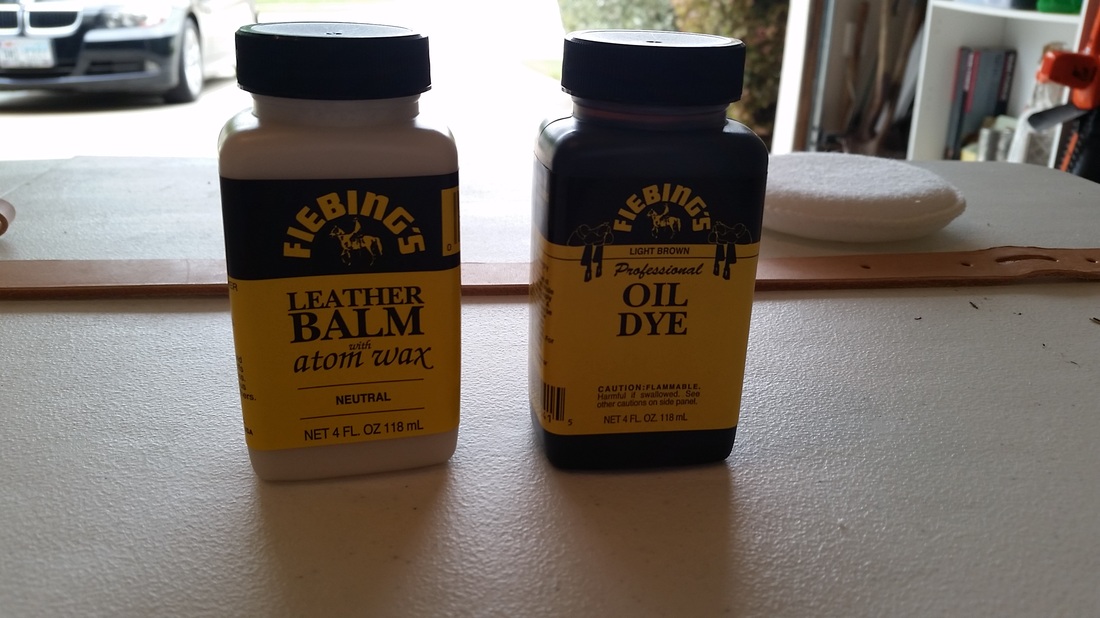
Supplies list: Rivets, buckle, skiver, 1" oval drive punch, leather balm with atom wax, neatsfoot oil, light brown oil dye, applicator sponges for the dye and oils, belt loop, leather belt strap.
I bought all of my supplies at Tandy. Instead of buying a leather belt strap you could buy a hide of leather and cut your own straps with a strap cutter, but that seemed a little overboard for me.
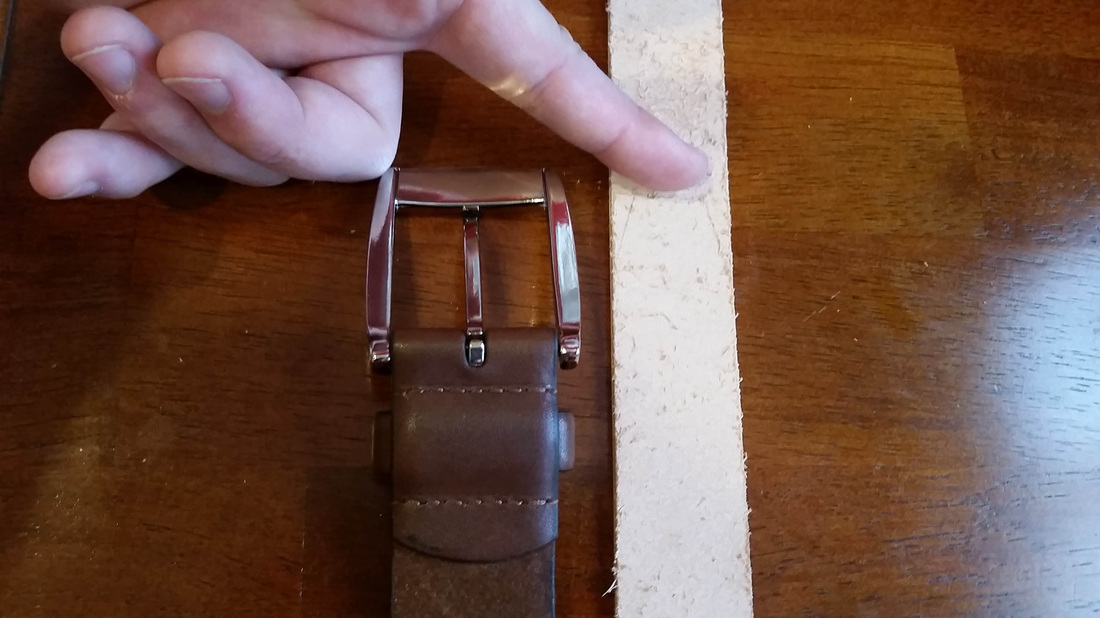
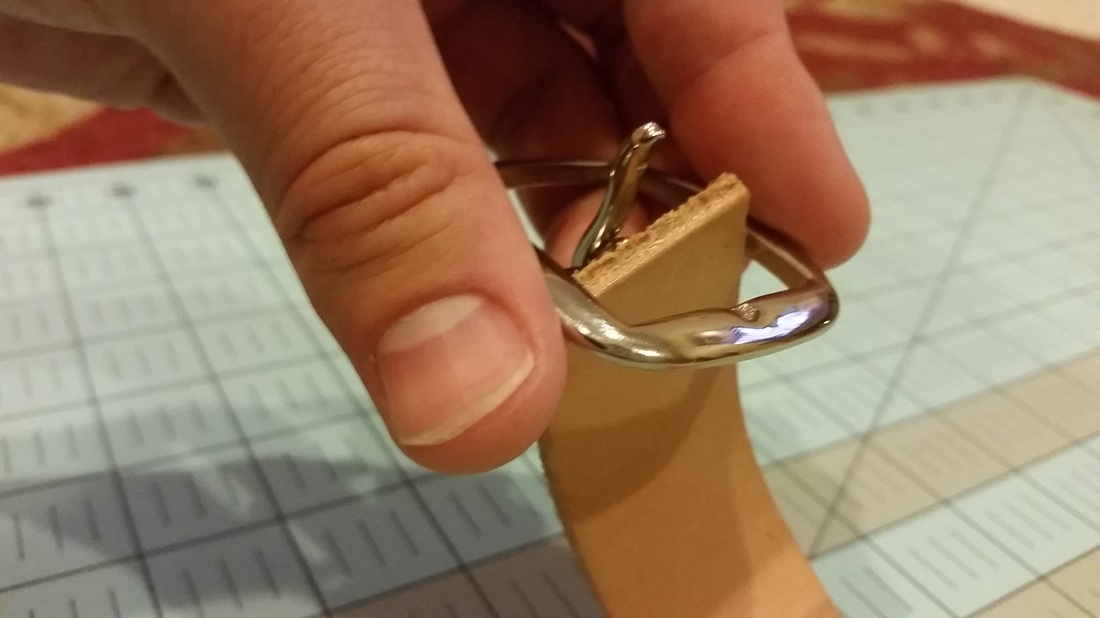
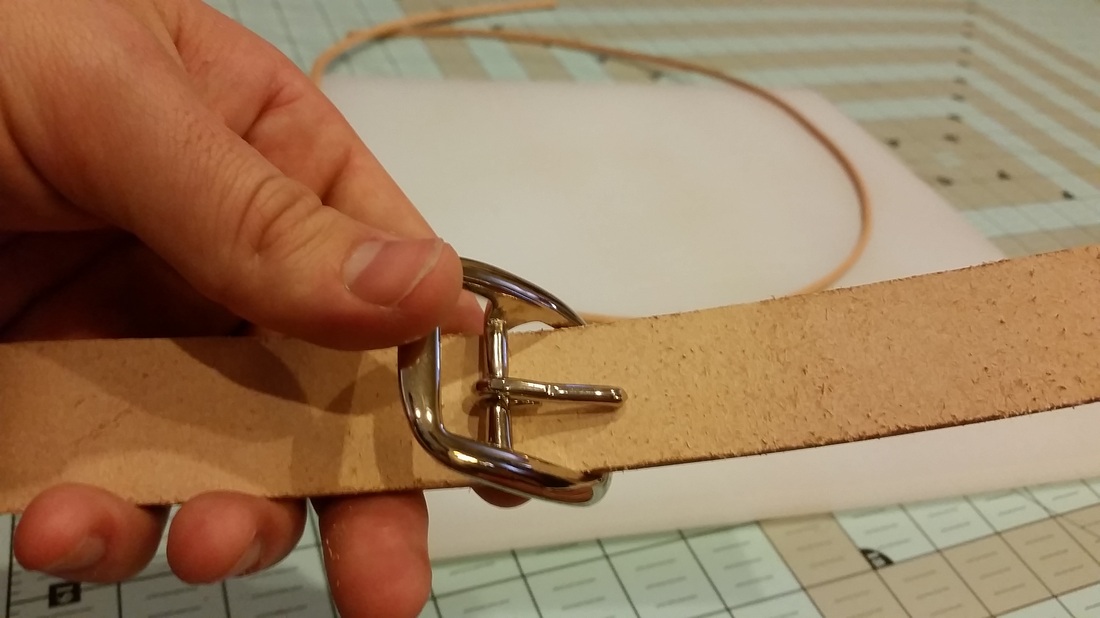
First, I needed to figure out the length I wanted the belt to be. I laid the leather strap next to one of my current belts and added on a couple of inches to account for the buckle application process. After cutting the belt strap to size, I noticed that it was actually too wide for the buckle I had bought.
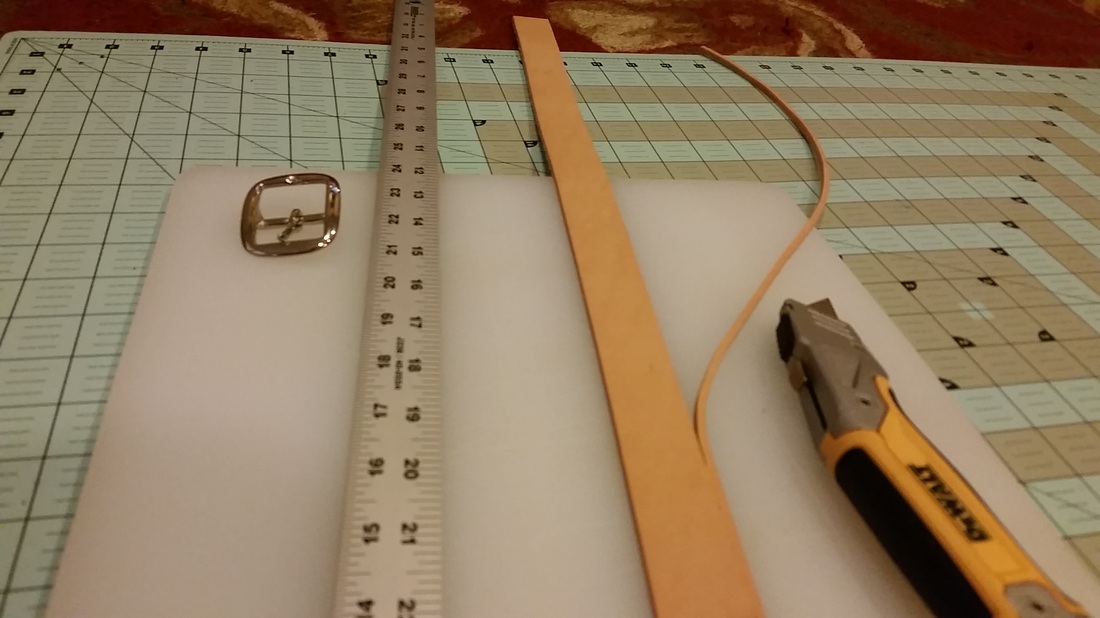
I determined that all I needed to remove was 1/4" from the width, so I measured and got to cutting. This is when having a strap cutter would've been handy.
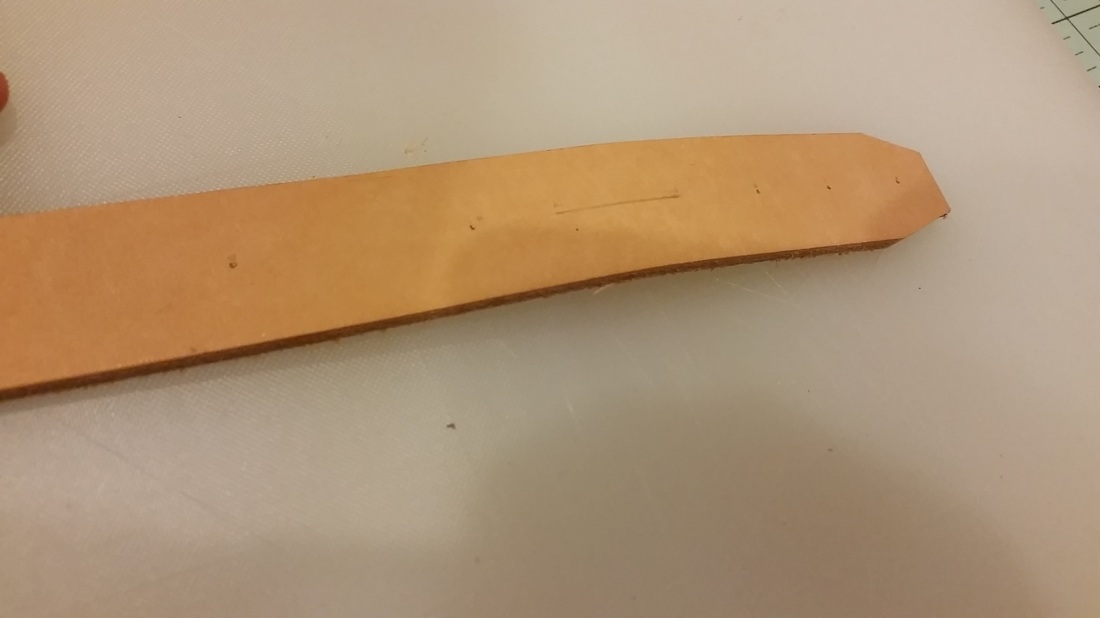
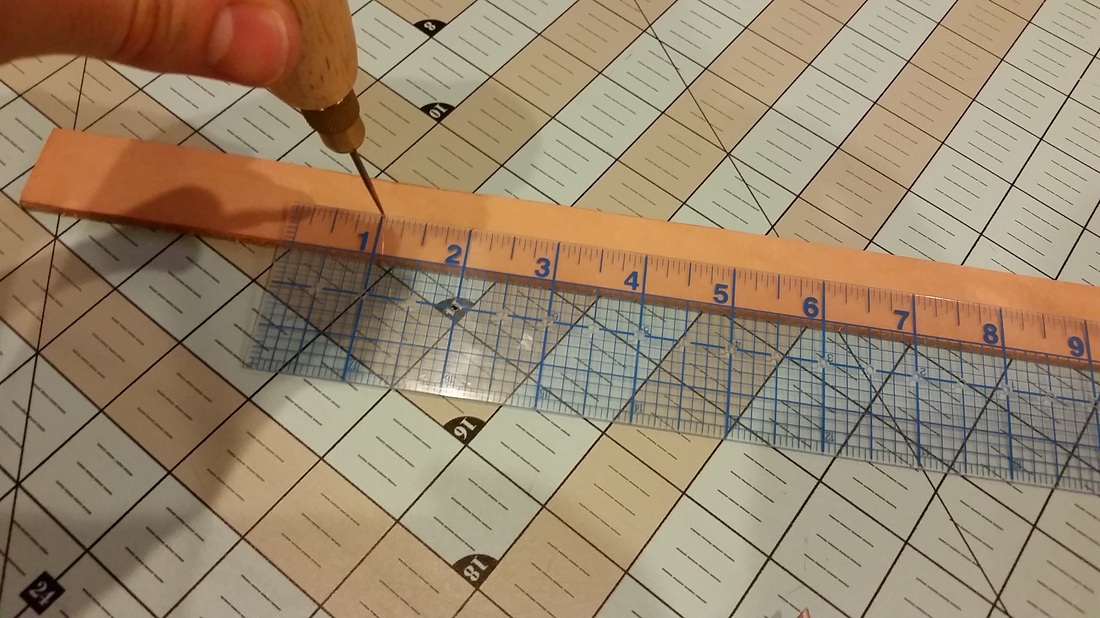
The buckle finally fit, so it was time to mark the holes for where the strap would be folded and riveted to hold the belt buckle in place.
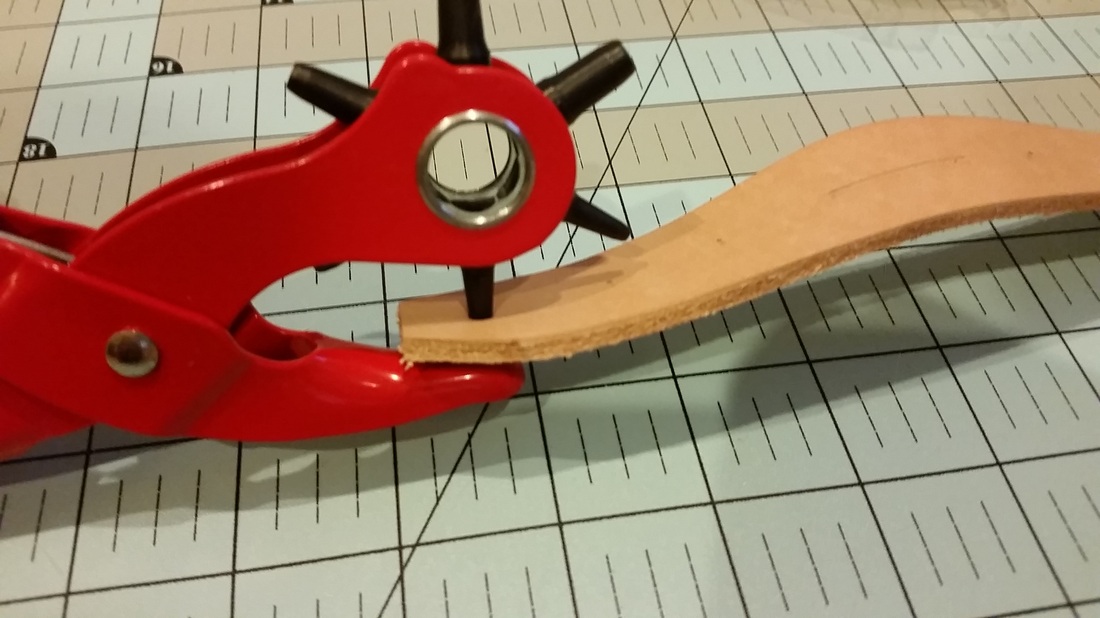
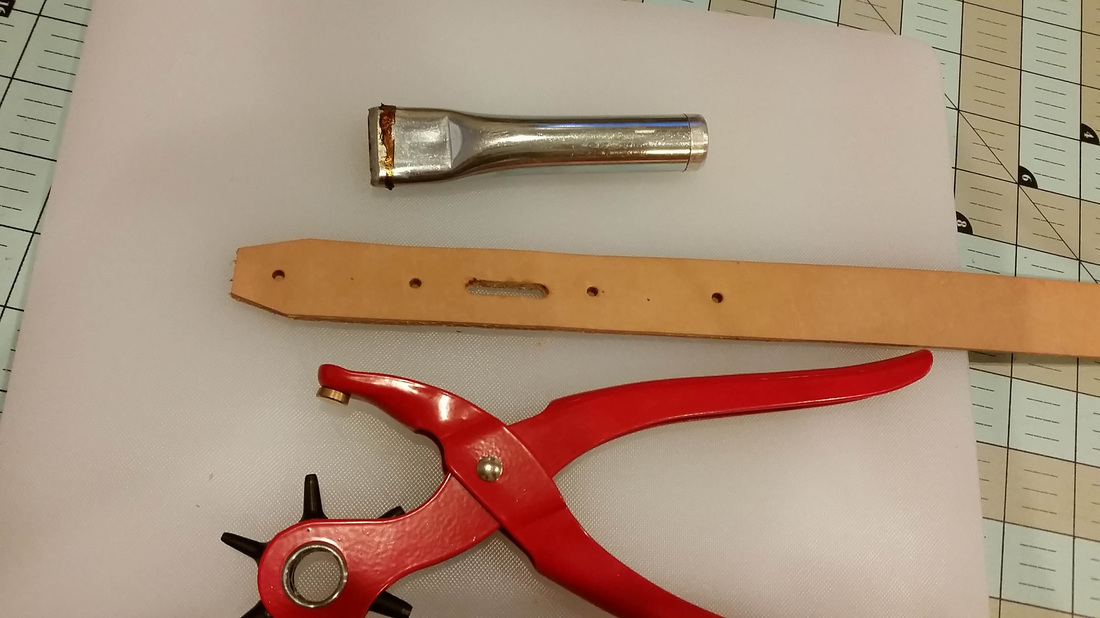
I used my rotary punch to punch the rivet holes, and the oval drive punch for the buckle needle slot.
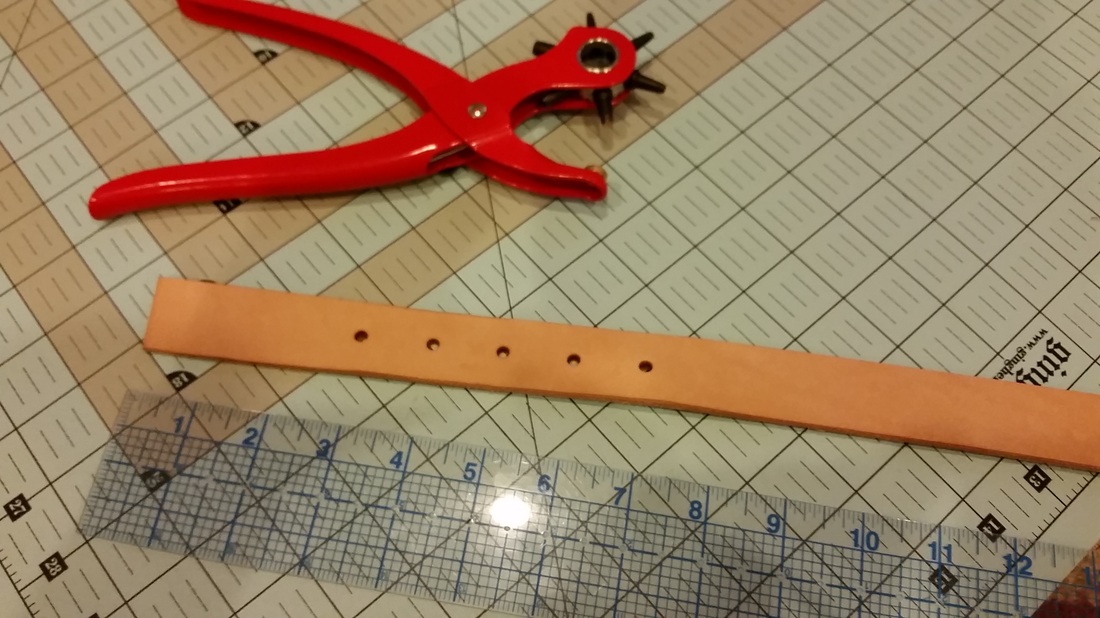
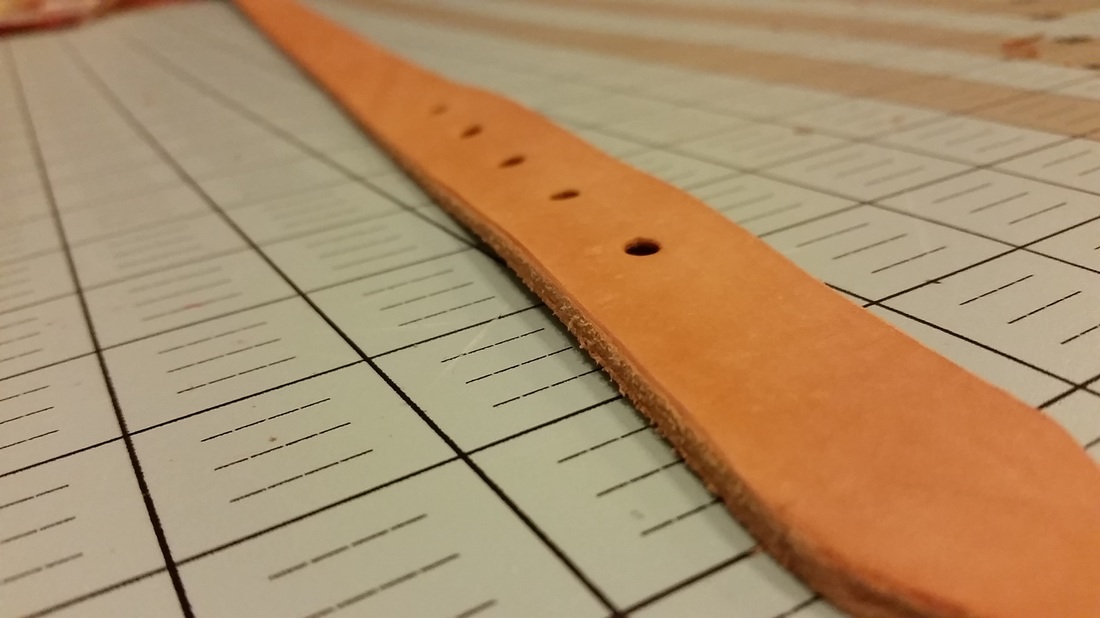
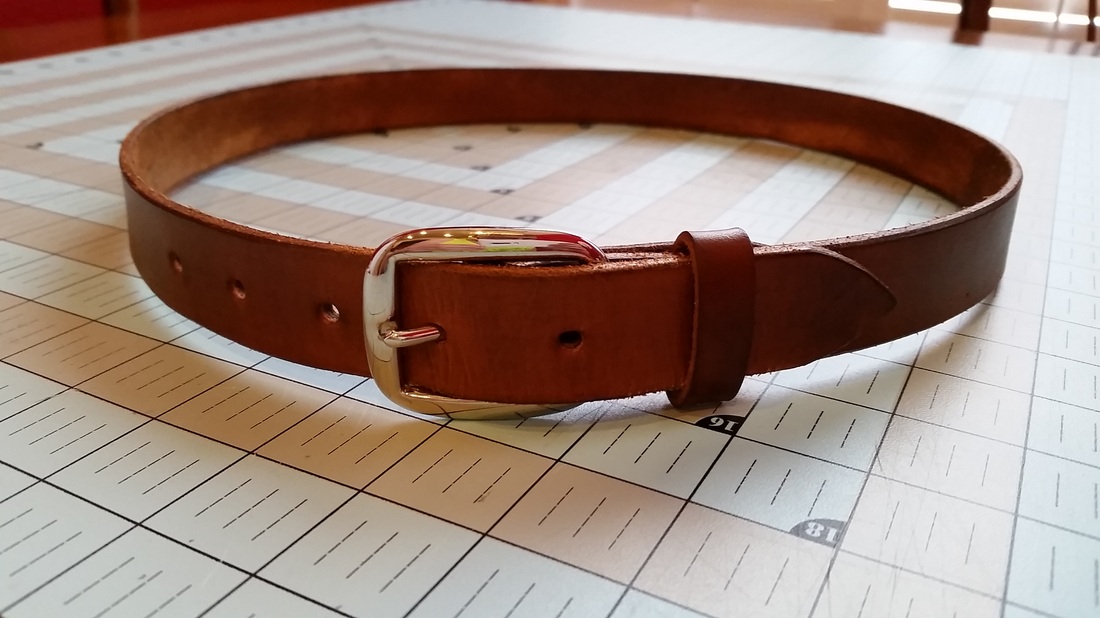
The next step was to punch the belt holes. At this point I wrapped the belt around my waist to see what the length felt like, and sadly it felt a little short. So in an effort to make this belt wearable, I marked and punched the holes a little closer to the end of the belt than I originally wanted to. I made the holes 1" apart from each other.
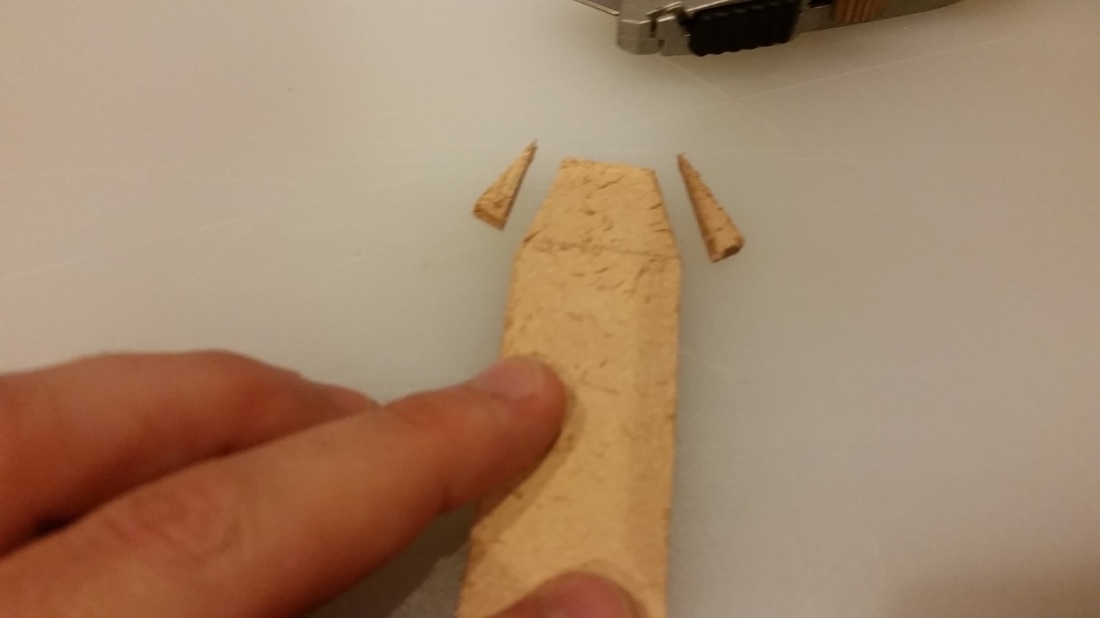
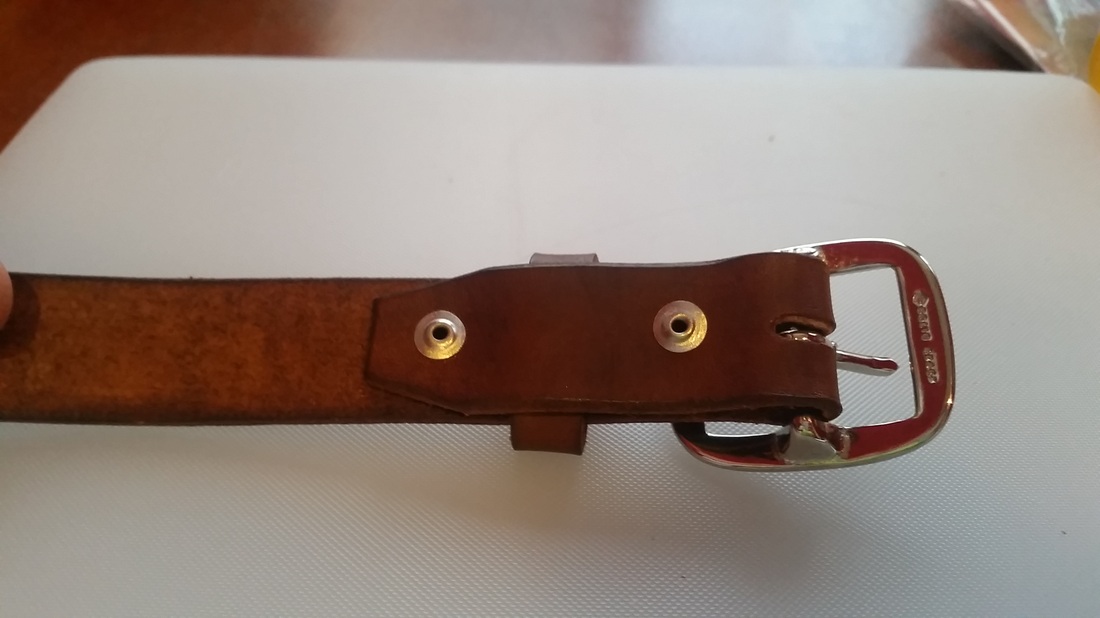
I then marked and cut the end of the belt (shown on the left side of the picture below). An easier alternative to this would be to buy a strap end punch, but those ain't cheap.
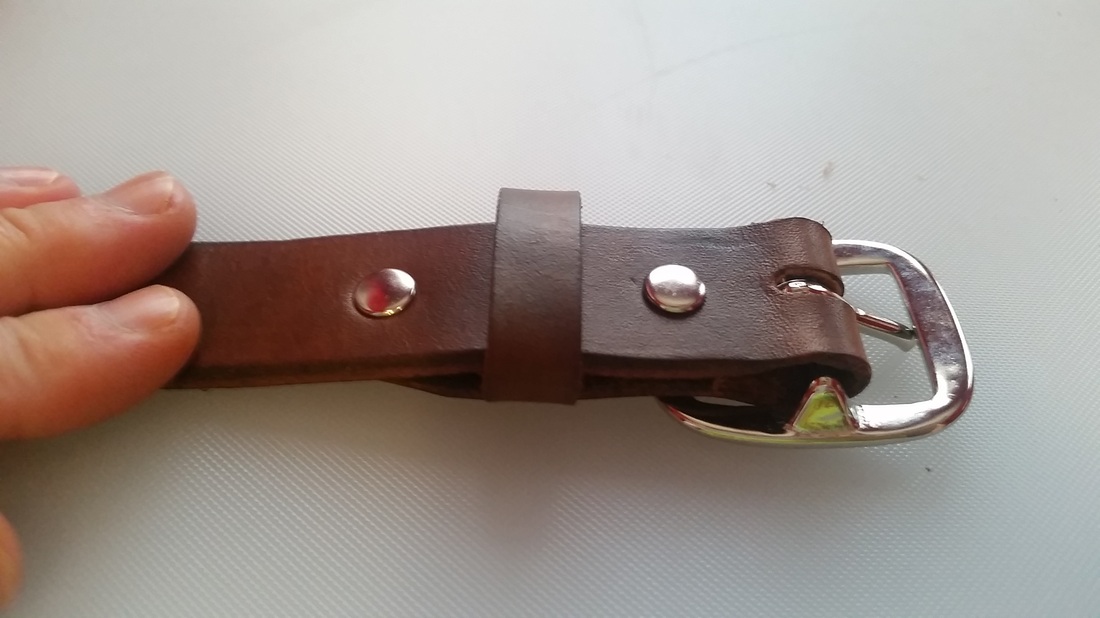
The leather used for belts is pretty thick, so a skiver is used to carve out about half of the thickness where the oval drive punch was used. This makes it easier to fold over itself and rivet together to secure the buckle and belt loop.
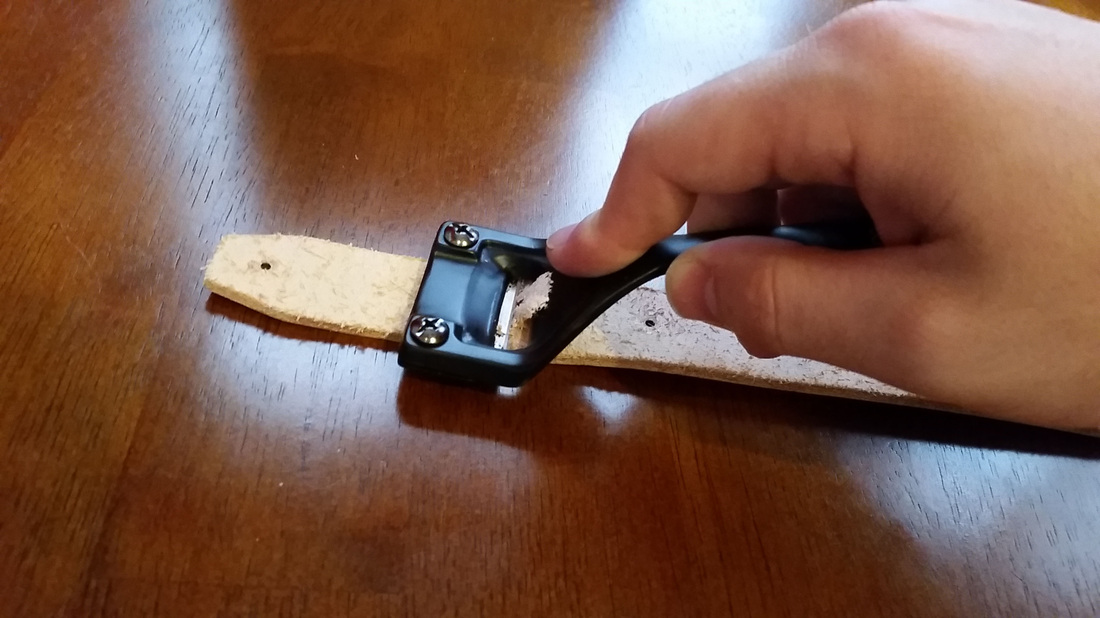
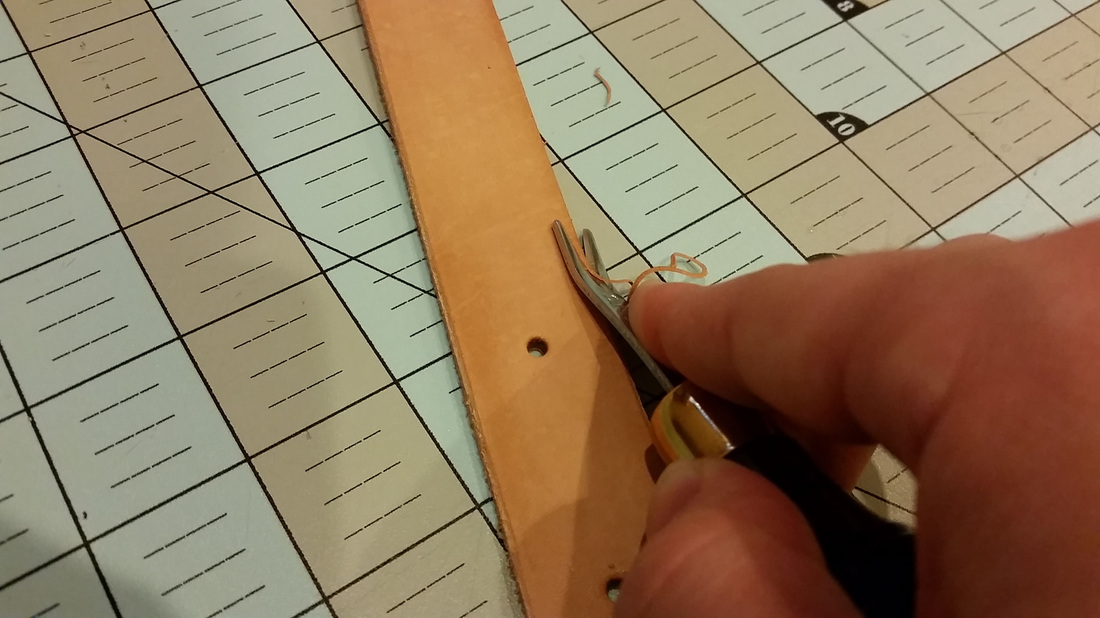
It was then time to bevel the edges. I used a sponge to lightly soak the surface with water before beveling. The edge beveler strips off the edge of the leather to make it smoother.
Now for the messy part.
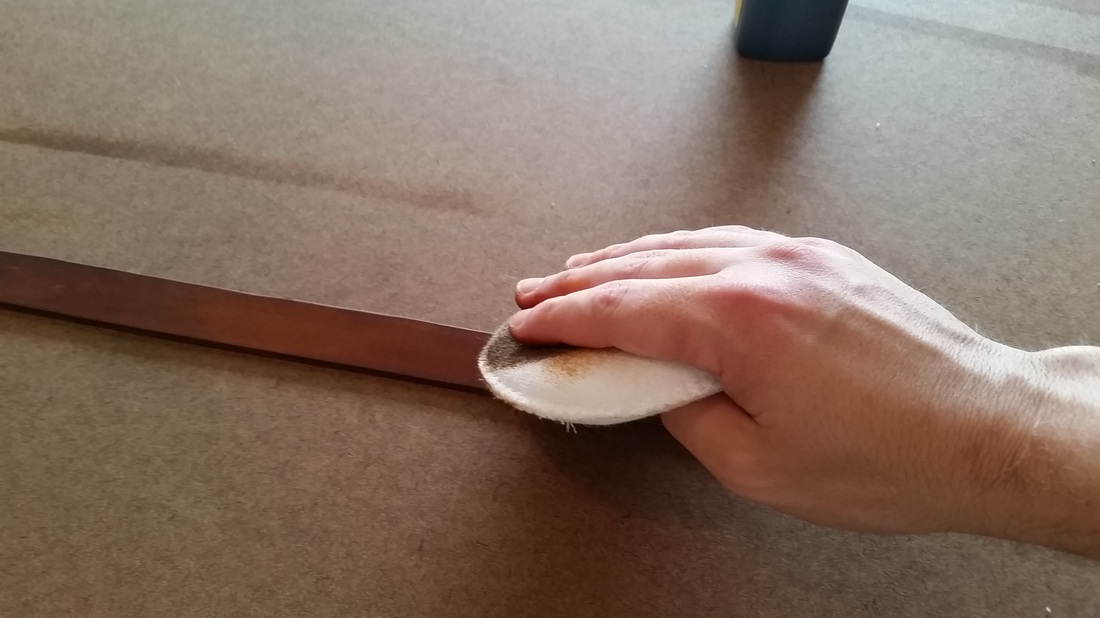
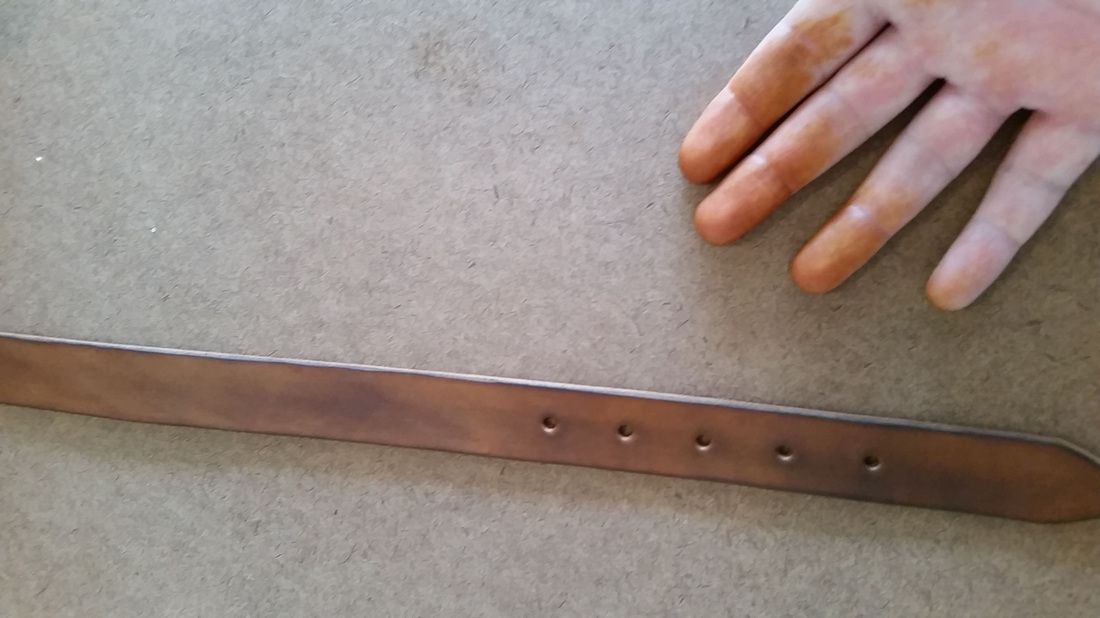
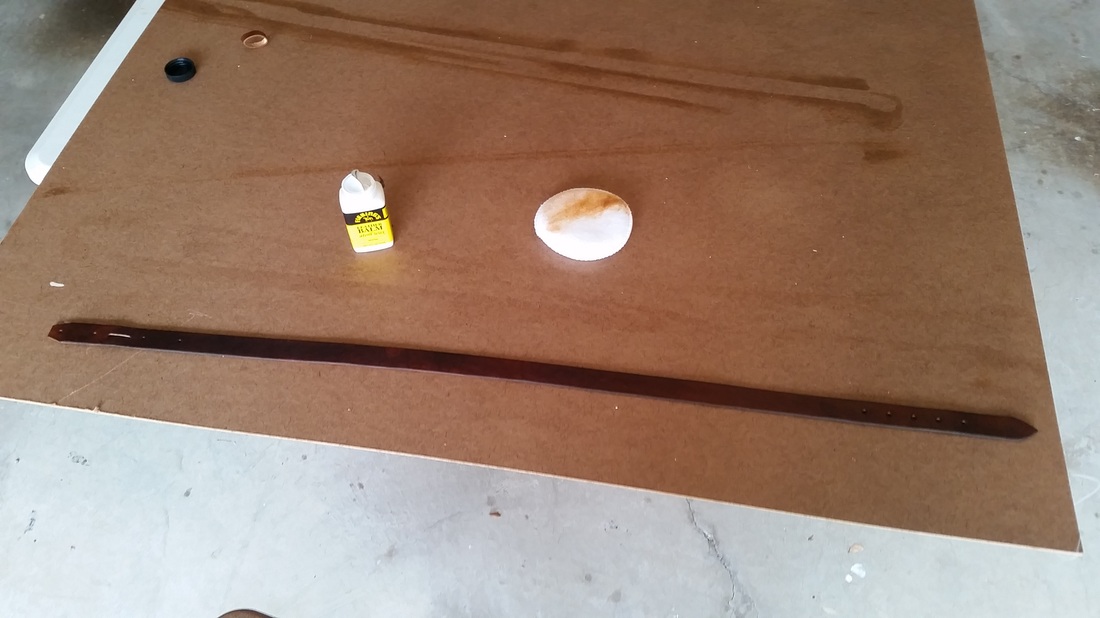
The dye and balm needed to be added, so I made my way to the garage. First, I put on two coats of light brown oil dye on the strap and belt loop. I used the applicator sponges to apply the dye, but it soaked through and stained my hands. It took a couple of days to completely wash off my skin after vigorous scrubbing, so I'll definitely be wearing gloves next time.
The dye and balm needed to be added, so I made my way to the garage. First, I put on two coats of light brown oil dye on the strap and belt loop. I used the applicator sponges to apply the dye, but it soaked through and stained my hands. It took a couple of days to completely wash off my skin after vigorous scrubbing, so I'll definitely be wearing gloves next time.
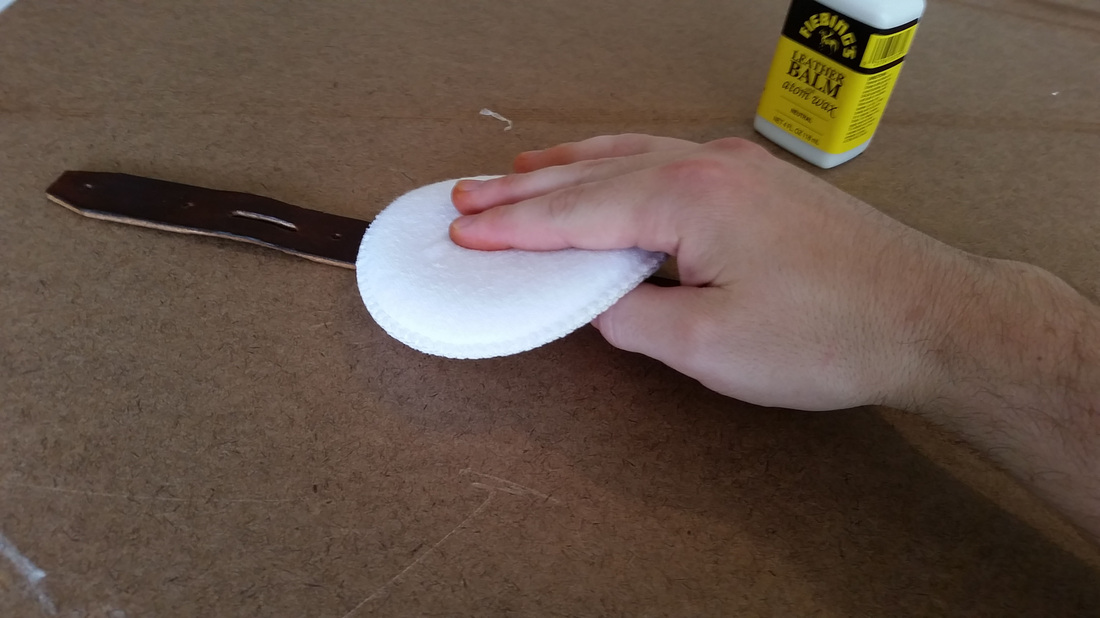
After the dye dried, I added a coat of leather balm. This protects dyed leather and gives it a mellow finish. It also made the leather quite a bit darker, which took me by surprise.
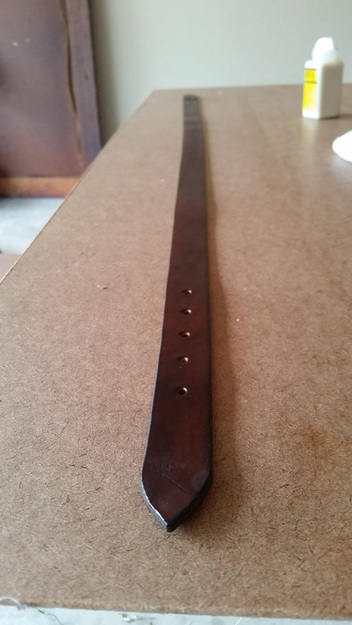
After the balm dried I added a coat of neatsfoot oil which helps prevent leather from drying and cracking. Then it was time to secure the buckle. I looped the belt through the buckle, slid the belt loop between the two sets of holes, and set the rivets using a mallet and rivet setter. After that, it was all done! To my surprise the belt actually fit (barely). It's a good thing I made the belt holes a little closer to the end. I really enjoyed making this and can't wait to make some more in different colors and styles!
