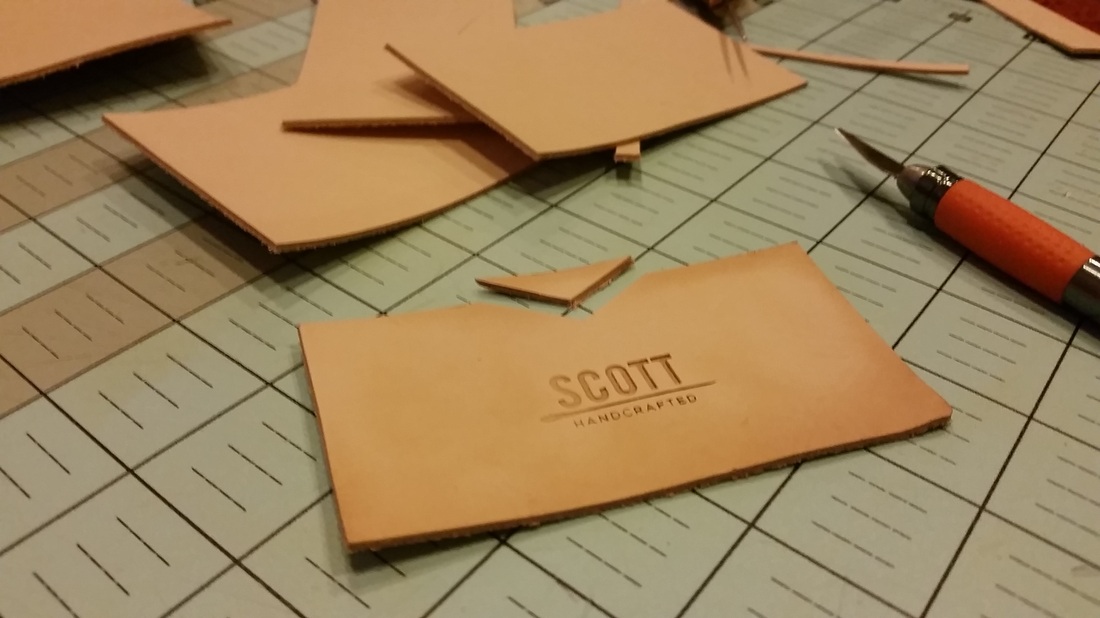
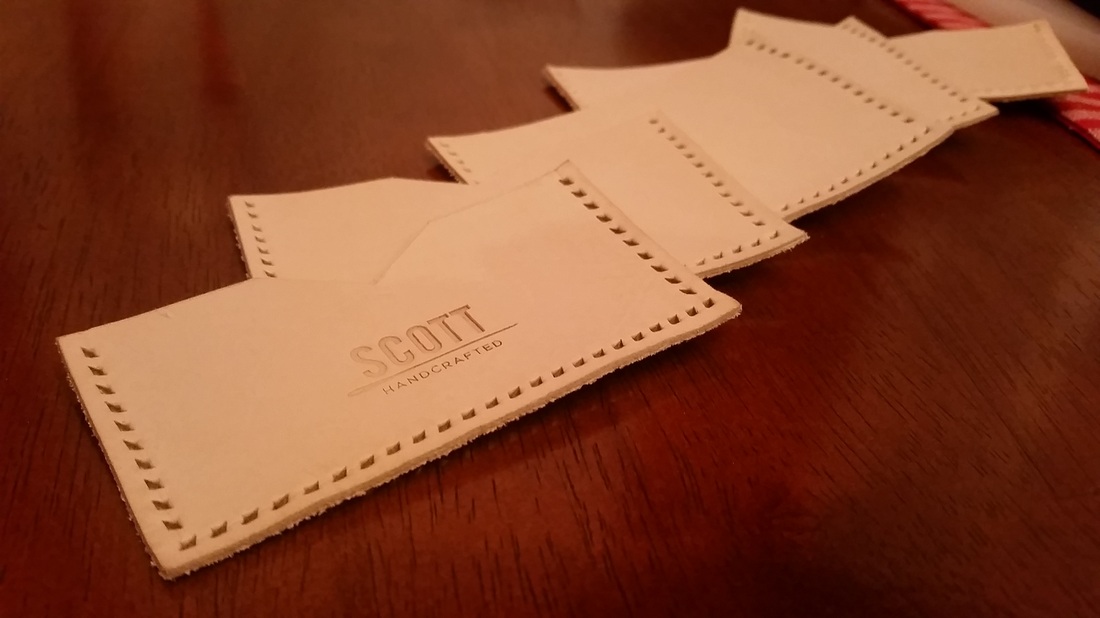
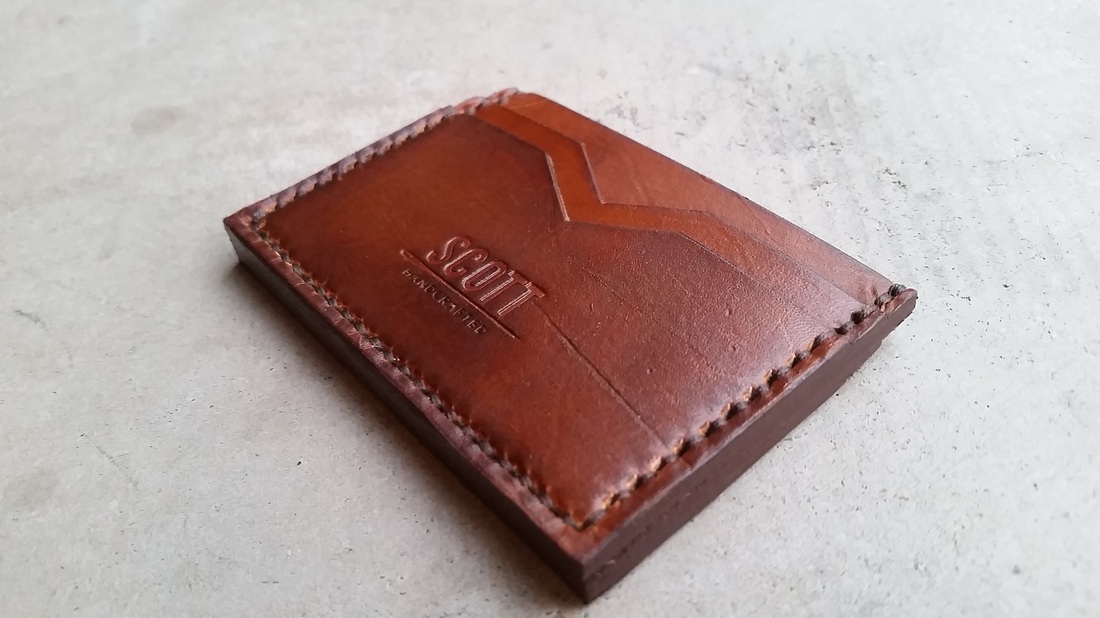
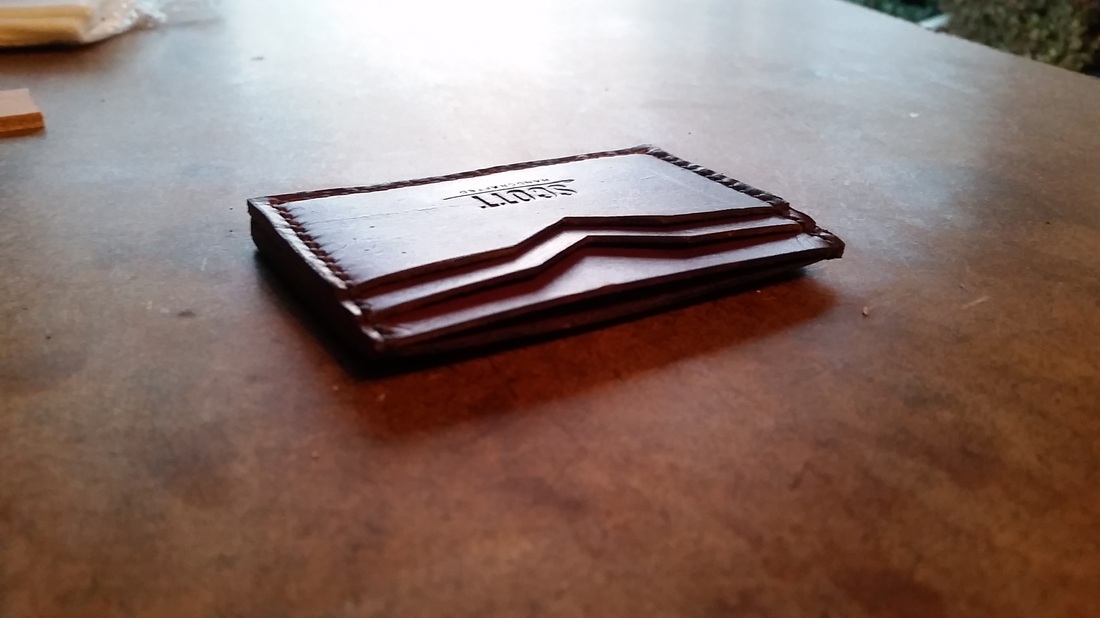
After making my first Simple Card Wallet, I had a few people reach out to me about purchasing one. Though, I really wanted to try a different design and convinced my next customer to go with it. I named it The Chevron due to the shape of the cuts on the card slots.
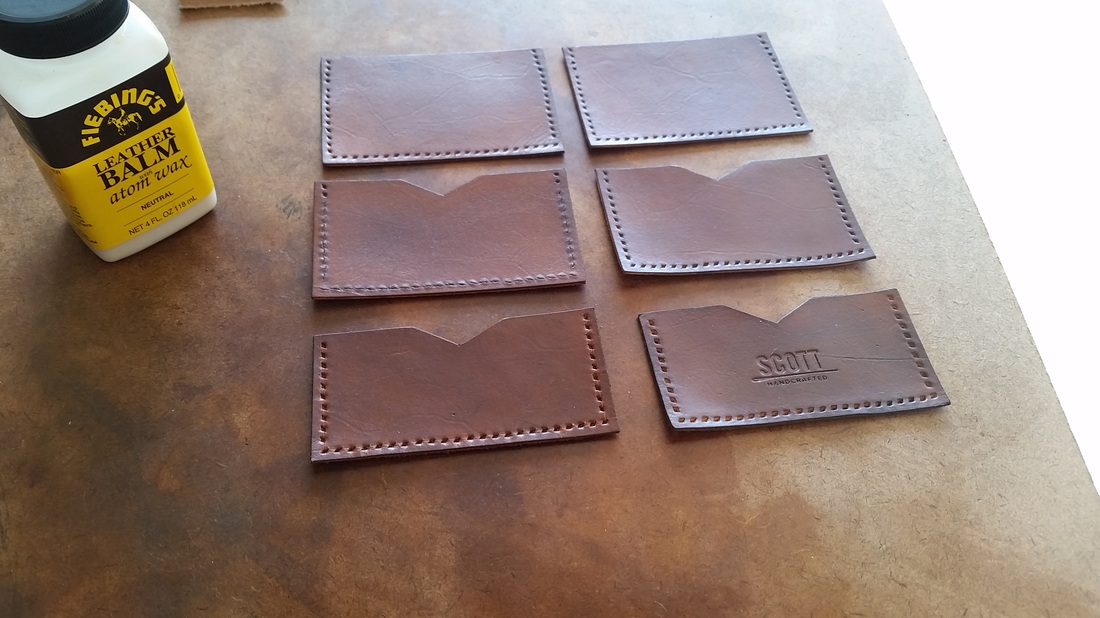
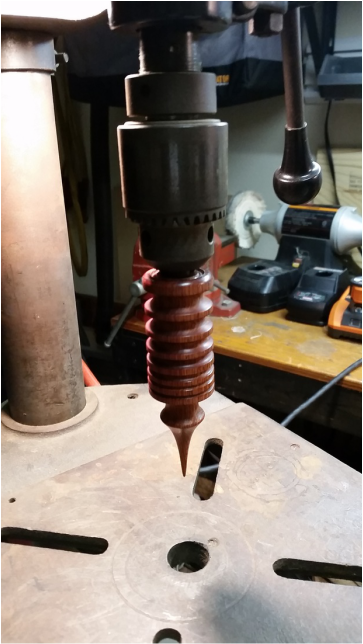
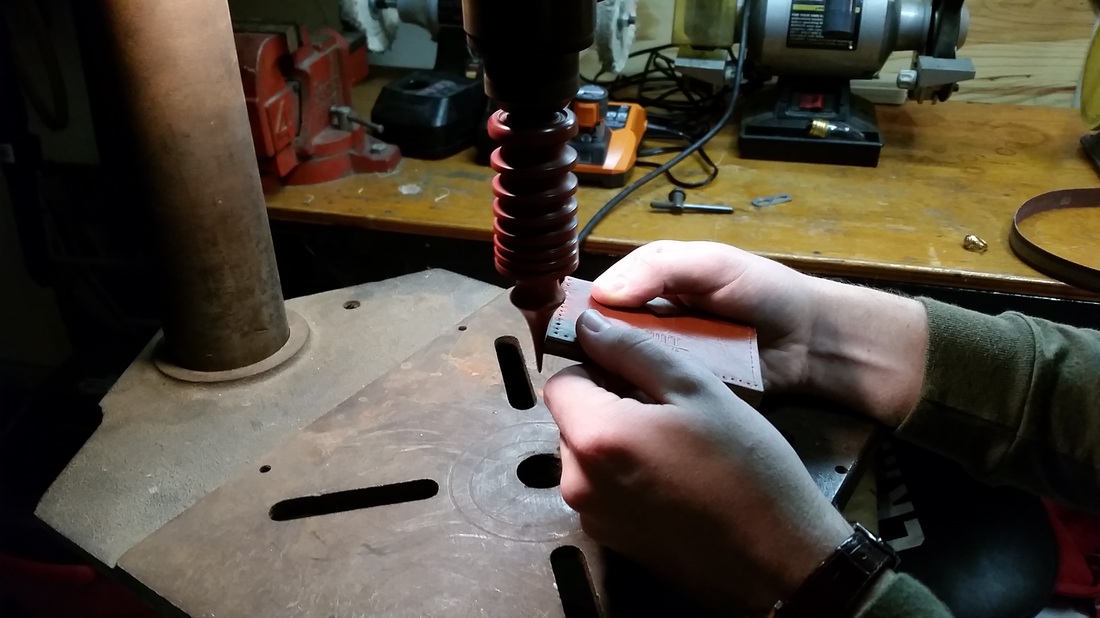
After I got all the pieces cut, dyed, and waxed, I glued and sewed them together. The next step was really exciting because I got to use my new cocobolo burnisher to smooth out the edges. It attaches to a drill press, so all I have to do is fit the leather edges in the proper-sized groove while the burnisher spins and does all the work, saving me a great deal of time and producing a much smoother edge. But before doing this, I needed to use a sander to even up the edges and make everything flush. Leather is tricky, no matter how precise you try to cut your pieces, something will be off even if it's just a hair (unless you are awesome and have a die cutter, in which case I'm super jealous of you).
Thankfully my dad's garage is loaded with any tool imaginable, so I took my supplies over there and finished off the wallet.
Thankfully my dad's garage is loaded with any tool imaginable, so I took my supplies over there and finished off the wallet.
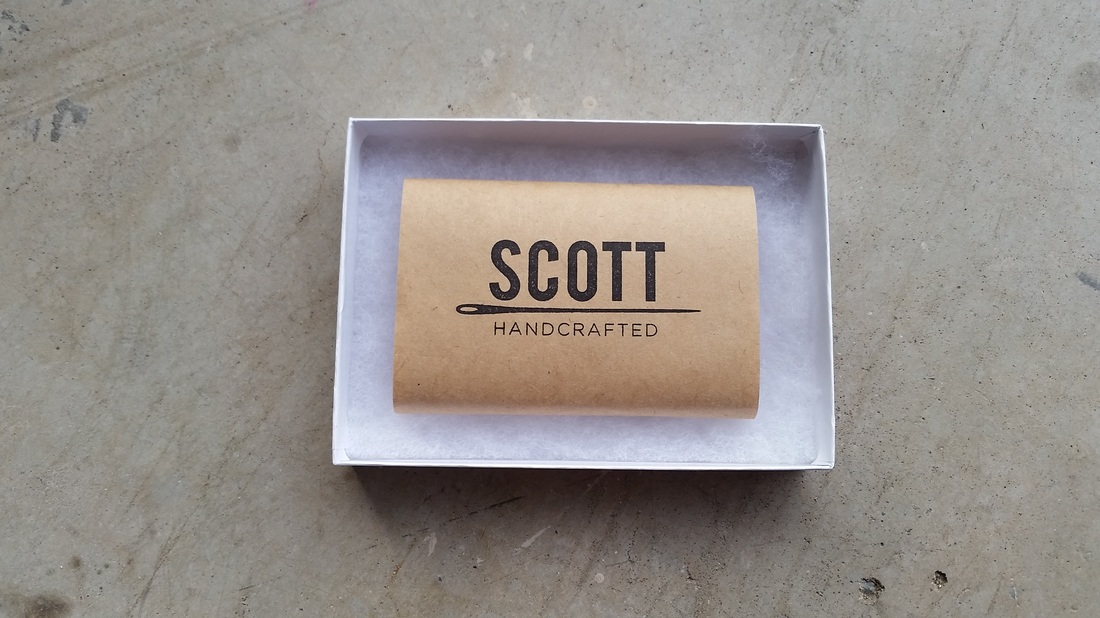
The next morning I coated the edges with brown edge paint, packaged it up, and shipped it out!
