
When thinking of what I wanted to make for my groomsmen as part of my gift to them, the idea of a leather koozie really stood out to me. I knew it could be a little tricky trying to find leather that would, in my mind, work perfectly for this project, but luckily I stumbled across a sale at Tandy in Austin while I was in town for my brother's wedding. They had a table labeled "Manager's Special," and on that table was a great quality side of leather for an insanely low price. I knew immediately this was going to be the koozie leather and I scurried out of there like a little kid leaving a candy shop.
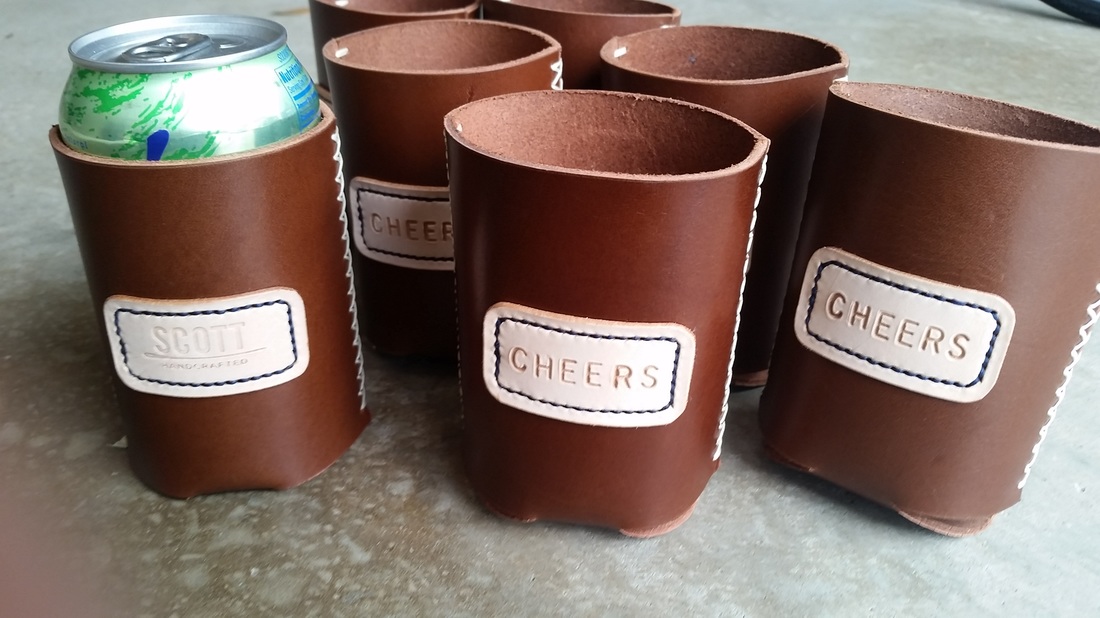
Before I even thought about cutting into this leather, I made about 6 test koozies with some other leather I have. I used a foam koozie I had lying around to start drafting a pattern, knowing I would have to alter it some. Foam koozies are made smaller than the circumference of the can/bottle to fit an array of drink sizes since it can stretch and retract. Leather, on the other hand, doesn't work that way so I needed to make it just the right size to fit snuggly around a standard soda/beer can and anything smaller would have some extra wiggle room (such as a coors light can). A few weeks of testing and 6 koozies later, I finally had the perfect size. 8 koozies needed to be made: 7 for my groomsmen/ushers, and 1 for myself.
Before I even thought about cutting into this leather, I made about 6 test koozies with some other leather I have. I used a foam koozie I had lying around to start drafting a pattern, knowing I would have to alter it some. Foam koozies are made smaller than the circumference of the can/bottle to fit an array of drink sizes since it can stretch and retract. Leather, on the other hand, doesn't work that way so I needed to make it just the right size to fit snuggly around a standard soda/beer can and anything smaller would have some extra wiggle room (such as a coors light can). A few weeks of testing and 6 koozies later, I finally had the perfect size. 8 koozies needed to be made: 7 for my groomsmen/ushers, and 1 for myself.

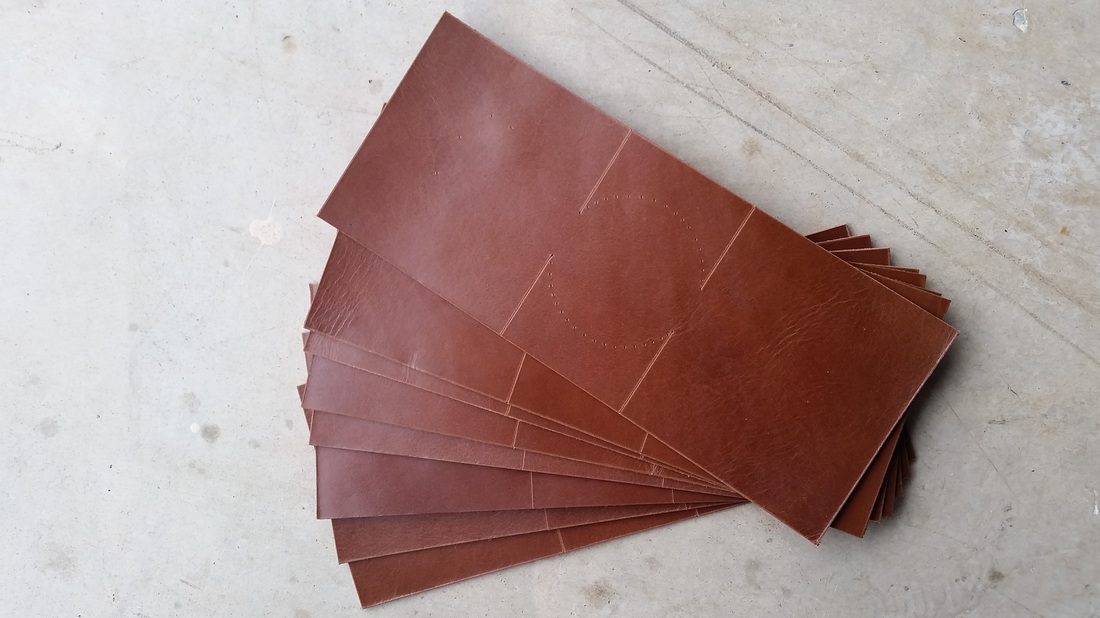
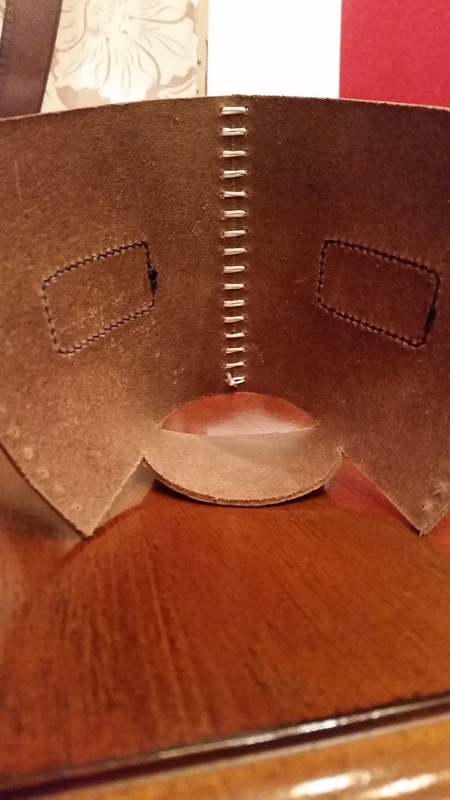
I traced my pattern on the leather using a scratch awl and cut out the 8 pieces I needed.
You can see the lines and dots I still needed to cut out to form the bottom of the koozie. I used my scratch awl to connect all the dots for the circular bottom and cut out the remaining pieces.
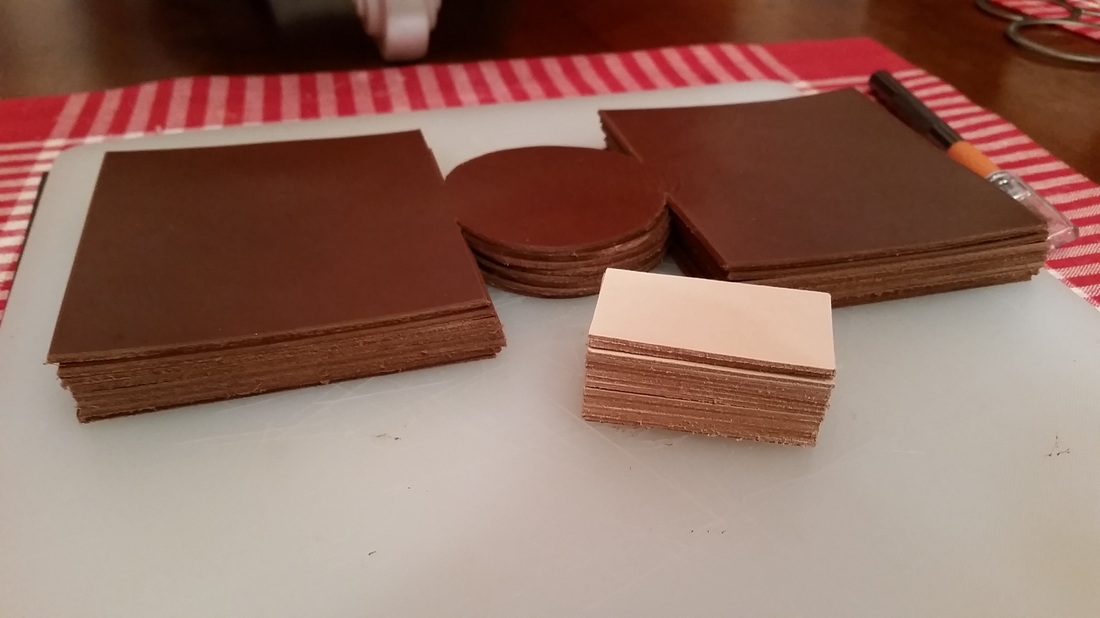
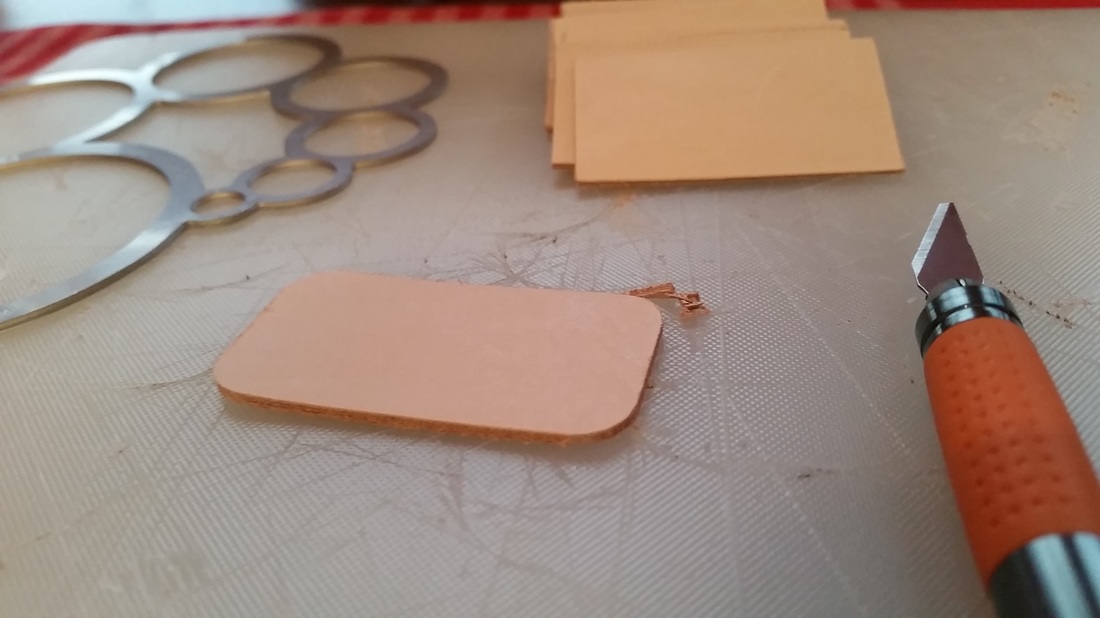
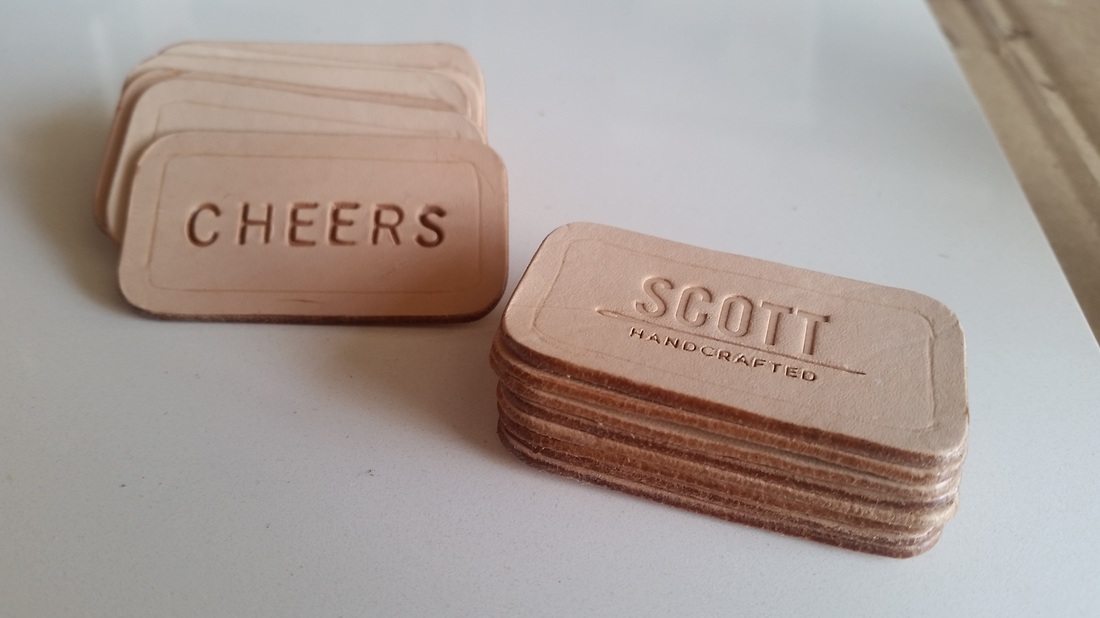
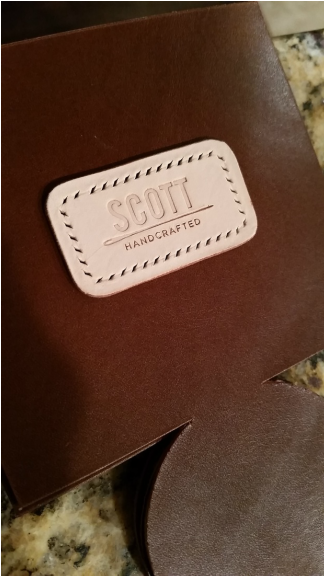
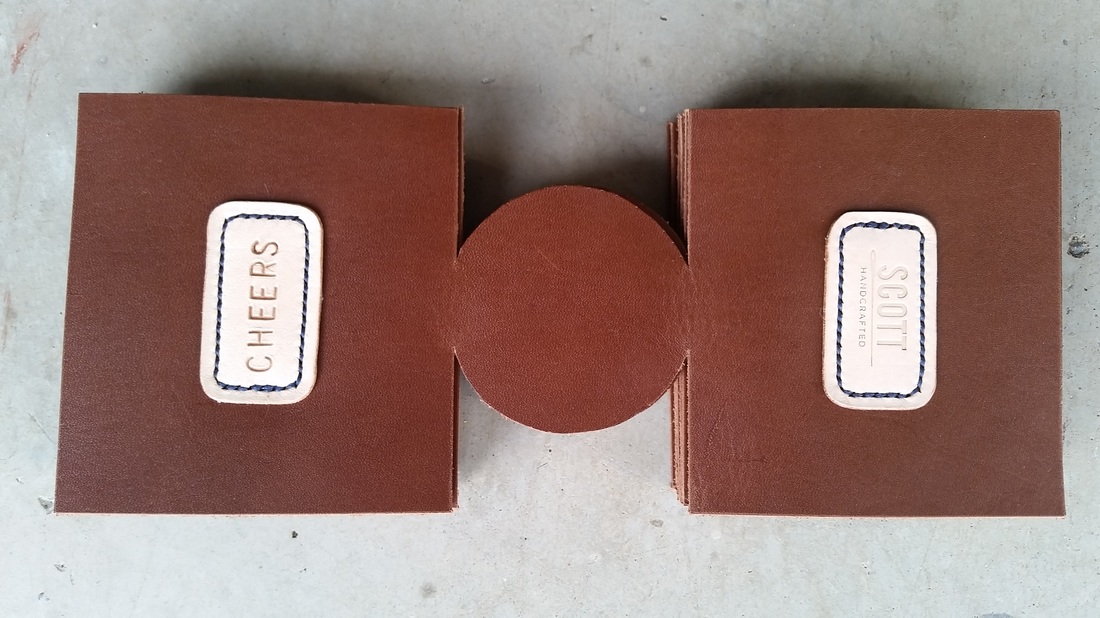
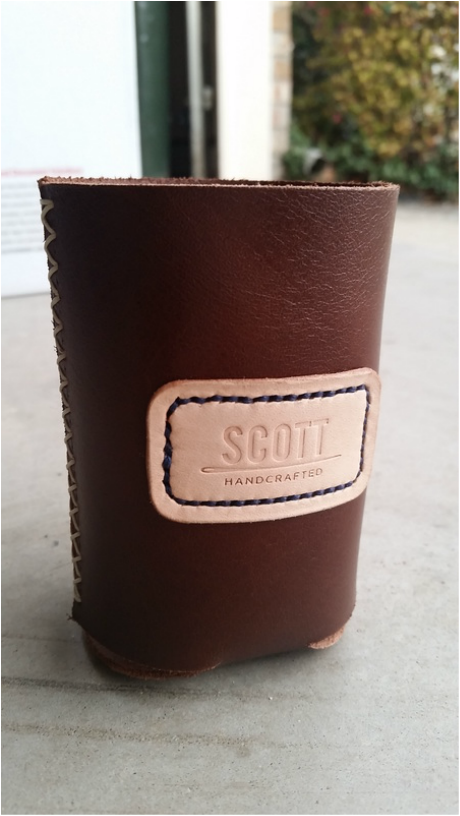
Next up was making the labels. I wanted to include a tan label on either side of the koozies, one that said "Cheers" and one with my makers mark. It took a little bit of testing to determine the right size for these labels, too.
Next up was making the labels. I wanted to include a tan label on either side of the koozies, one that said "Cheers" and one with my makers mark. It took a little bit of testing to determine the right size for these labels, too.
 |  |
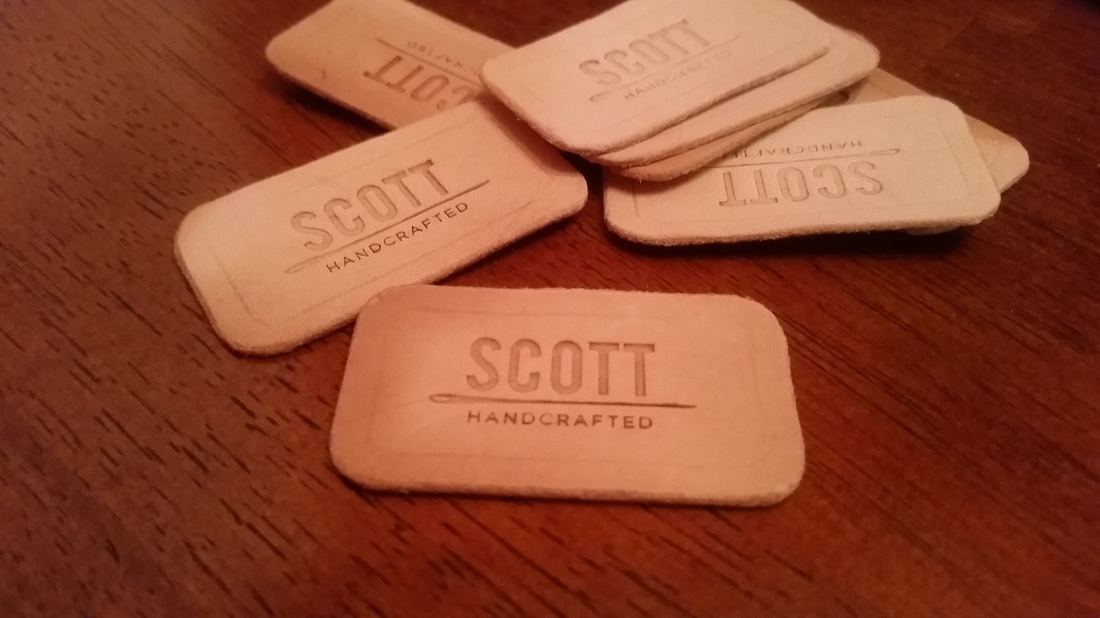
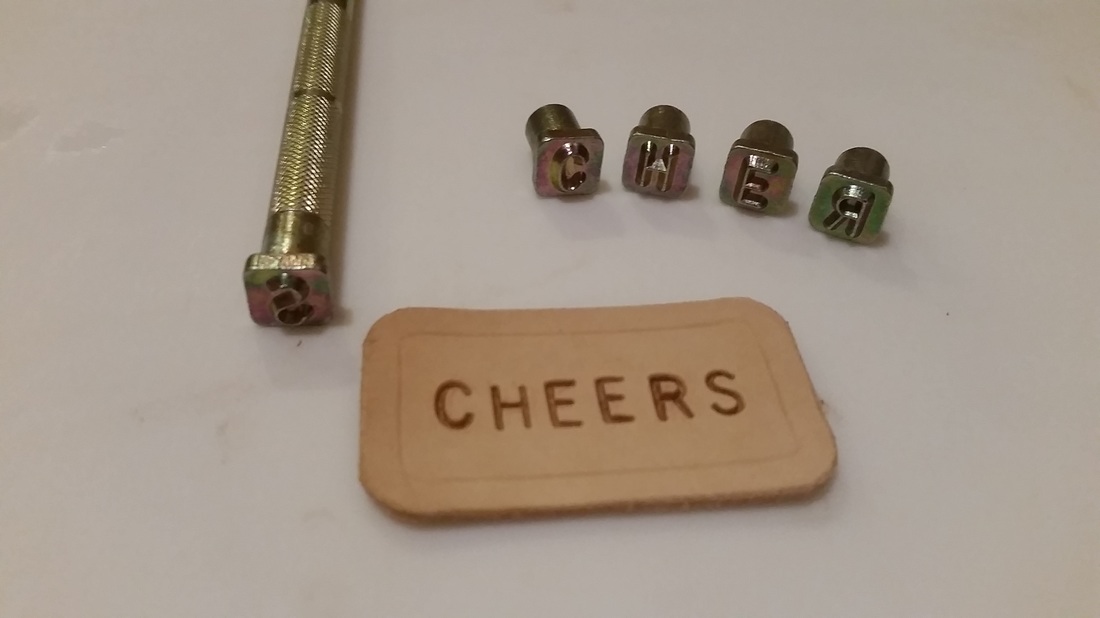
I beveled the edges of the labels so that I could later burnish them, but first I needed to get to stamping. Stamping "Cheers" letter by letter was a bit daunting because I needed to space each character evenly from one another while also centering the word in the middle of the label. I'm actually quite surprise at how well they turned out!
 |  |
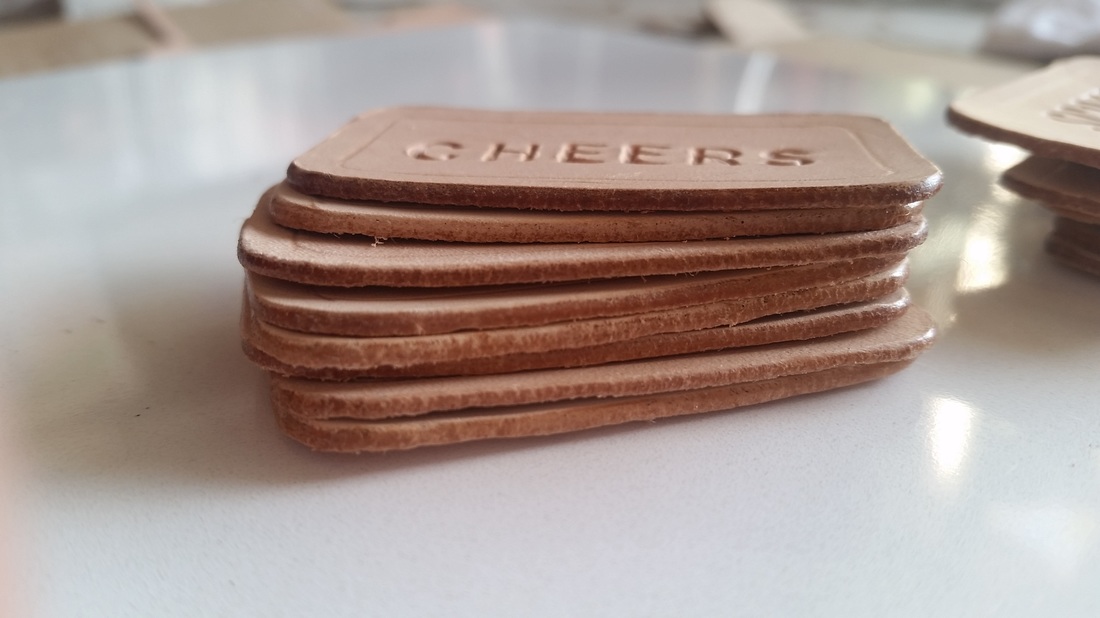
Time to burnish! This process really smooths and cleans up the edges, leaving them with a nice shine.
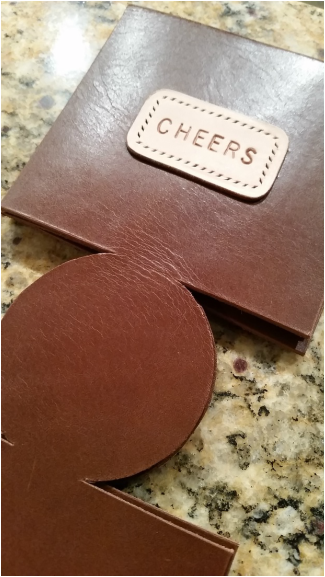
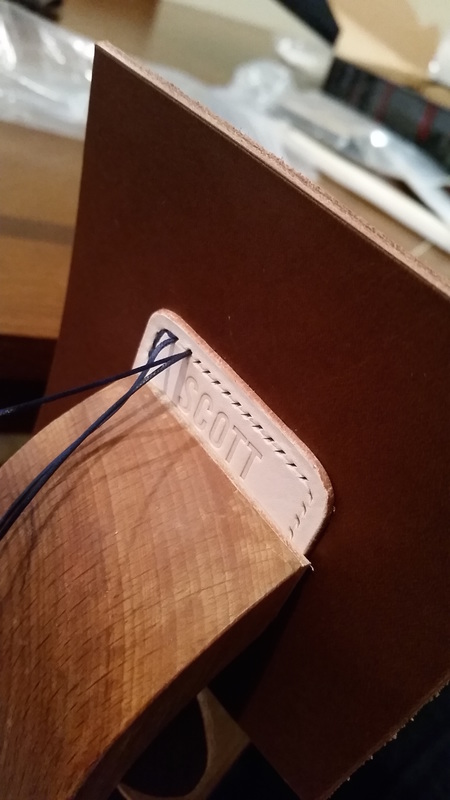
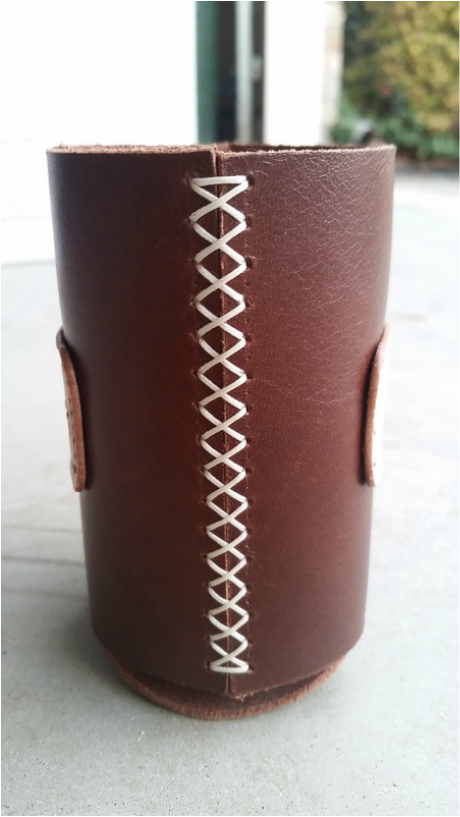
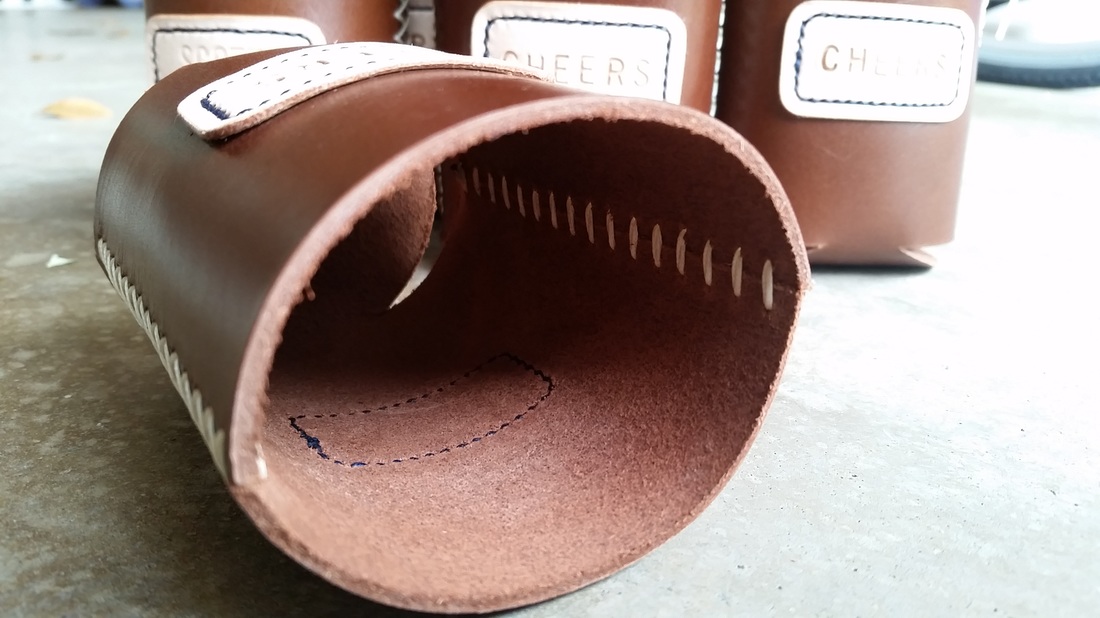
The labels were done, so the next steps were to glue these on the koozies, punch out the sewing holes, and sew them on. I used a royal blue thread (though it's really more of a navy) to add some color to it.
 |  |  |
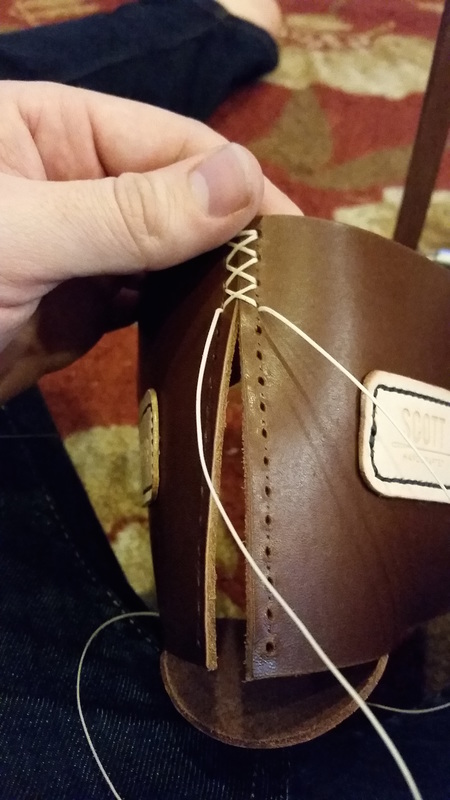
I was nearing the end at this point, only needing to punch out the sewing holes and sew up the ends of the koozies. I did a cross stitch down both sides because, well, I thought it would look cool. And personally, I think I was right!
 |  |
Aaaand done! The guys loved 'em, and I couldn't be happier! They actually used them throughout the wedding reception, which of course made me feel good. I'm already dreaming up ideas on how to make a bottleneck koozie.
 |  |
 |  |

Be sure to check out the groomsmen boxes I made for the guys that contain a koozie + other goodies.
