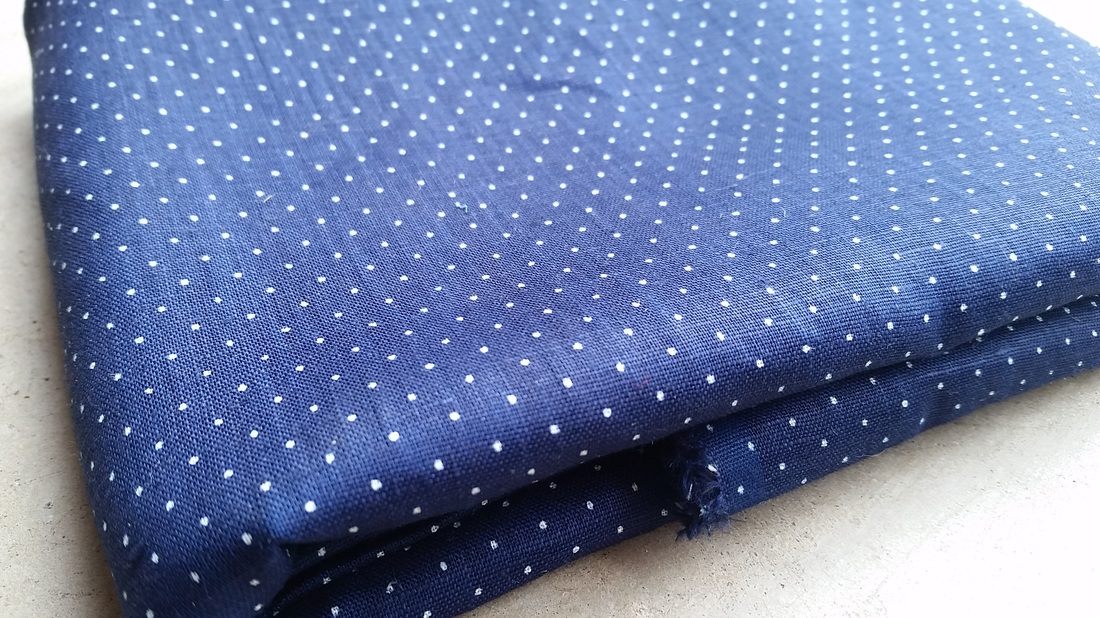
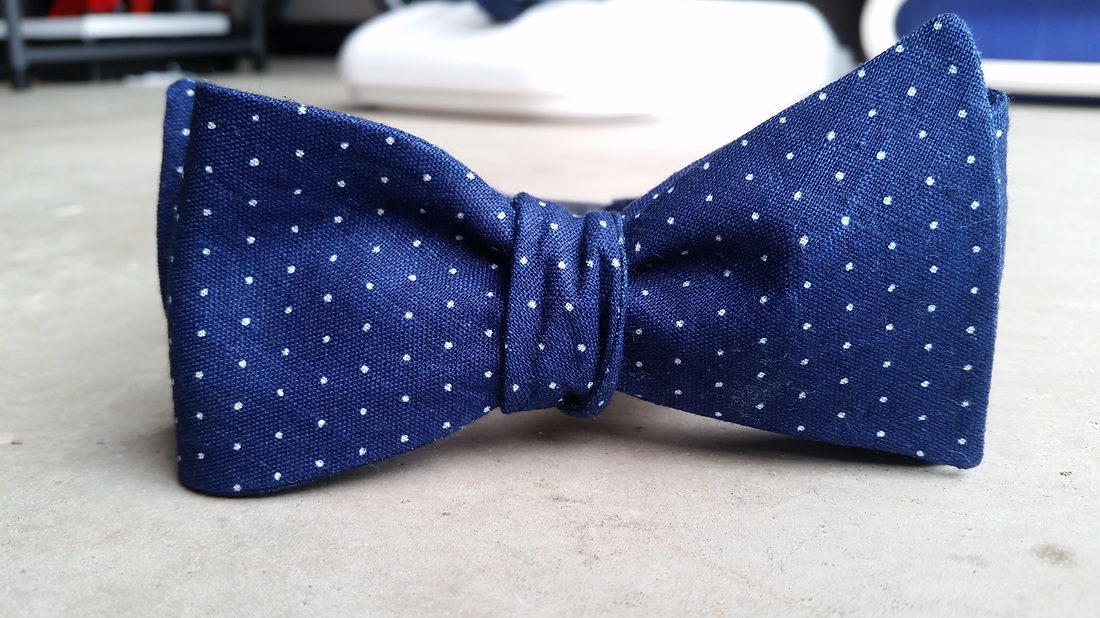
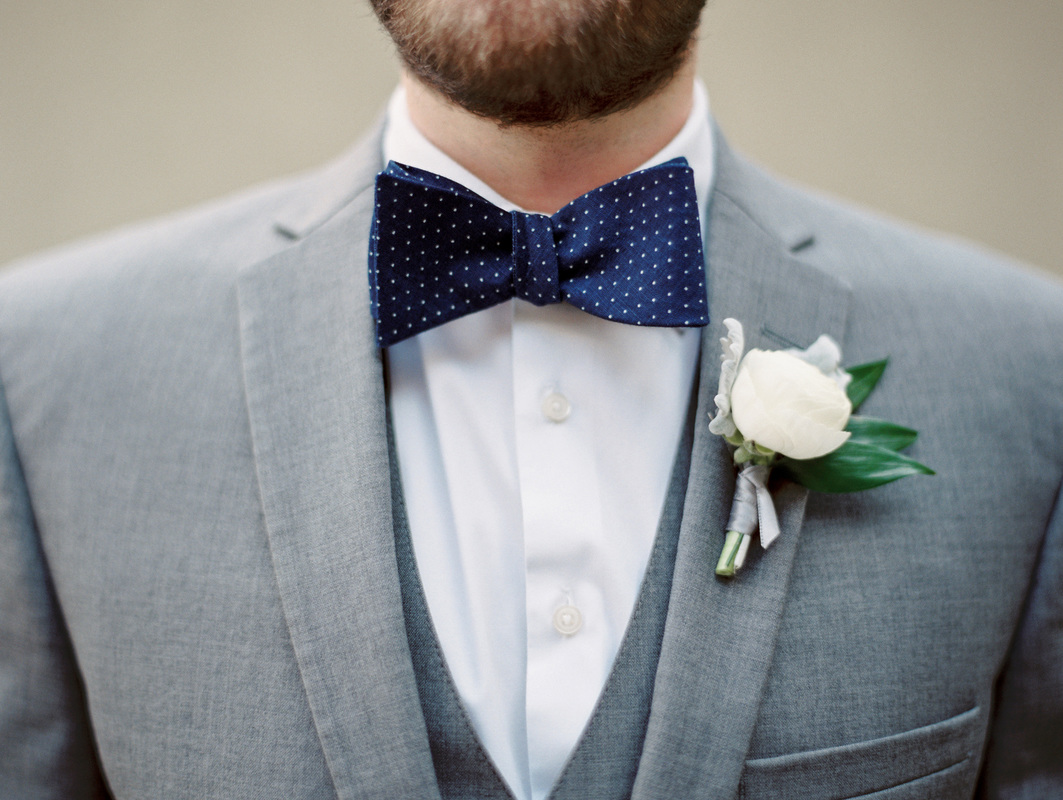
My brother's wedding was done and it was time to start working on the bow ties for my own wedding. I had already bought the fabric a month or so before Derek's wedding in February from a company called The Hill-Side. It's a Japanese indigo linen that is just beautiful, and by far the best quality of fabric I've ever worked with.
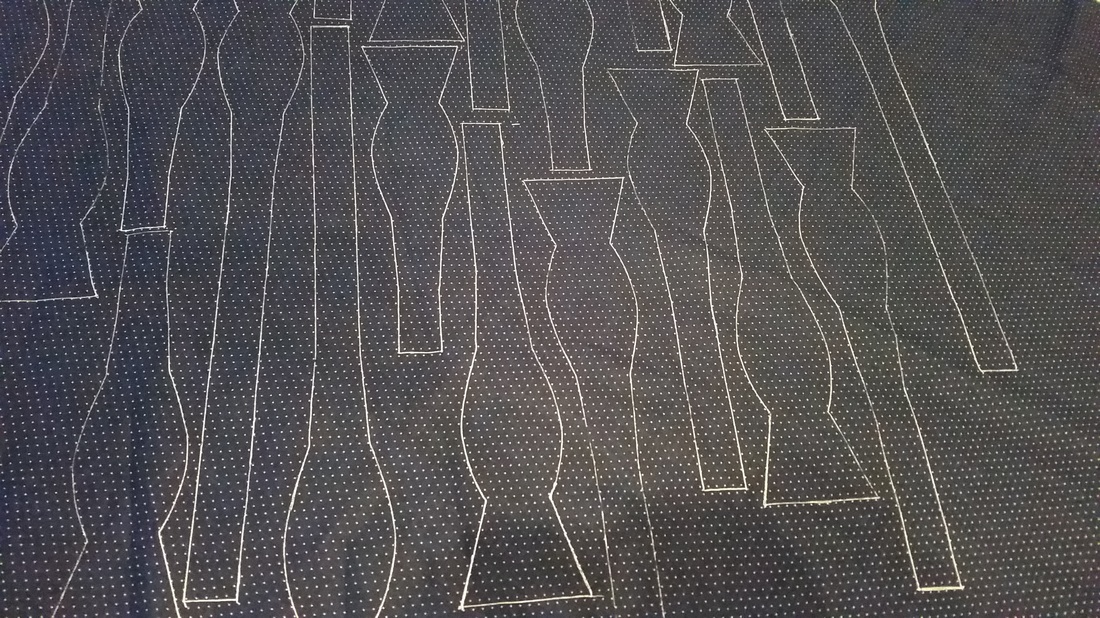
I've said this before, but the most tedious part about making bow ties, personally, is tracing and cutting the fabric. I've found that the best thing to use when tracing a pattern on darker fabrics is an ultra fine fabric pen from an office supply store. I've tried all of the pens that claim to appear white on dark fabrics from crafts stores, but the never really work the way they claim to.
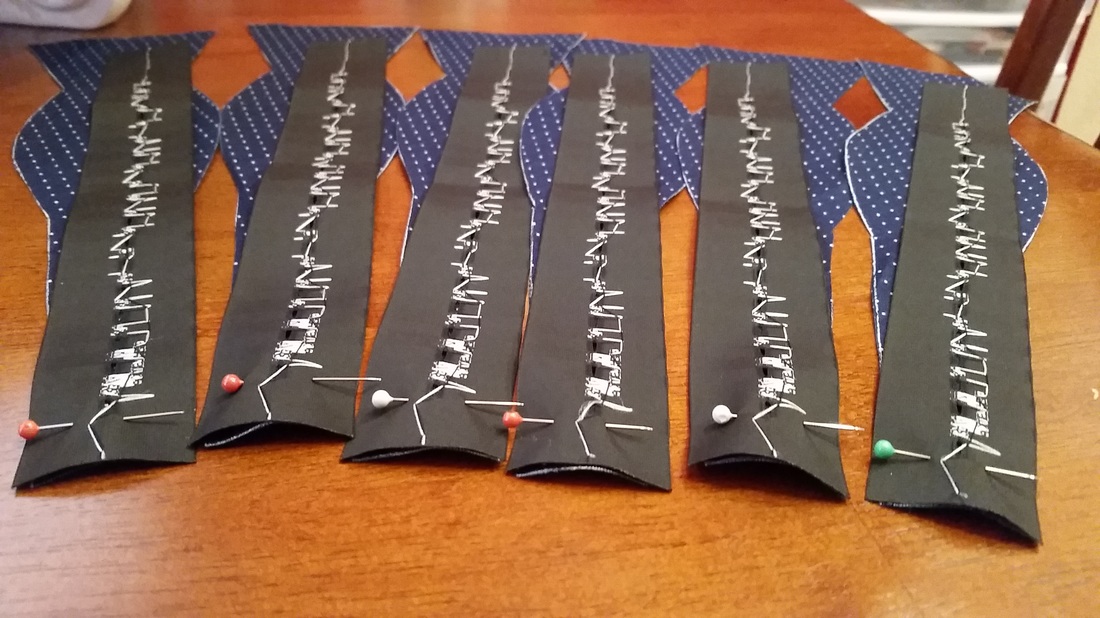
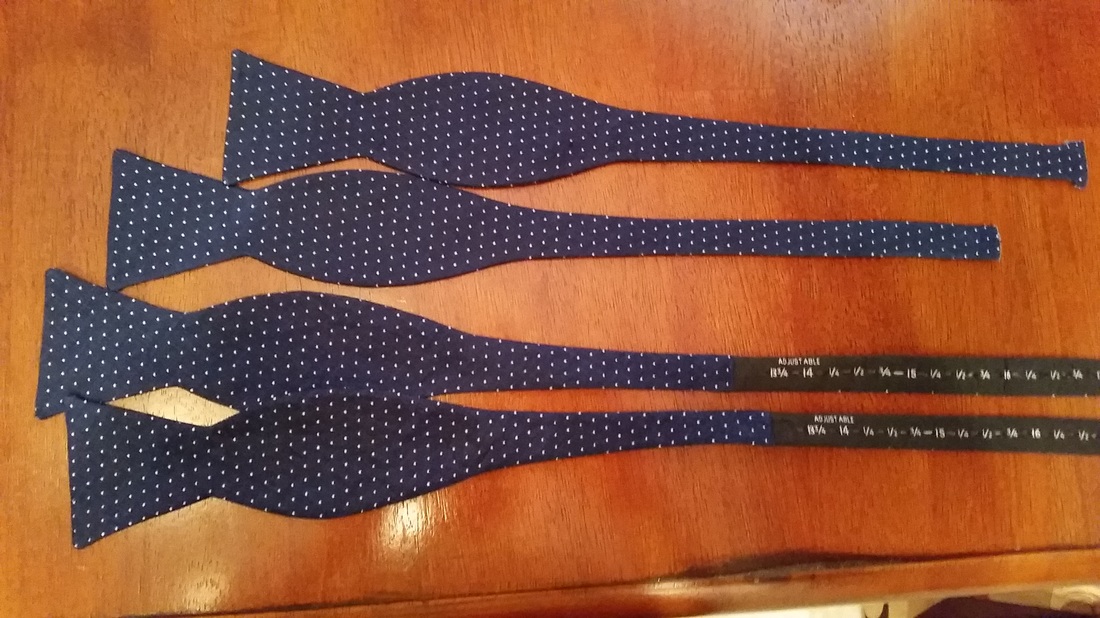
Once the fabric was cut, I ironed on the fusible interfacing and sewed on the adjustable neck ribbon to the shortest pattern pieces. To do this, you just lay the ribbon upside-down and flush with the end of the cutout tie piece, then sew right at the ends. That way when you flip out the neck ribbon, you're left with a bow tie piece + adjustable neck ribbon without any visible seam.
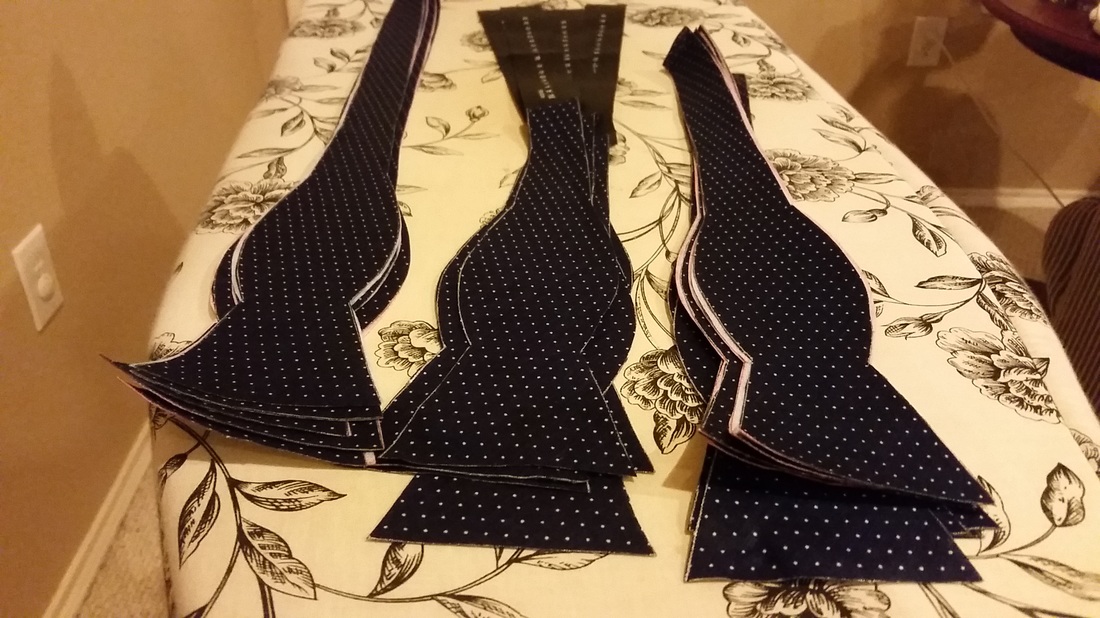
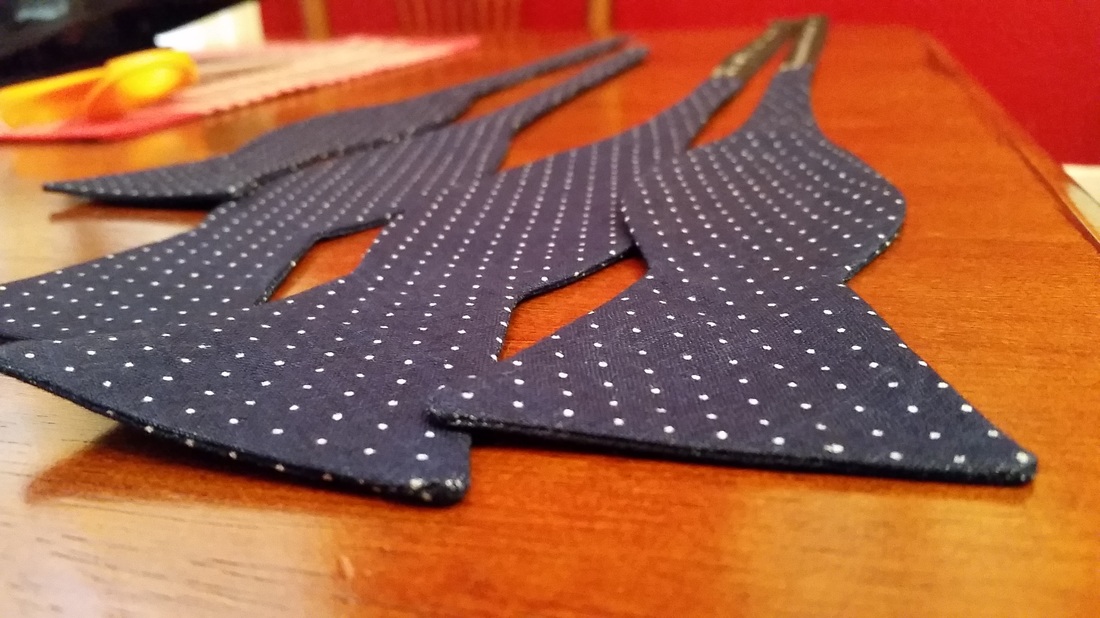
I was then left with my grouping of tie pieces to sew into bow ties!
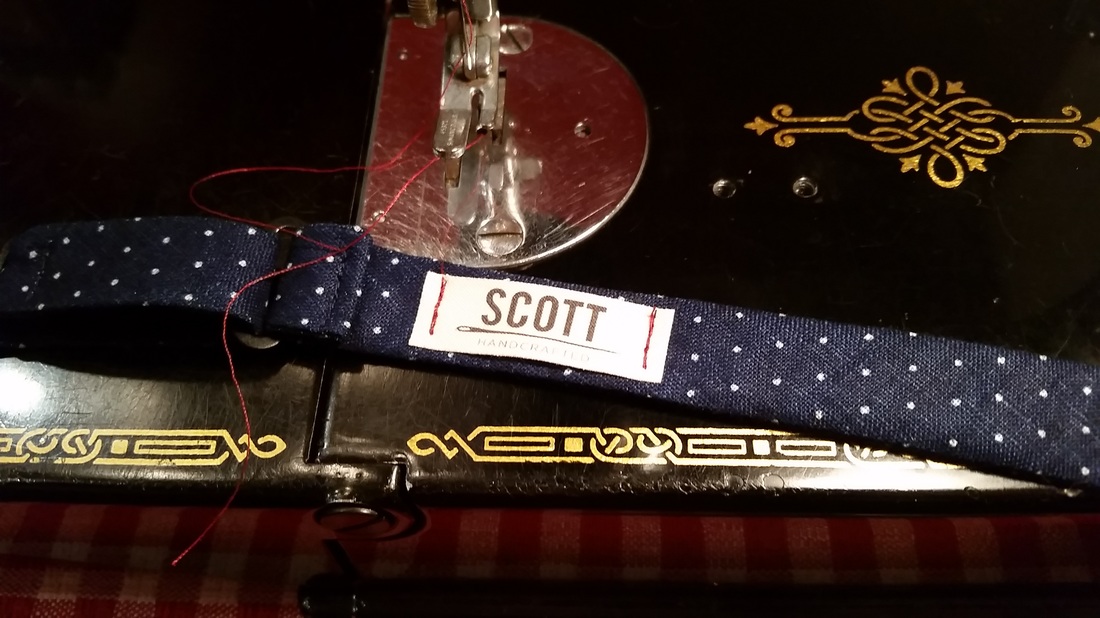
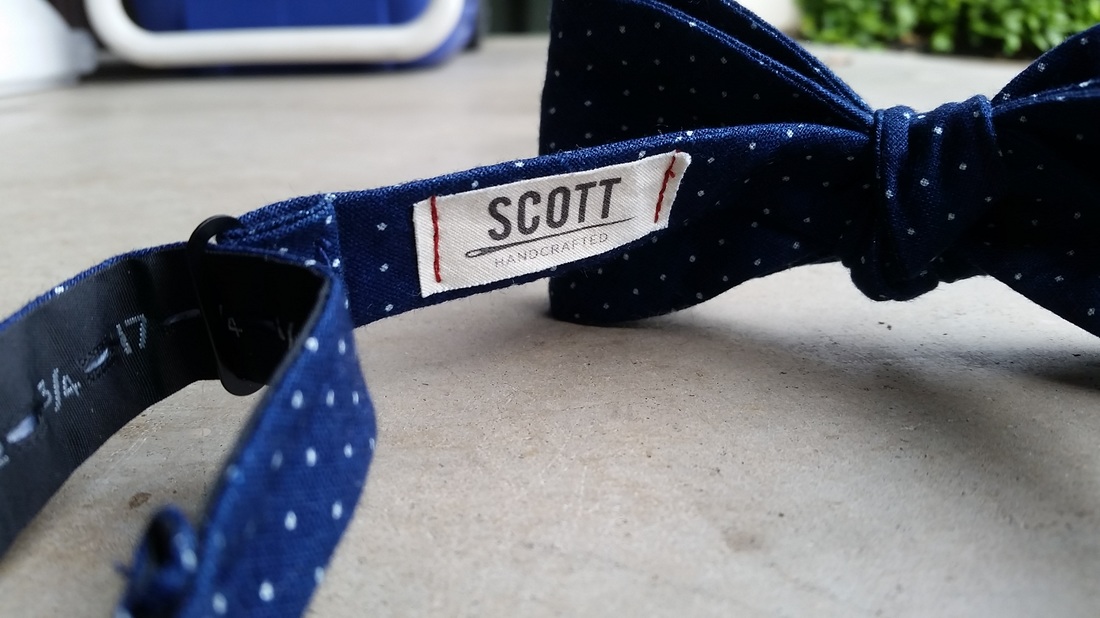
Lastly, I applied the hardware and sewed on my label. I like using red thread when sewing on my labels to add a small/fun color detail.
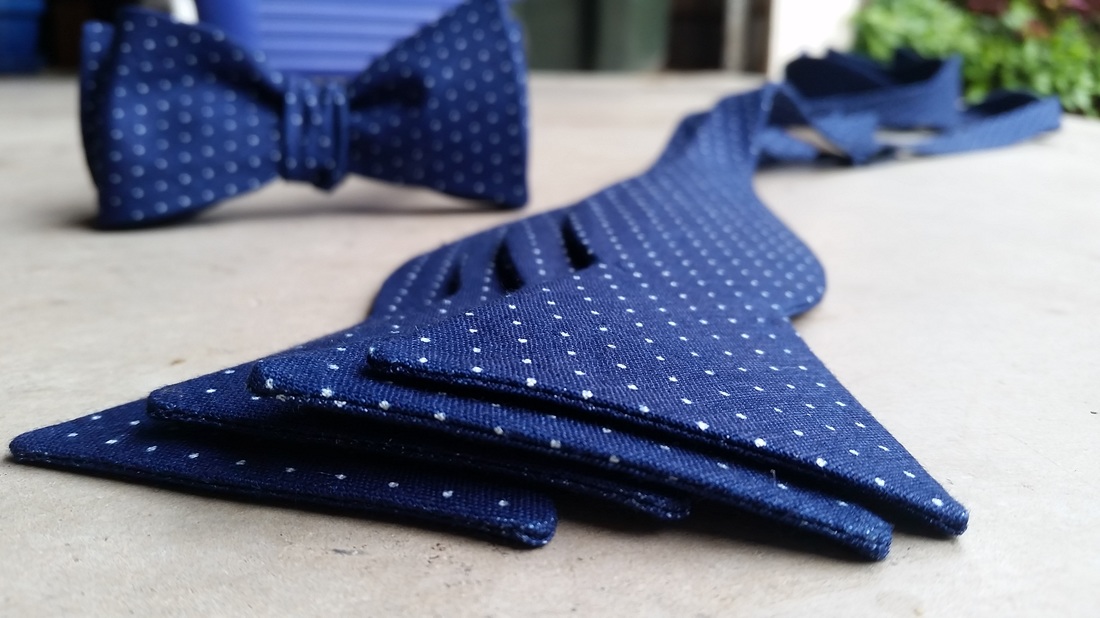
Boomshockalocka. Natural outdoor lighting really brings out the awesome blue color of the fabric.
Be sure to check out the groomsmen boxes I made for the guys that contain a bow tie + other goodies.
Interested in purchasing one of my bow ties? Check out newly launched brand, Neat Pineapple!
Interested in purchasing one of my bow ties? Check out newly launched brand, Neat Pineapple!
