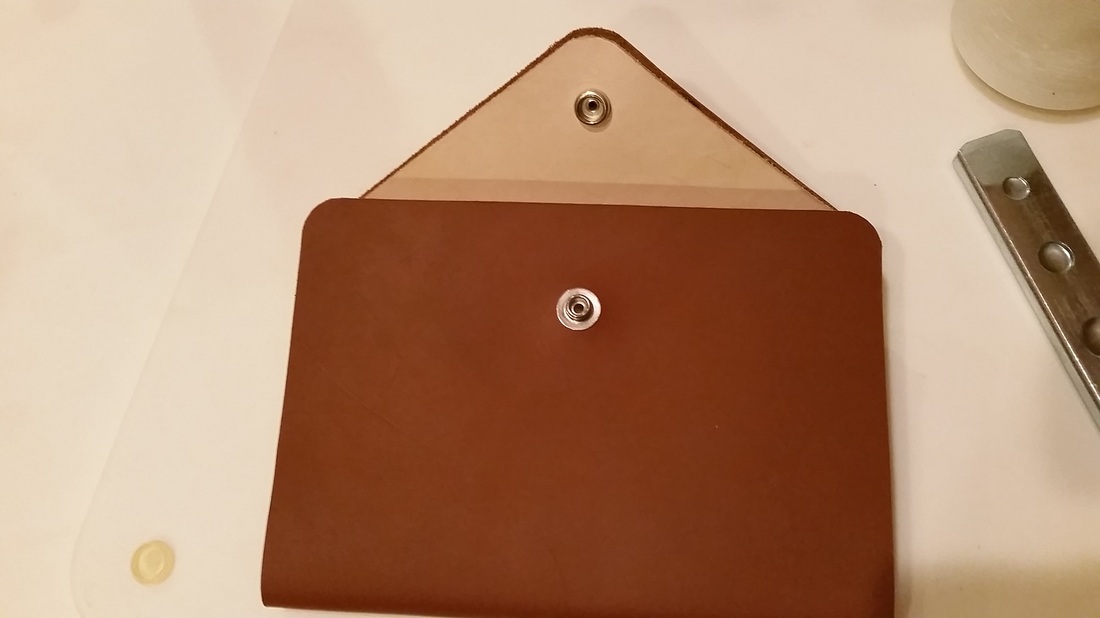
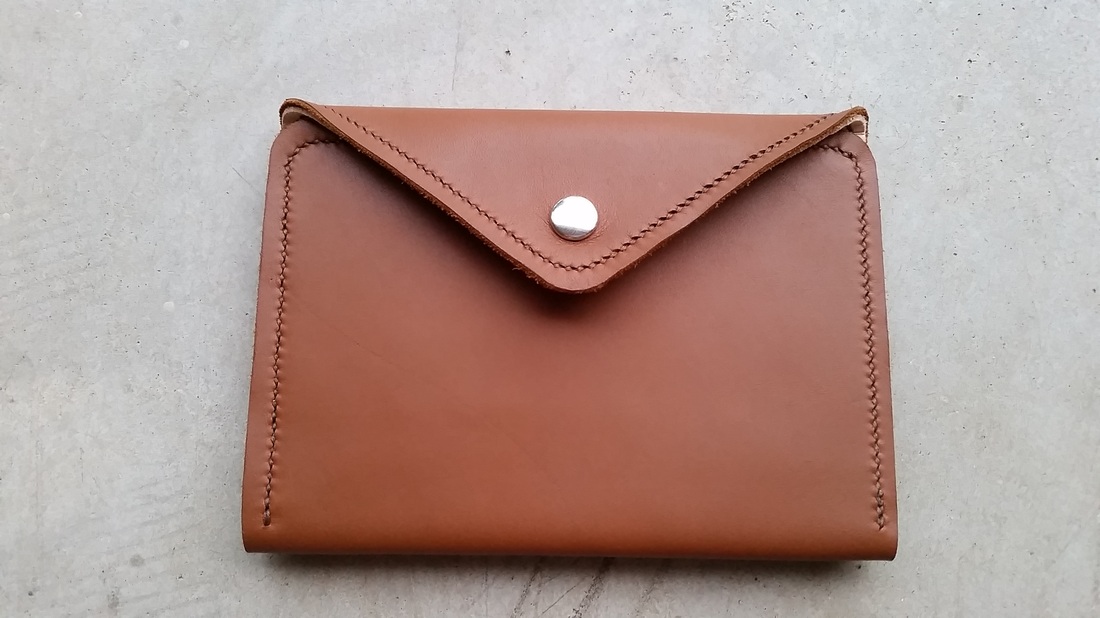
For Christmas this year, I decided to make my fiancée a passport wallet. I have been wanting to make her something for a while but up until now wasn't sure what exactly that would be. We both love to travel so this seemed like the perfect gift to make her. I found a lot of styles online that I liked and pulled different aspects from each of them to create my design. The whole process from conception to creation took 6 days and I think it turned out pretty great!
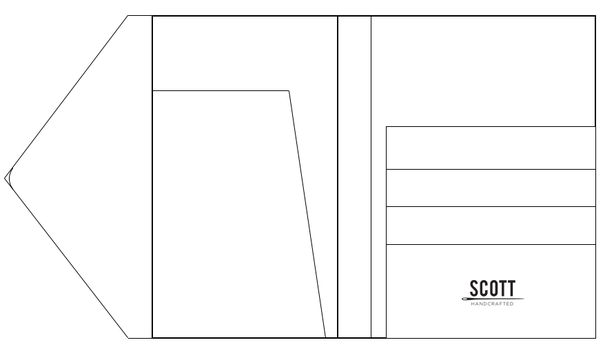
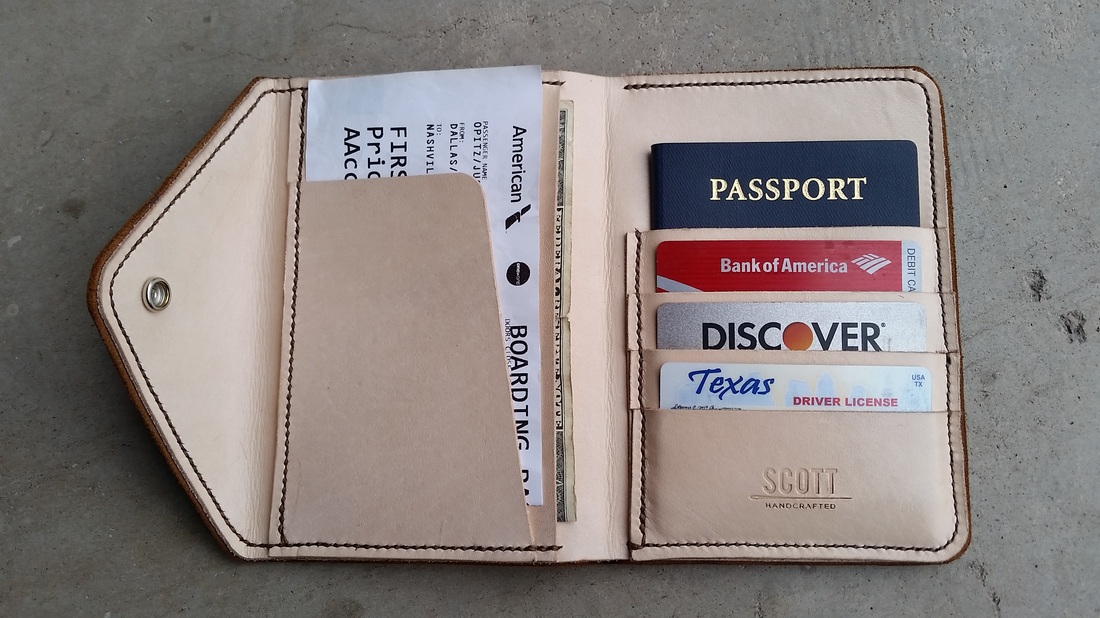
I spent the majority of day one designing the wallet. After I sketched out how I wanted it to look, I needed to make the pattern pieces and ensure that all the measurements were perfect. Being off by even an 1/8 of an inch determines whether or not the credit cards and passport will fit in there respective pockets. In this wallet, I wanted a spot for cash, tickets (airline boarding passes, train tickets, etc.), a few cards, and of course, a passport. I also wanted it to have a snap enclosure.
I spent the majority of day one designing the wallet. After I sketched out how I wanted it to look, I needed to make the pattern pieces and ensure that all the measurements were perfect. Being off by even an 1/8 of an inch determines whether or not the credit cards and passport will fit in there respective pockets. In this wallet, I wanted a spot for cash, tickets (airline boarding passes, train tickets, etc.), a few cards, and of course, a passport. I also wanted it to have a snap enclosure.
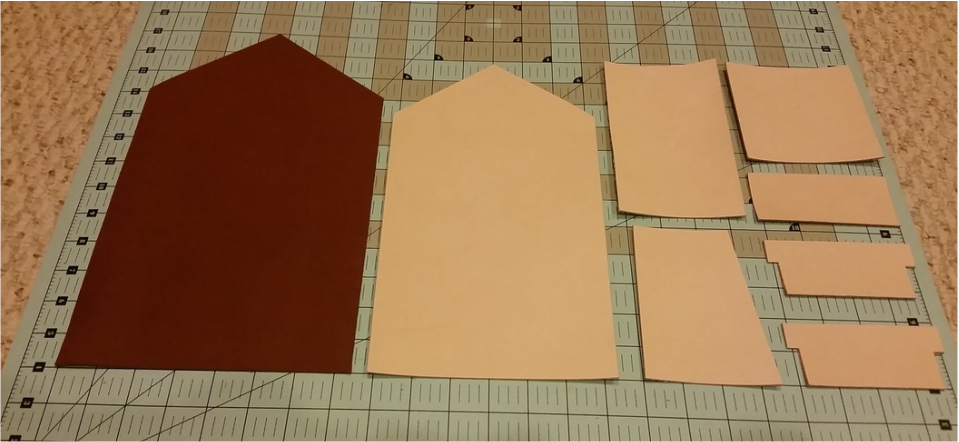
It was then time to print out the pattern pieces and cut the leather. I used 2-3 oz. vegetable tan leather for the interior and 4 oz. brown leather from Maverick Leather for the exterior.
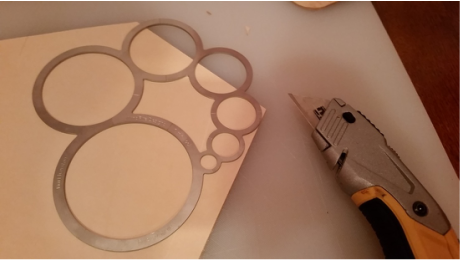
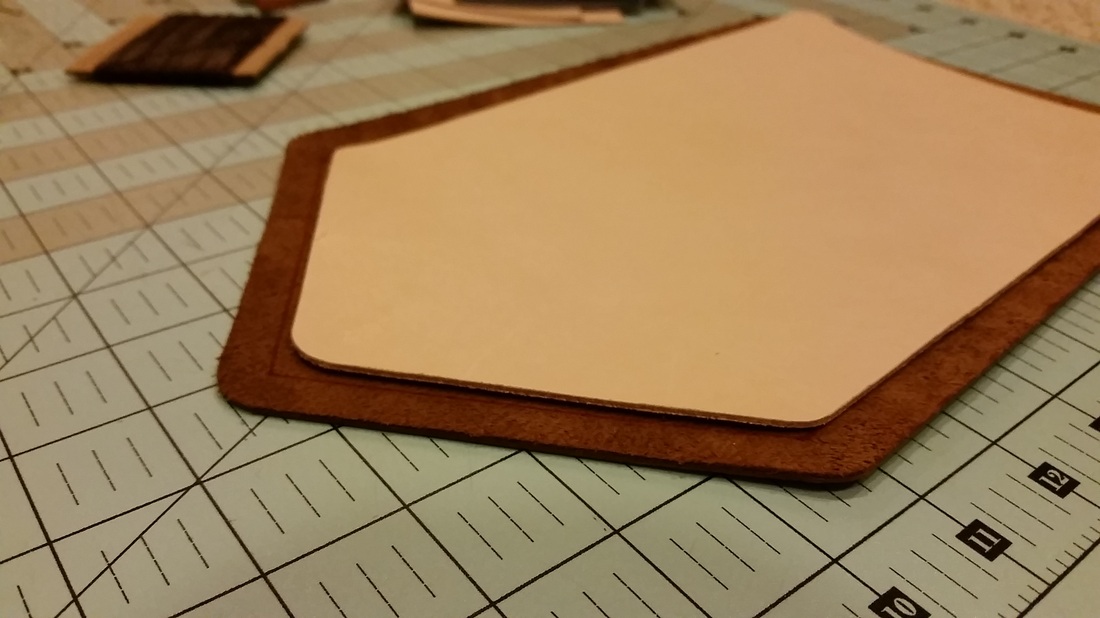
Next I needed to round the corners of the exterior piece, the main interior piece, and the top-right corner of the ticket pocket. To accomplish this I used my new stainless steel circle tool I got from Windfire Designs. They're kite designers and sell this tool in two sizes. I got the smaller of the two (the larger one is huuuuge) which is perfect for leathercrafting. You simply line up which size curve you want on your corner and cut away.
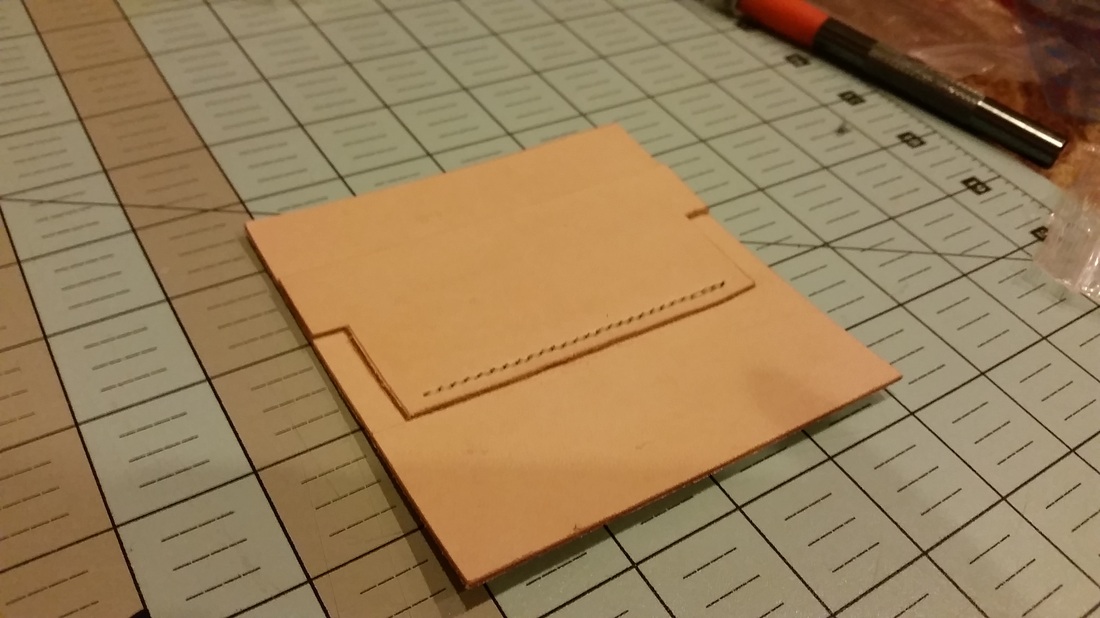
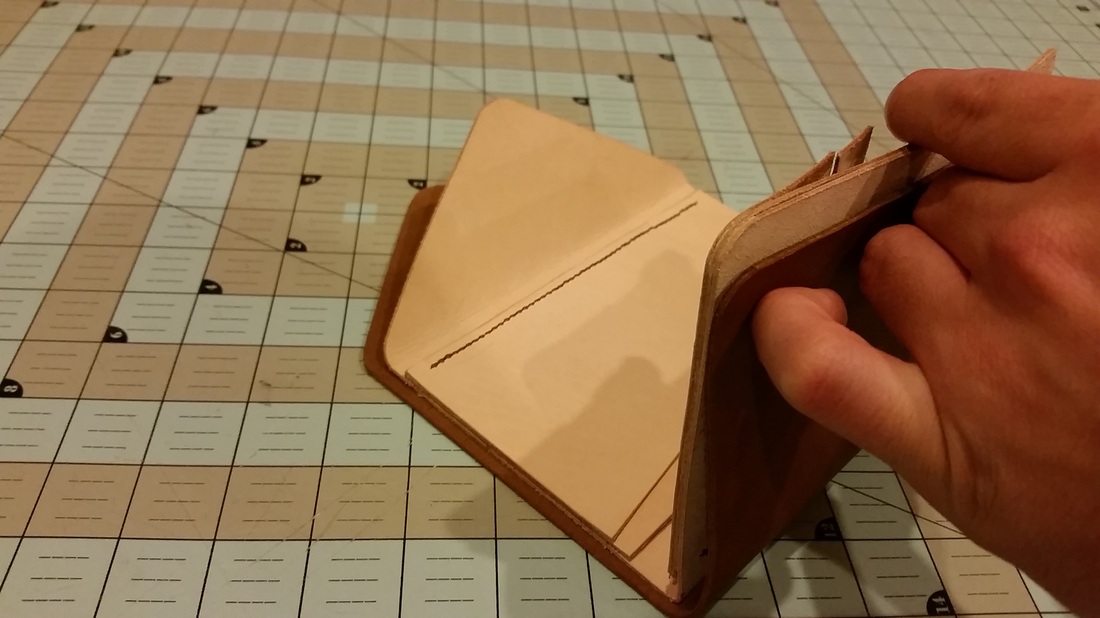
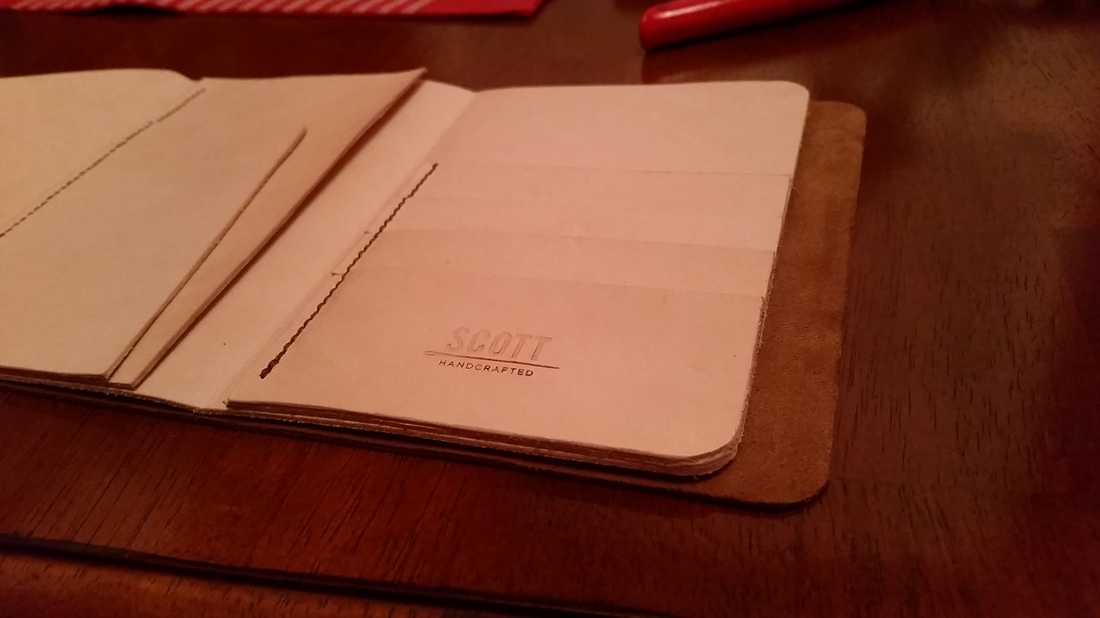
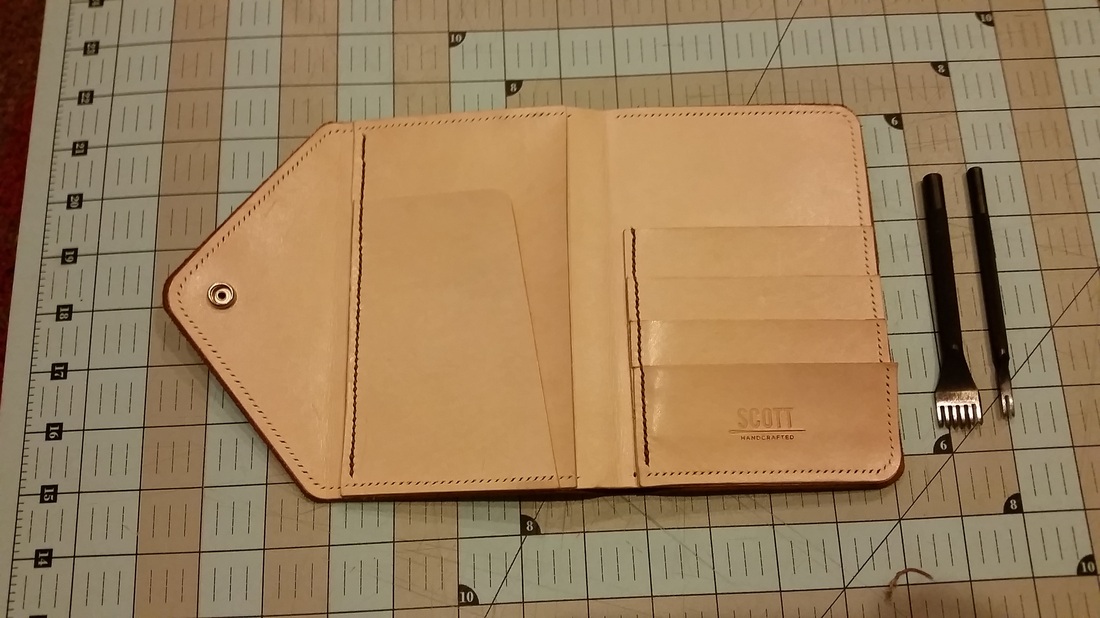
It was then time to start putting the passport/card section together. I sewed the top two card slots onto the front of the passport pocket and left the bottom card slot loose so that it could later be sewn through the passport pocket and exterior cover since it sits flush with the edge of the wallet. If that's confusing, it'll make since here in a bit.
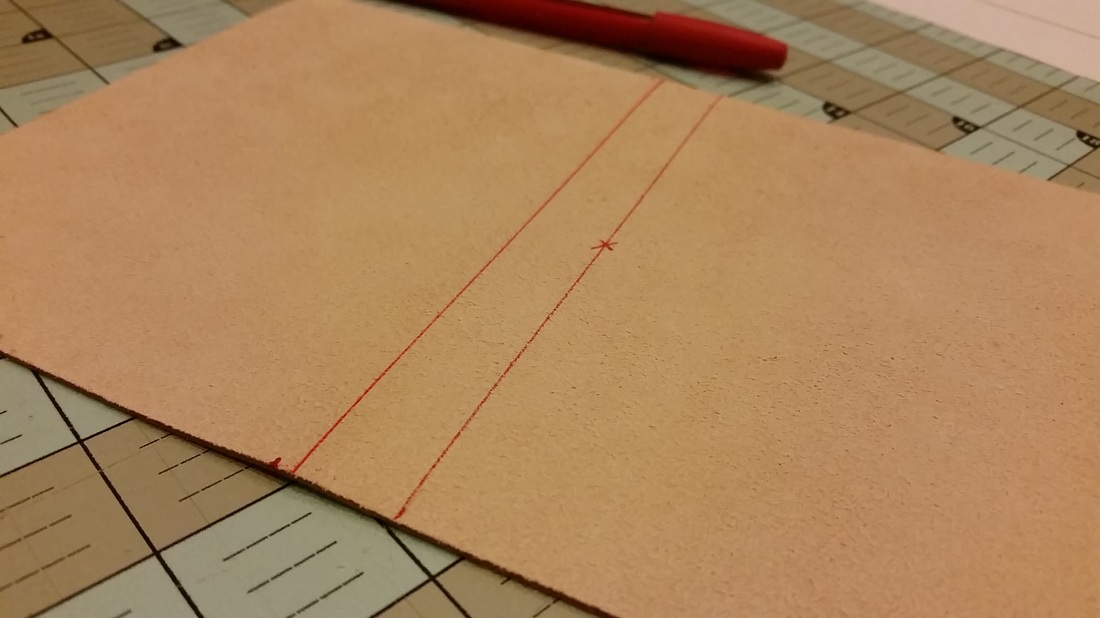
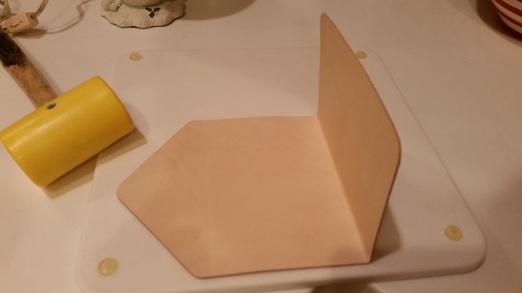
Things were starting to take shape! I then made the creases for the button flap and main section of the wallet. To do this, I used my pattern piece and red pen to draw a line across the back of the main interior section so that I knew exactly where to fold. I actually messed up on my first attempt and drew the crease line in the wrong place. Luckily, I caught it before I started folding.
There are a few ways to crease leather. I used a sponge to apply some water down the crease line, then folded it and hammered it down.
There are a few ways to crease leather. I used a sponge to apply some water down the crease line, then folded it and hammered it down.
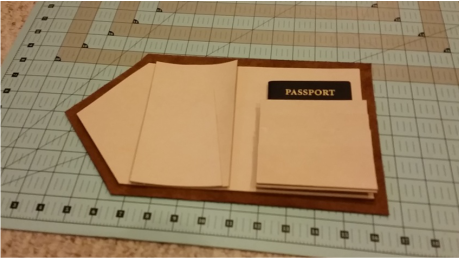
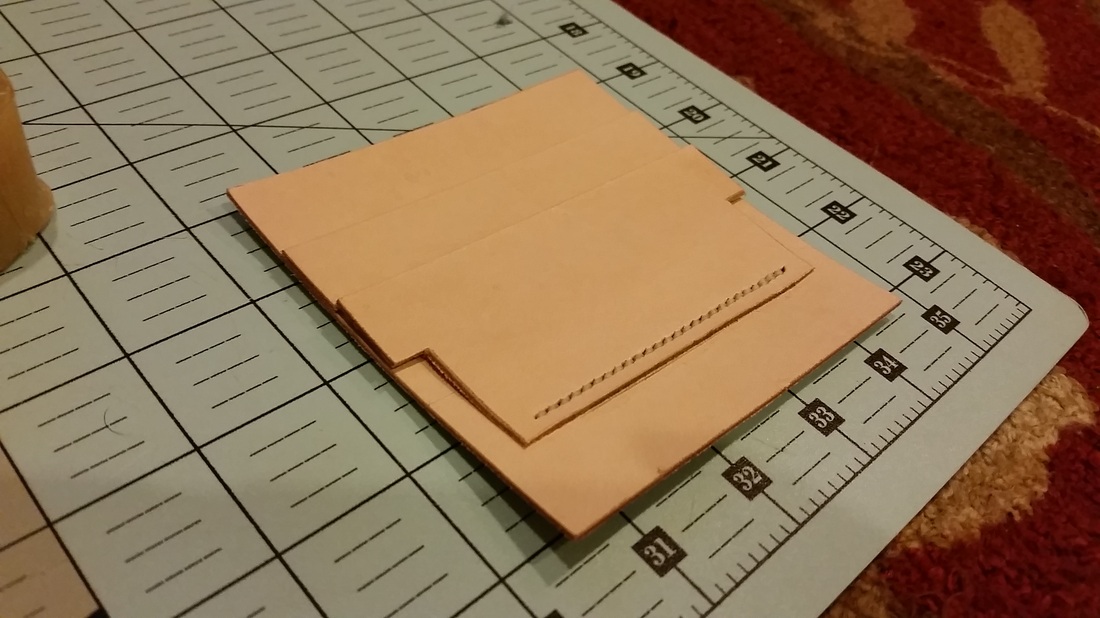
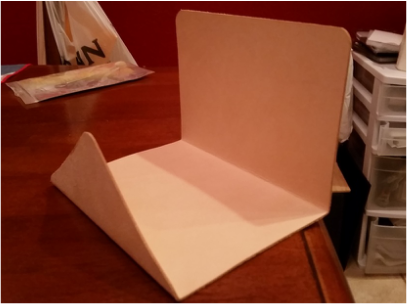
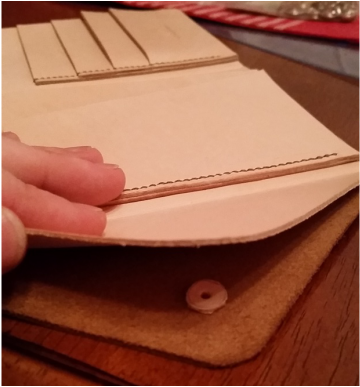
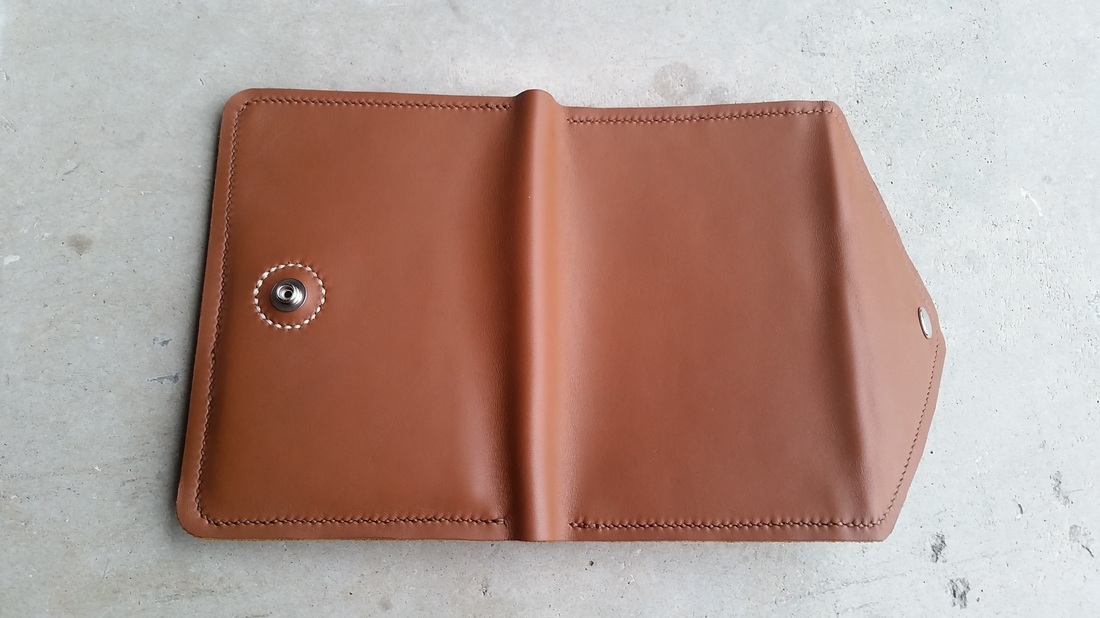
After the creases were made, I sewed down the cash and ticket pockets along with the left-hand side of the passport/card section. It was at this point that I ran into my biggest problem. I didn't take into account the amount of excess leather needed for the brown exterior piece when folded and snapped shut. There needed to be enough excess so that when open there's a spine of excess leather over the crease of the main part of the wallet, and when snapped shut everything is flush and taut. You can see in the photo below that when I tested this out, the brown exterior was too short when folded.
After doing some measuring and guessing, I determined the exterior piece needed to be about an inch longer than the interior. After messing up one more time I finally had a piece that was the perfect dimensions.
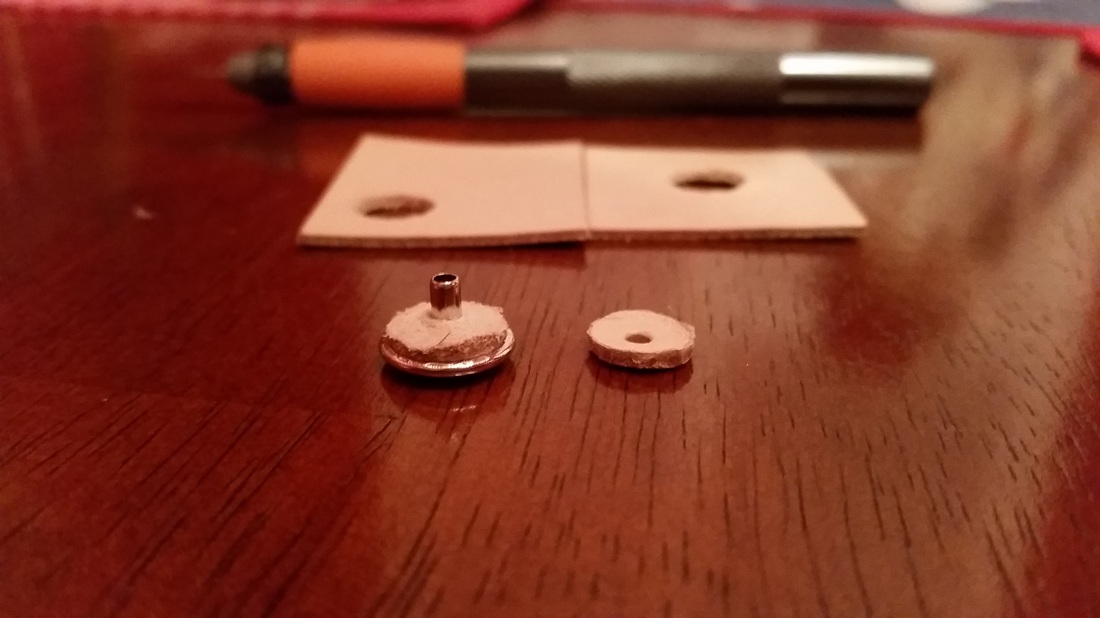
The button enclosure was finally ready to be attached. I filled the inside of the wallet with a passport and cards, then closed the wallet and marked where the two parts of the button snap needed to placed. I used a line 20 button snap, which is typically used on a little thicker leather than what I was using. To make up for the lack of thickness and ensure the buttons would be set firmly, I cut out two small leather washers to use for each end of the button snap.
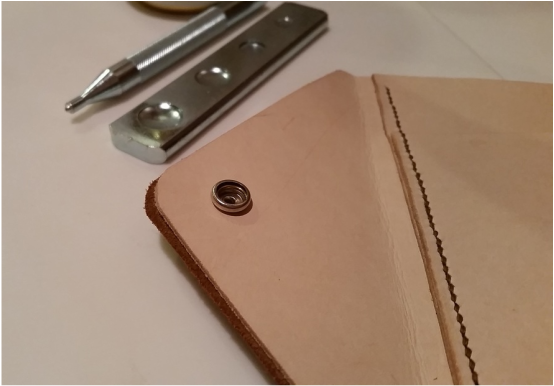
I punched out the holes where the female part (the cap) of button was to be set, lined up my leather washer accordingly. and set the cap with my snap-all setter.
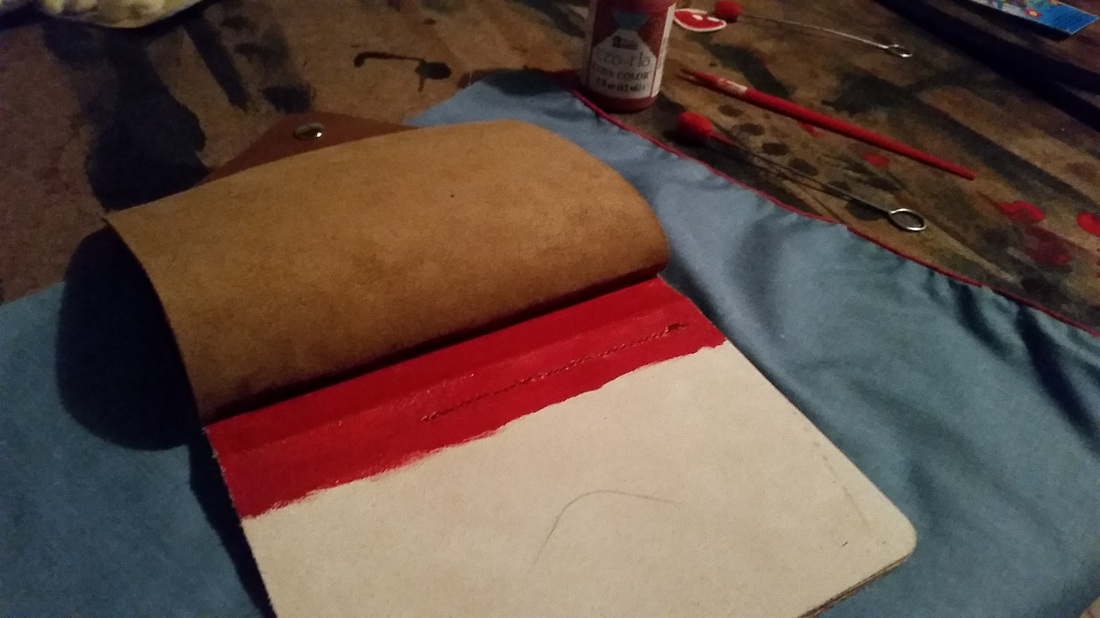
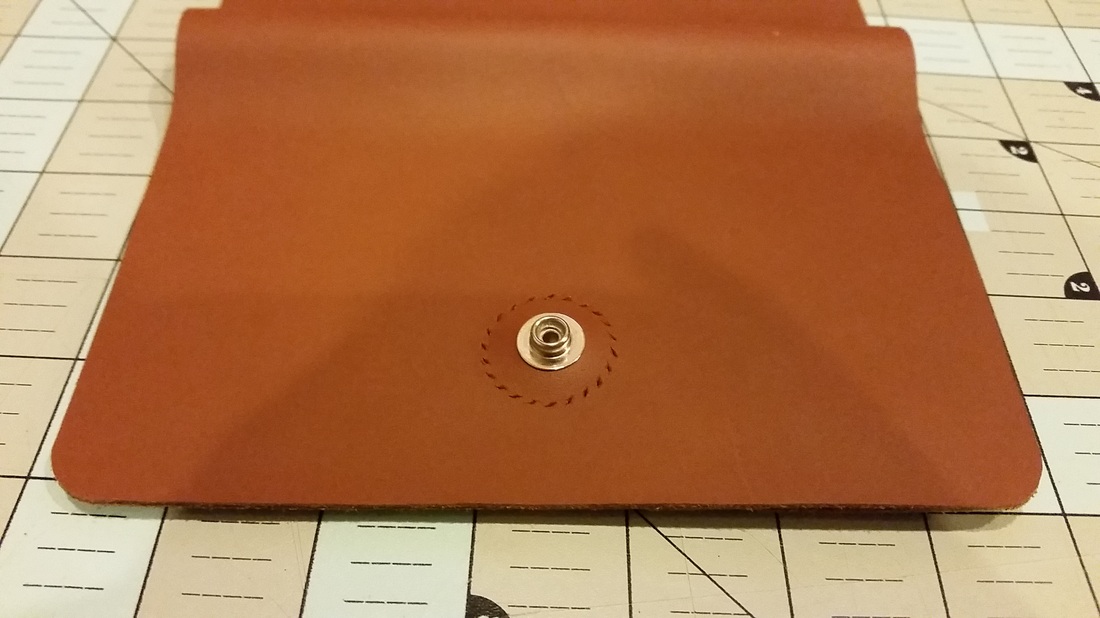
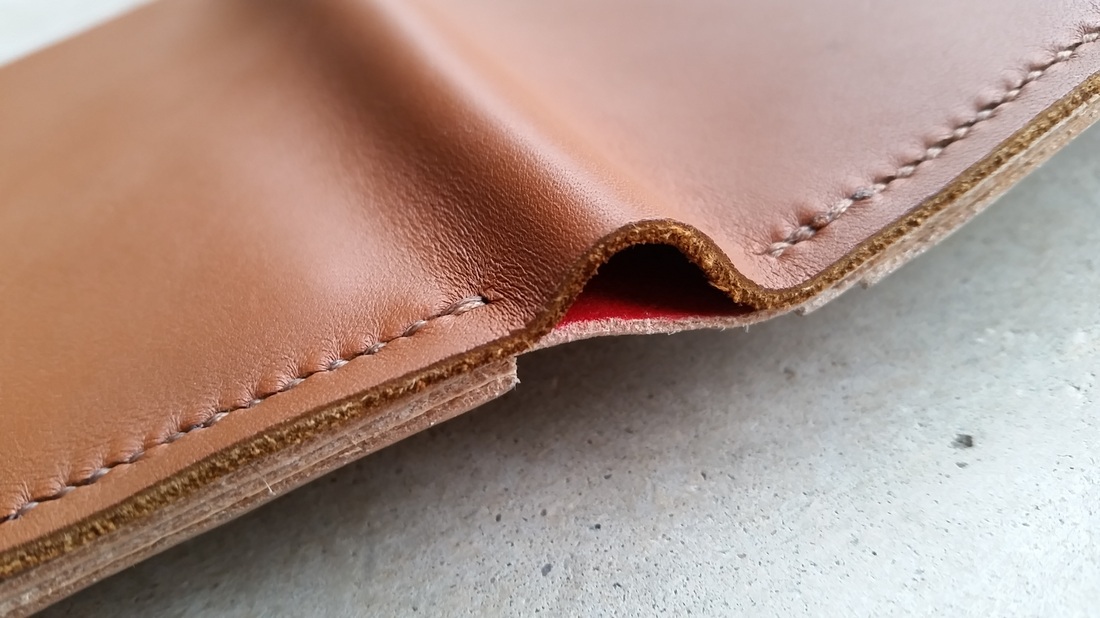
At this point I realize that due to the excess leather over the spine of the wallet, you could see my red pen marks I made earlier for the crease on the backside of the interior section. I decided to just dye this whole area red to mask it. The red isn't all that noticeable when handling the wallet, but it still gives me piece of mind knowing there aren't any visible pen marks on the final product. Not to mention it adds a fun and subtle pop of color.
After the dye finished drying, I set the male part of the button snap.
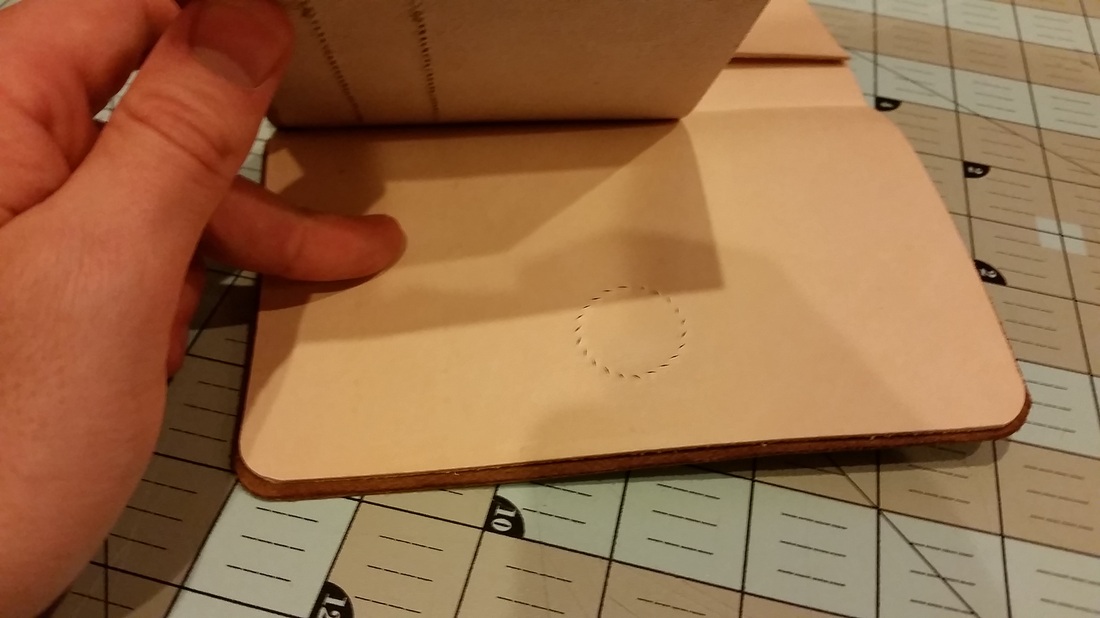
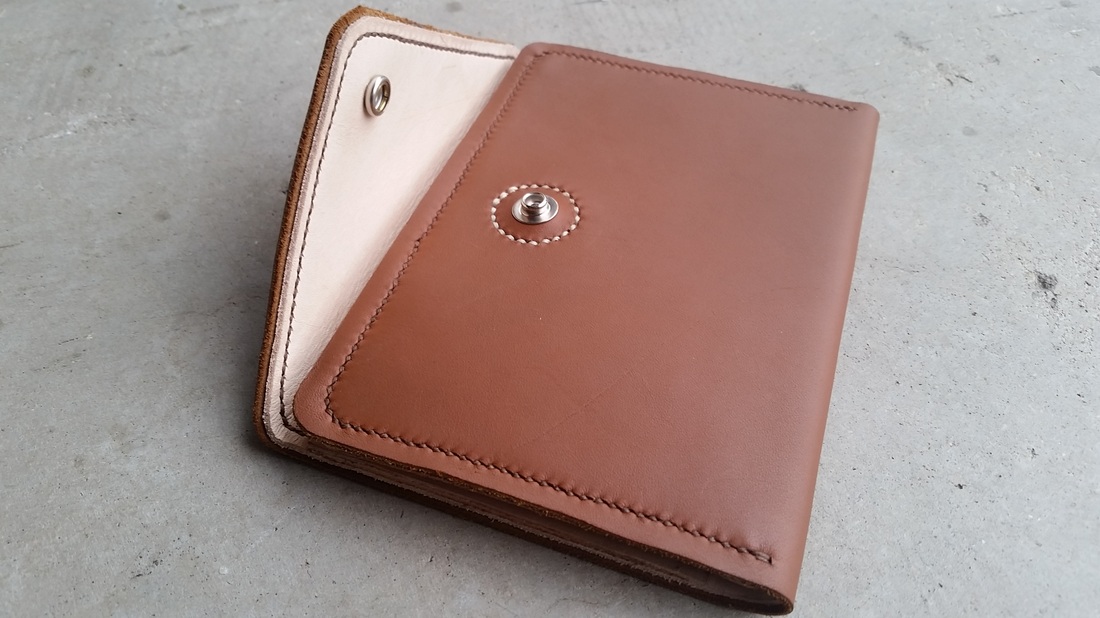
I tested the buttons and they worked great, but there was one tiny problem. The male end of the snap is only set through the brown exterior piece of leather. So when the snap was enclosed, the brown piece would lift up and separate from the tan interior section of the wallet, creating a bubble-like effect. My solution was to sew the brown exterior to the tan interior in a circle around the male end of the of snap, to secure the two pieces of leather and keep them from pulling apart when the button was snapped shut.
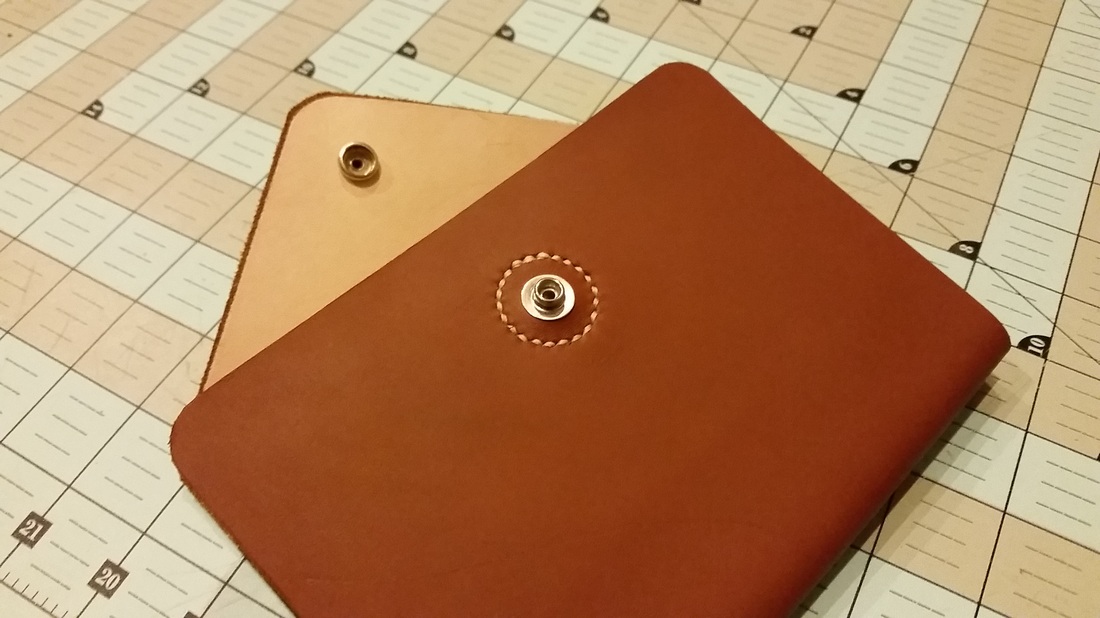
To my surprise, the stitching around the snap turned out pretty cool. I used a cream-colored thread to add some contrast. The longest and final two steps were the only things left to do.
I took my pricking irons and hammered the sewing holes all the way around the wallet. It's a very tedious process to ensure the pricking iron is perfectly straight when hammering so that it comes out straight on the opposite side as well.
I took my pricking irons and hammered the sewing holes all the way around the wallet. It's a very tedious process to ensure the pricking iron is perfectly straight when hammering so that it comes out straight on the opposite side as well.
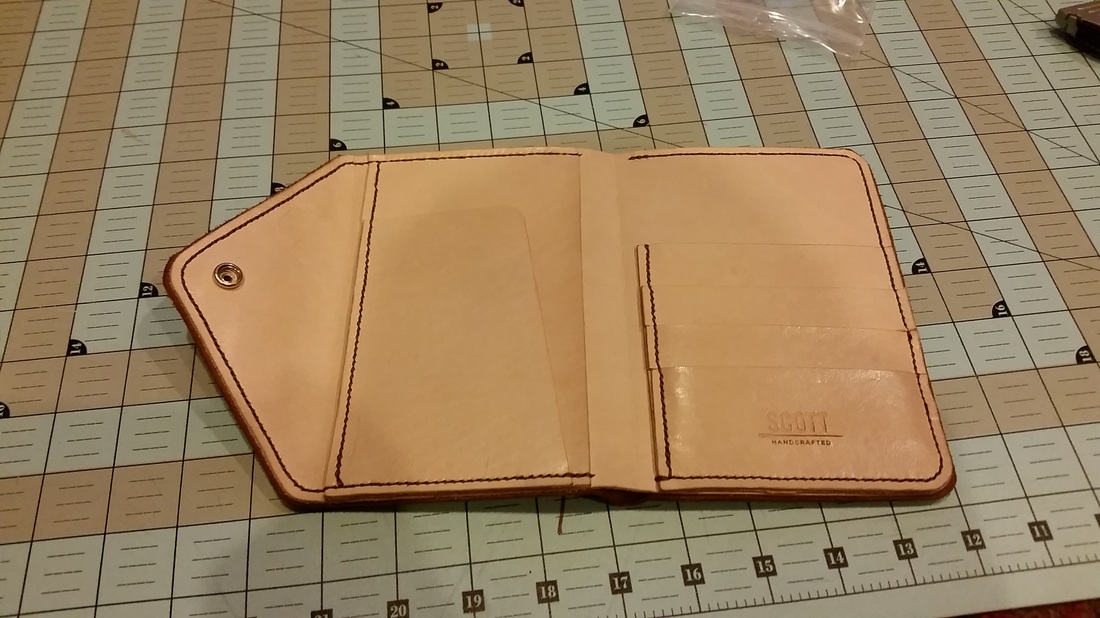
Finally, it was sewing time. This took about 4 hours to do. I know that seems ridiculous when you look at the photo above and see that there's not really a whole lot of real estate to sew around, but the areas that have 3 and 4 layers of leather are really tricky. The needles often times get stuck in the stitching holes due to the glue and nature of the leather, so it takes a good amount of force to pull them through.
Done! Now I just needed to test it out. The passport and card slots are a little tight, so I'll need to have Sarah stuff the pockets and loosen them up, but the leather will naturally loosen up over time with use. She seemed to love it, so that made me a happy man!
