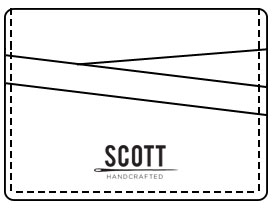
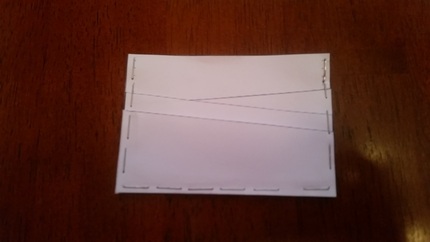
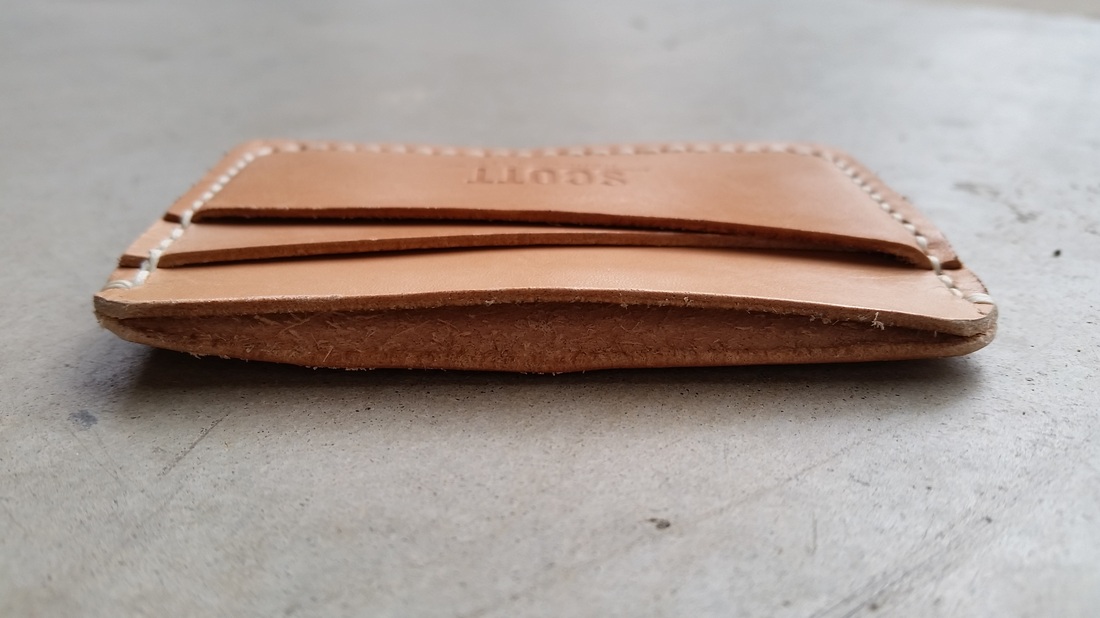
My buddy Andrew from Ohio texted me a few weeks ago and asked if I would design and make a card wallet for him. I had actually been thinking of card wallet ideas for a few days prior, so his timing couldn't have been better. The process started with me sending him a number of card wallet design options and him picking out the one he liked best. He chose a double-sided card wallet with 3 card slots on each side and an open-top slot for folded bills. I then needed to tweak the design a bit to account for stitching holes and exact measurements. After that was all set, I printed out the pattern pieces and stapeled them together to form a paper prototype to get an idea of the size and see if I had the proper dimensions for cards to fit in the slots. The paper prototype looked super janky, but it served its purpose.
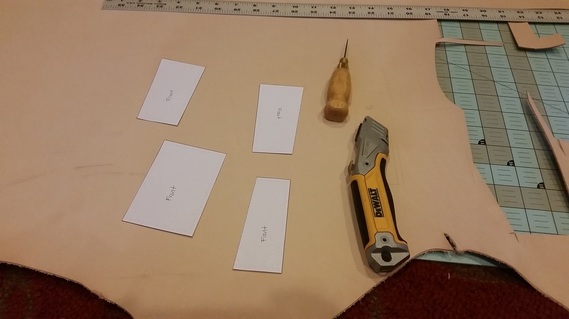
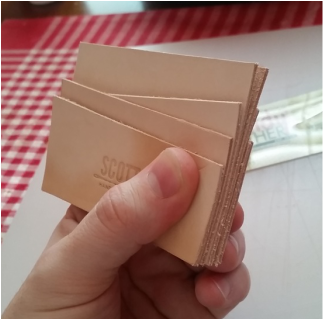
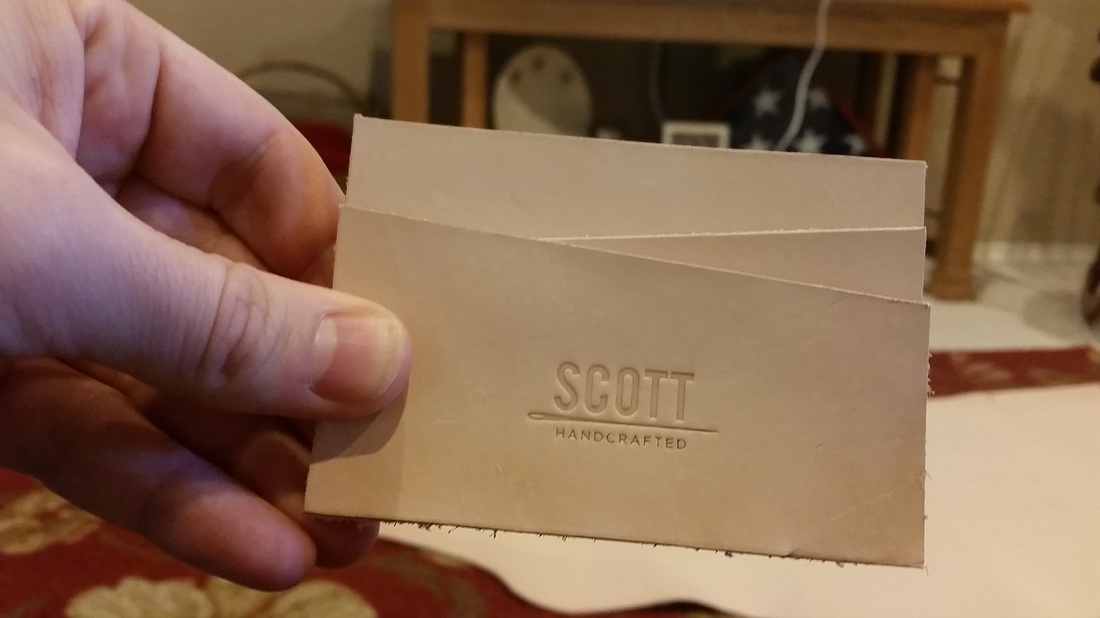
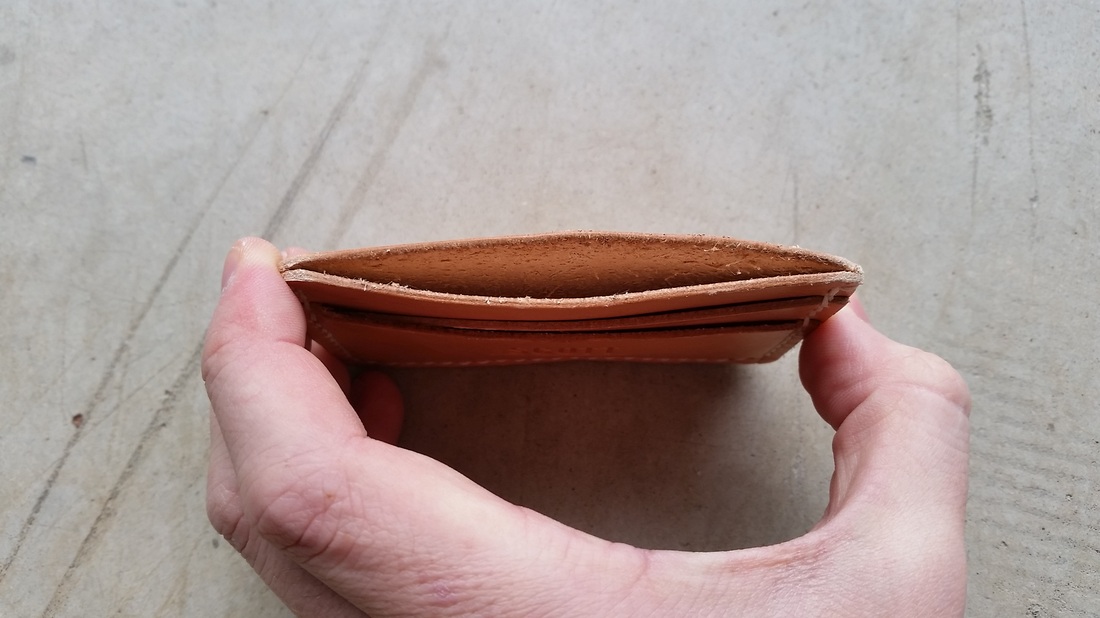
The cards fit just how I wanted them to, so I printed out another set of pattern pieces and rolled out my side of 3-4 oz. vegetable tanned leather and got to cutting. One thing I didn't fully consider when testing the paper prototype was how thick the wallet would be when using leather. I mean, I obviously knew it would be thicker, but I was surprised when I held the leather pieces together.
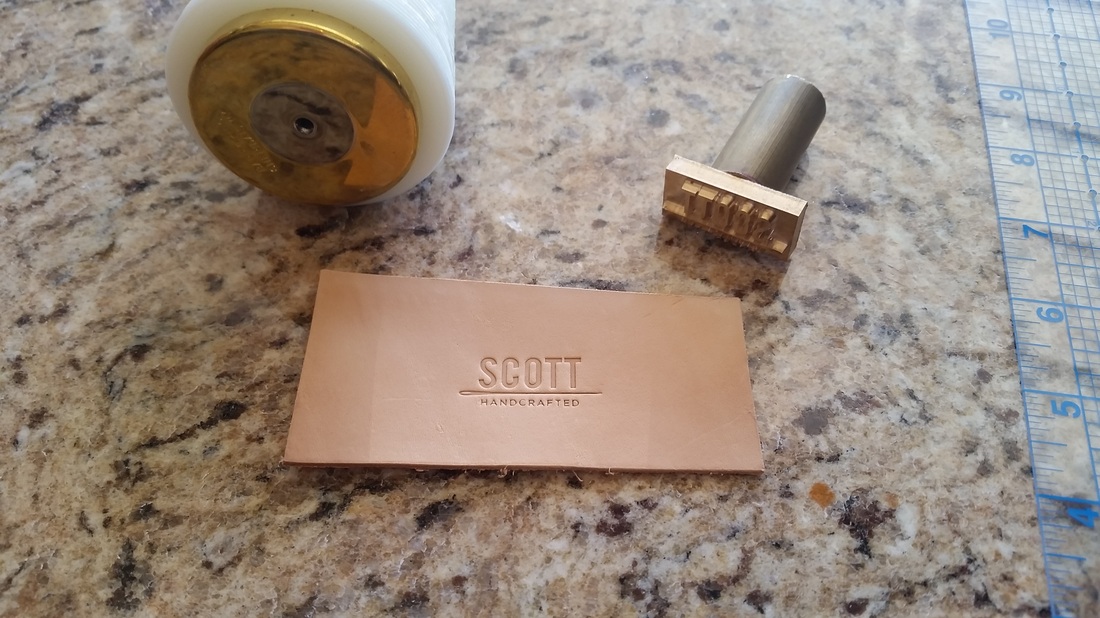
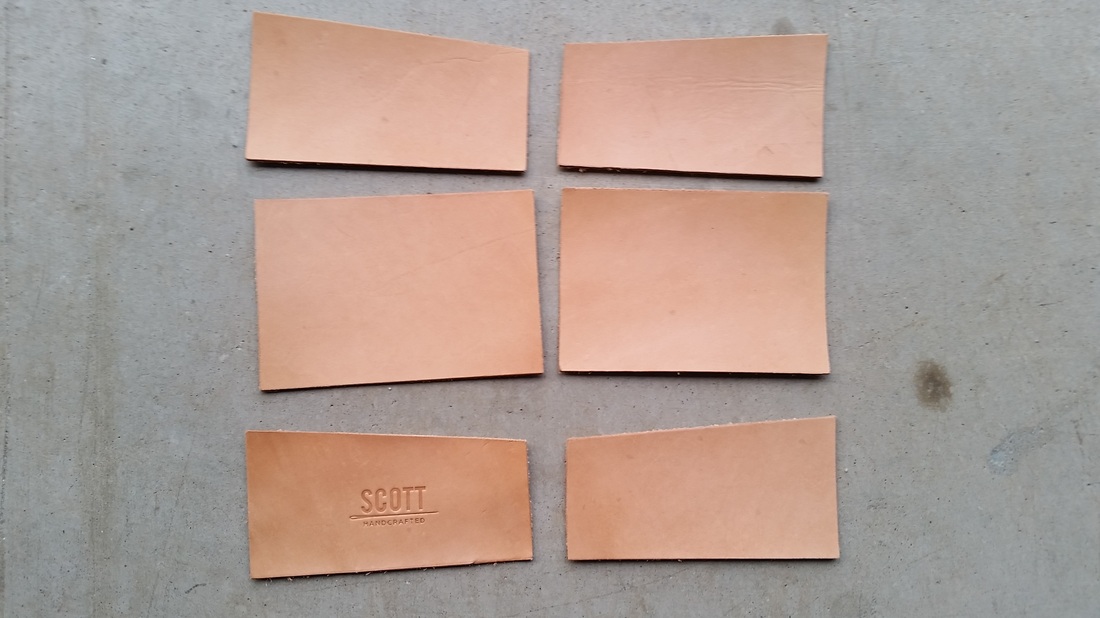
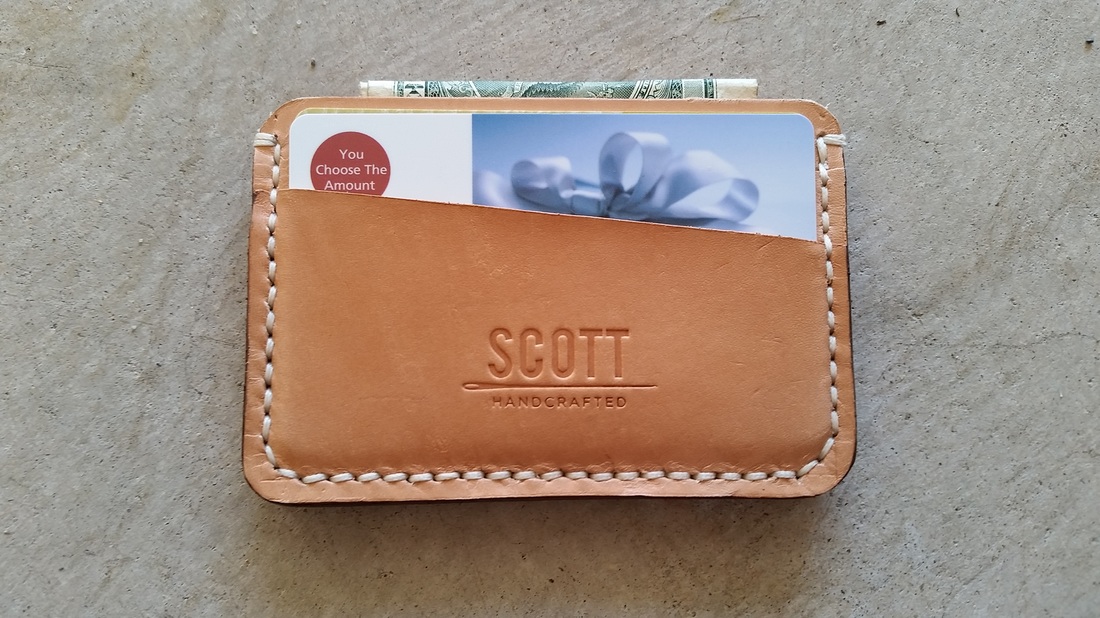
Knowing this was too thick for a card wallet, I texted Andrew and we decided to remove the front card slot on both sides of the wallet to slim it down some. I then needed to stamp my makers mark on the new front card slot.
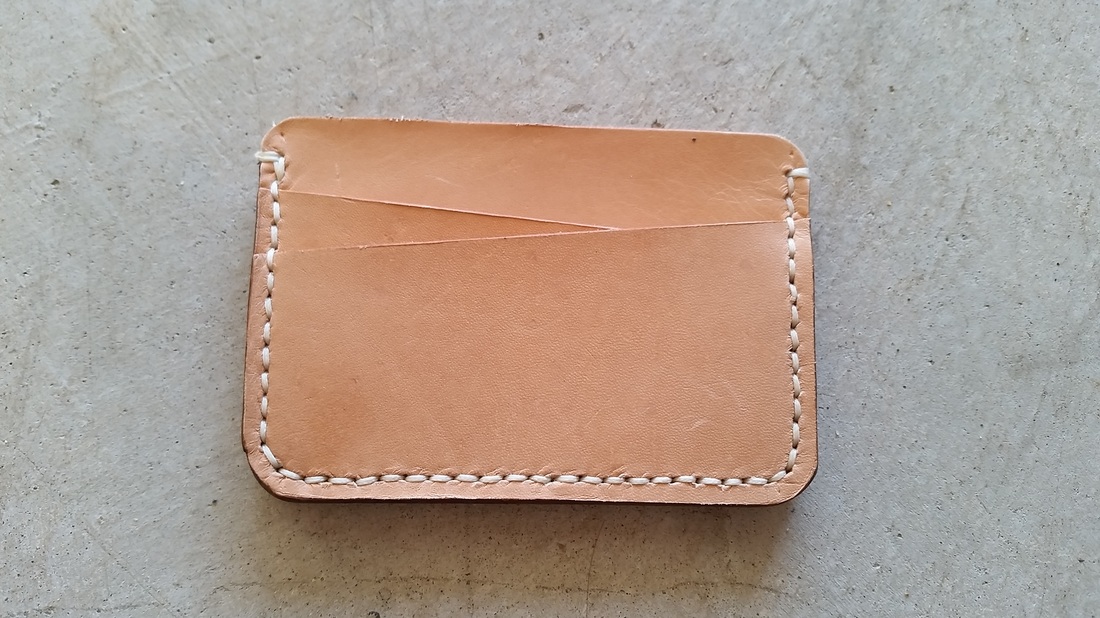
The 6-card wallet was now a 4-card wallet, which Andrew was fine with. Next came the tanning process. I set the leather out in the sun for 8 hours to give it a richer tan tone. Afterwards, I added coats of extra virgin olive oil, leather balm with atom wax, and neatsfoot oil. Each of these serves a separate purpose and ultimately leaves the leather smooth, protected, and conditioned so it won't crack.
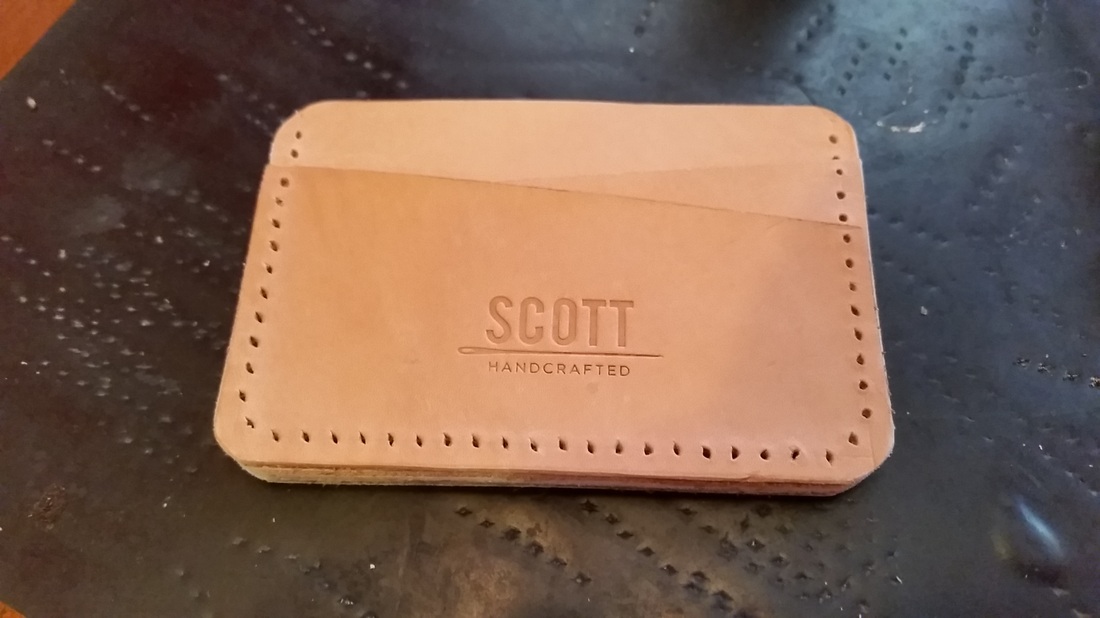
It was time to actually make this a wallet now. I glued all the pieces together so that I could use my curved edge punch to evenly round the corners of the wallet and then punch the stitching holes.
Next up: hand stitching. After I stitched the wallet together I needed to sand the edges to smooth and even them out. All I had was a sheet of sand paper paper and the edge of my table, but I manage to make it work.
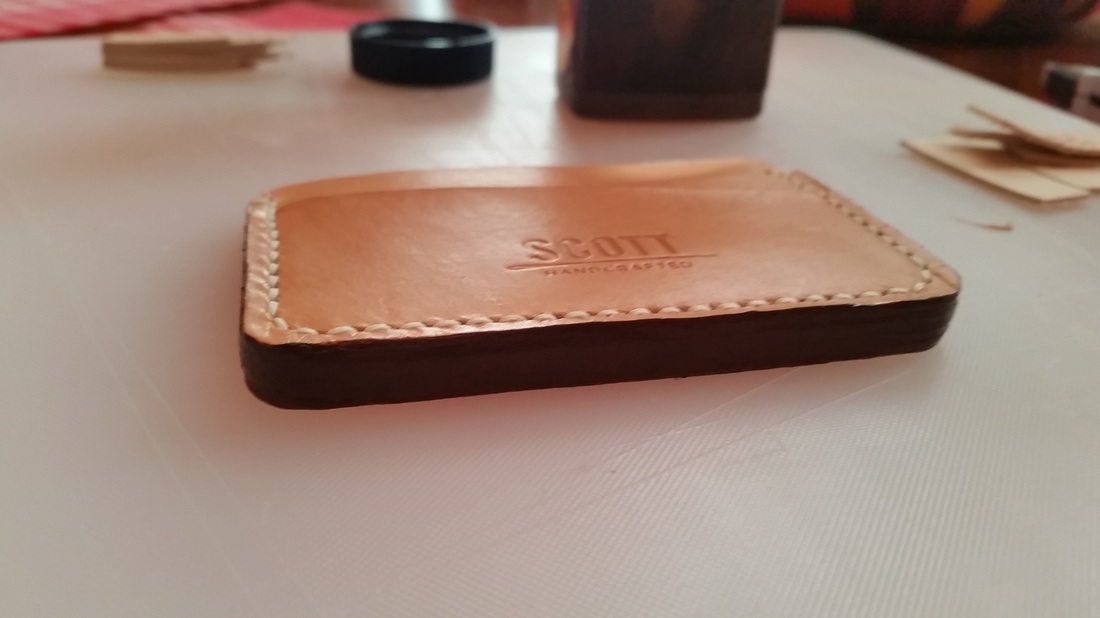
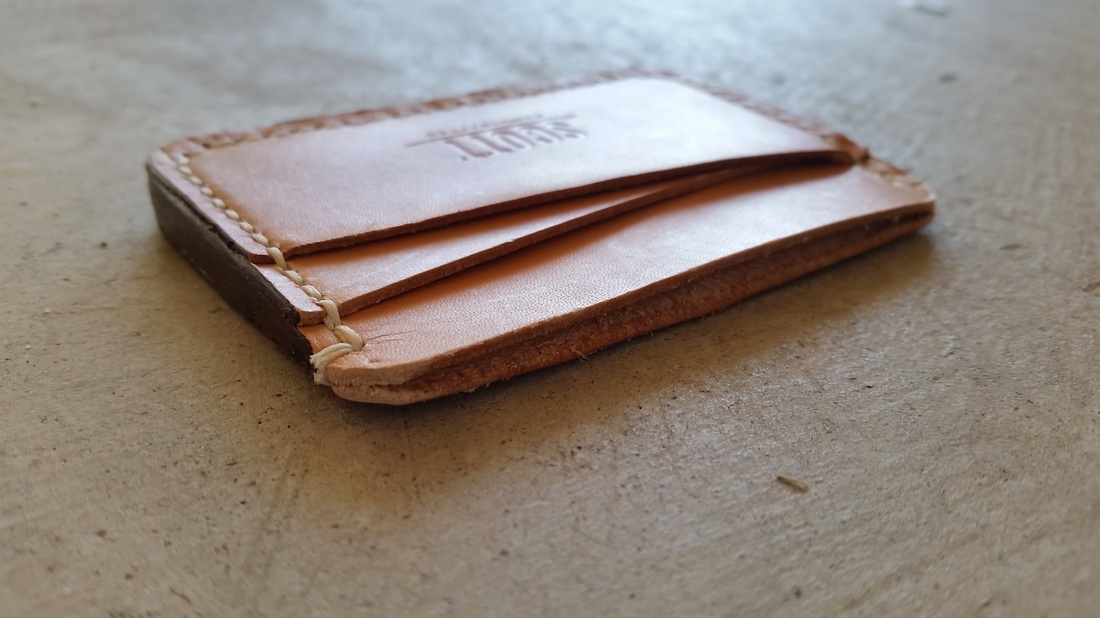
The edges were nice and even, but I wasn't 100% pleased with it. I applied some gum tragacanth and burnished around the edges, then added some brown edge dye to make the edges look nice and clean. This really gave a nice finish to the wallet.
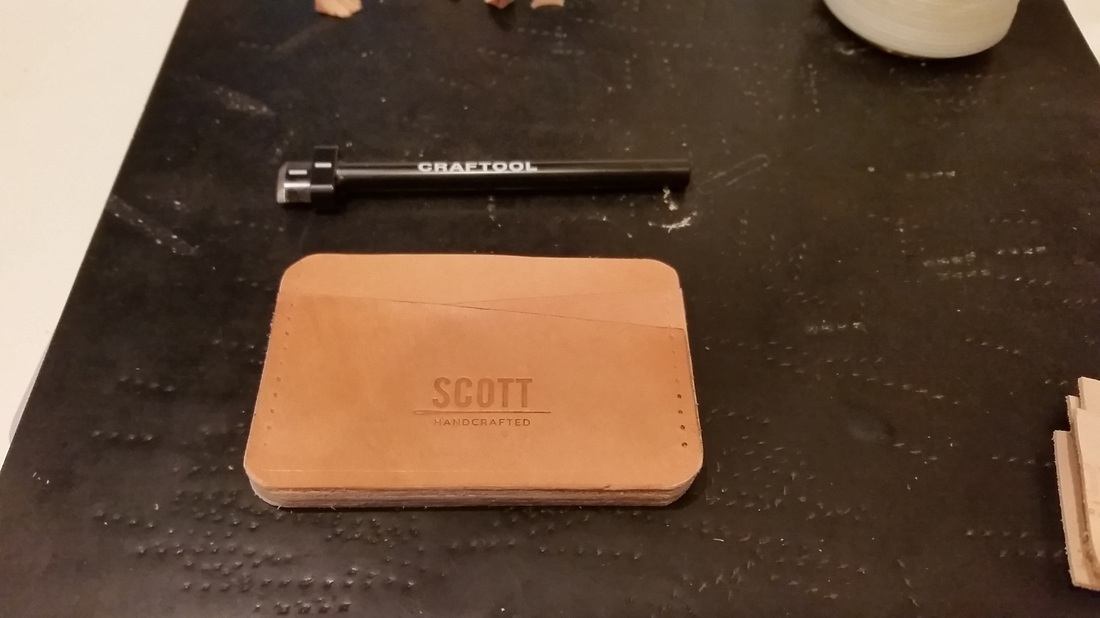
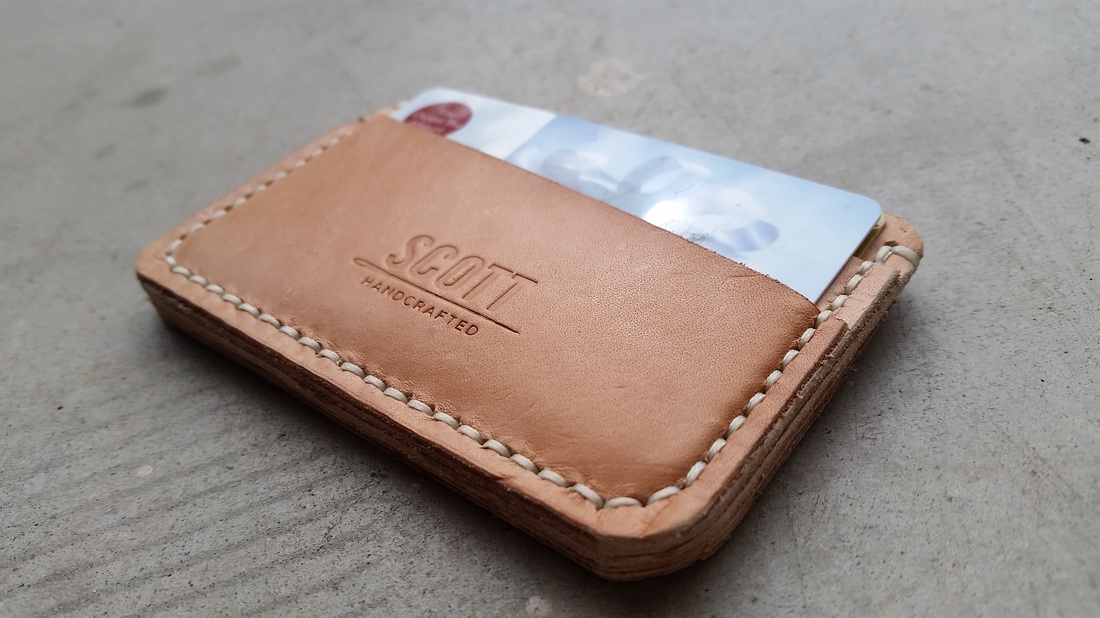
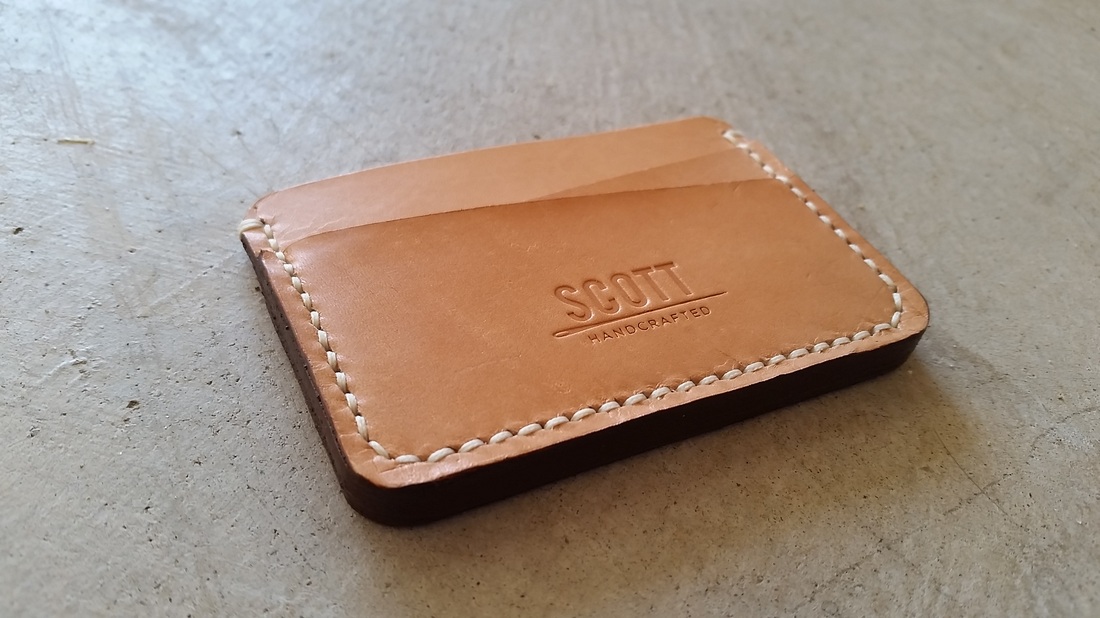
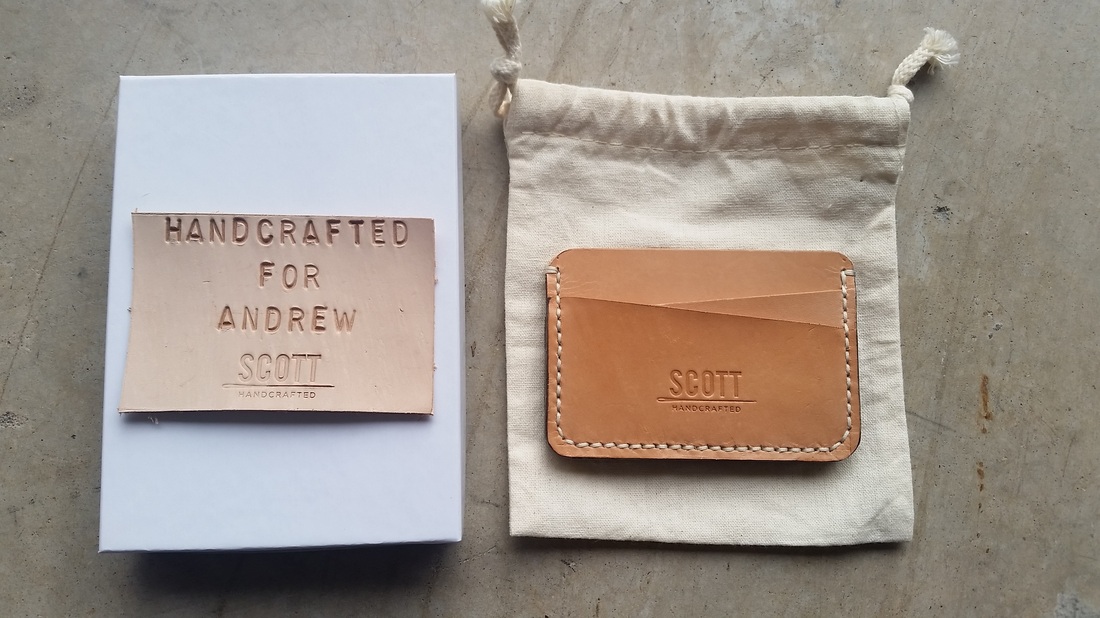
The wallet was finally complete! I then took like 100 pictures of it and packaged it up to ship out to Andrew.
