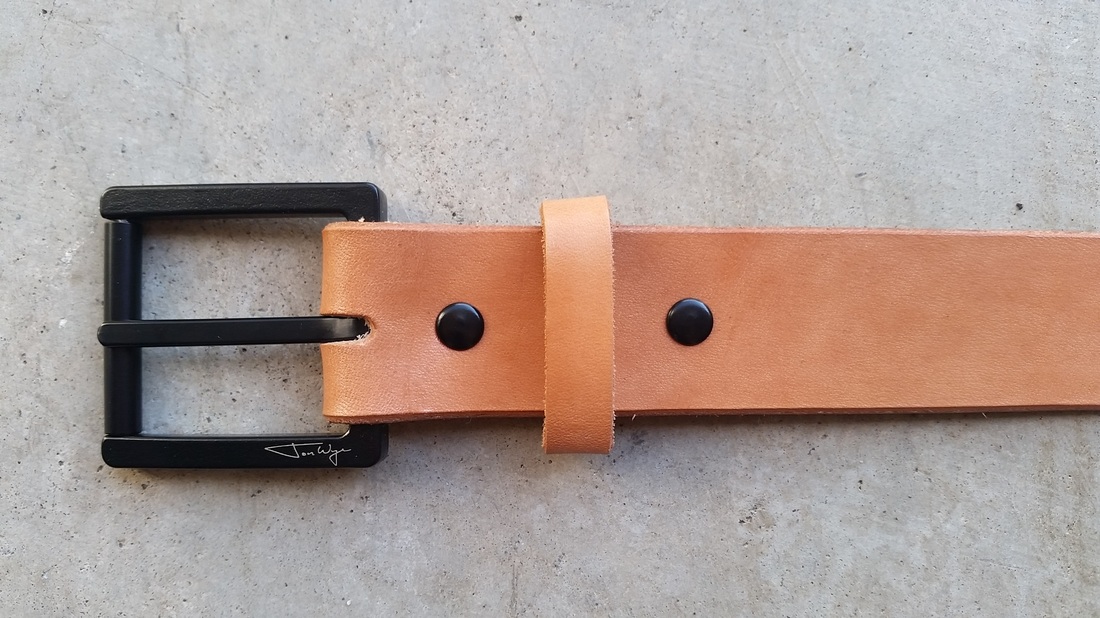
After seeing the first belt I made, my friend Ricky asked if I would make him one as well. Ricky seems to be a guinea pig of mine, anytime I make something for the first time I make an extra for him one to see what he thinks. He's a fashionable guy and I respect his opinion, so I know he'll give me some good feedback. He requested a tan belt with matte black hardware which immediately made me grin once I visualized it.
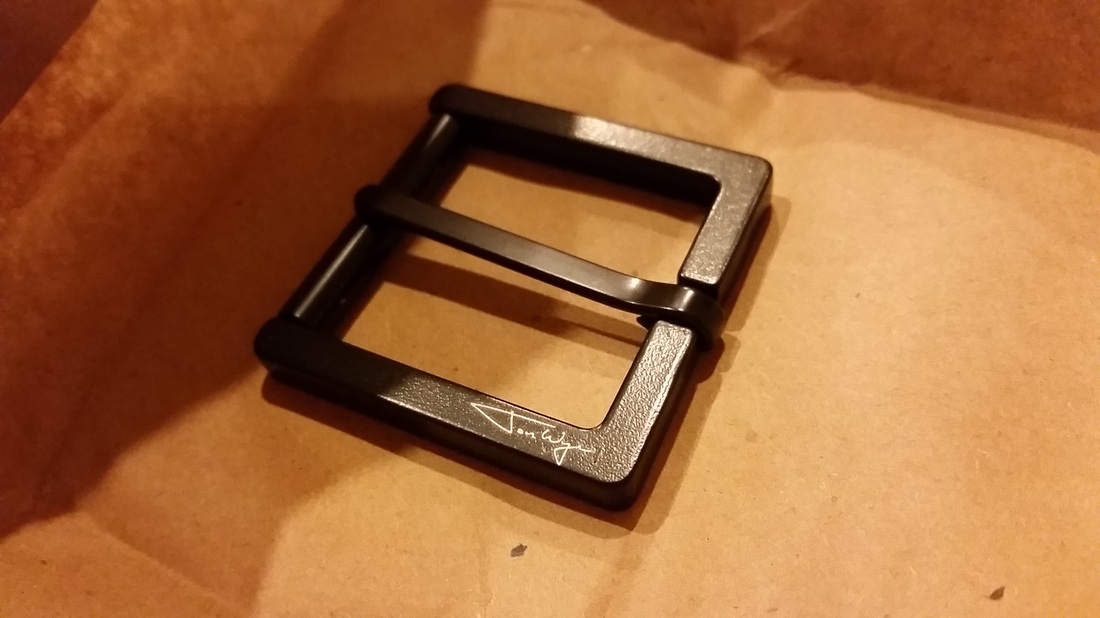
I had a feeling finding the rivets and buckle in matte black would be tricky, but I knew I would find something. Normally my go-to leather shop is Tandy, but they don't carry black rivets. I managed to find some on Springfield Leather's website, though. I actually found a good amount of buckle options and showed them to Ricky. We both agreed on a square-edged buckle made by Jon Wye in Washington, D.C.
I had a feeling finding the rivets and buckle in matte black would be tricky, but I knew I would find something. Normally my go-to leather shop is Tandy, but they don't carry black rivets. I managed to find some on Springfield Leather's website, though. I actually found a good amount of buckle options and showed them to Ricky. We both agreed on a square-edged buckle made by Jon Wye in Washington, D.C.
After receiving the buckle it was then clear what size belt strap I needed in order for the strap and buckle to fit together. A 1.5" wide belt seemed to fit the bill, so I headed over to Tandy, picked one out, and got to work.
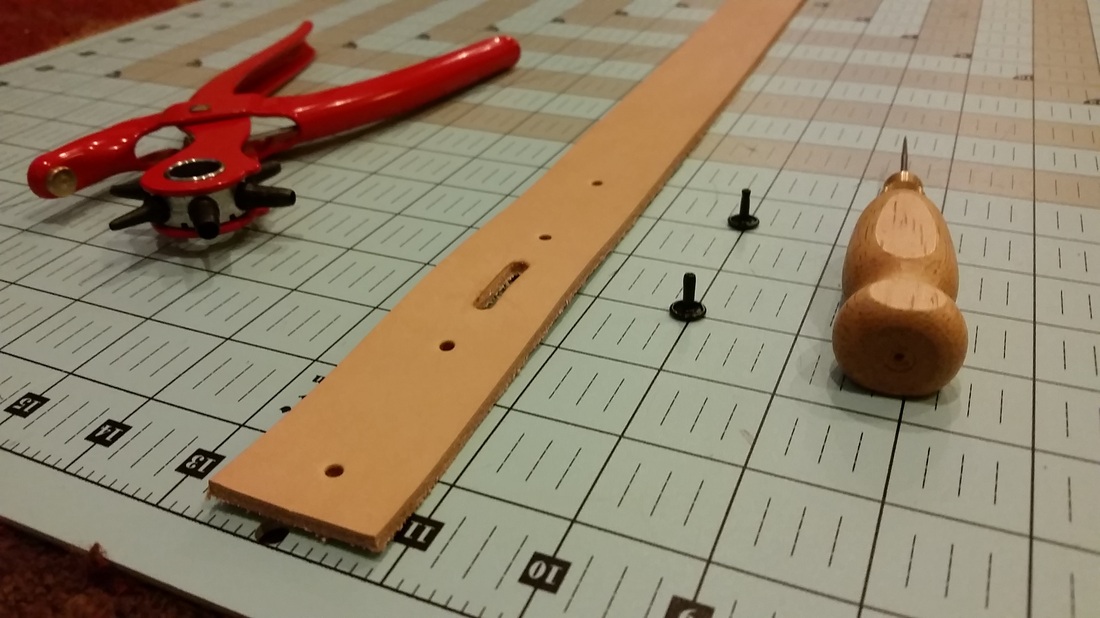
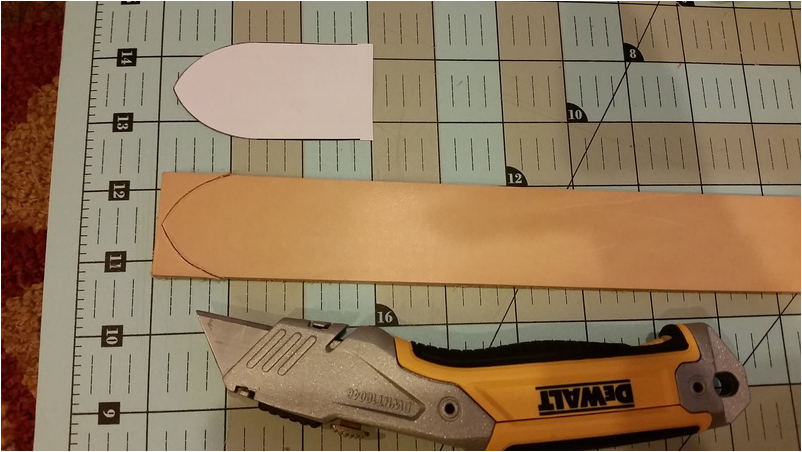
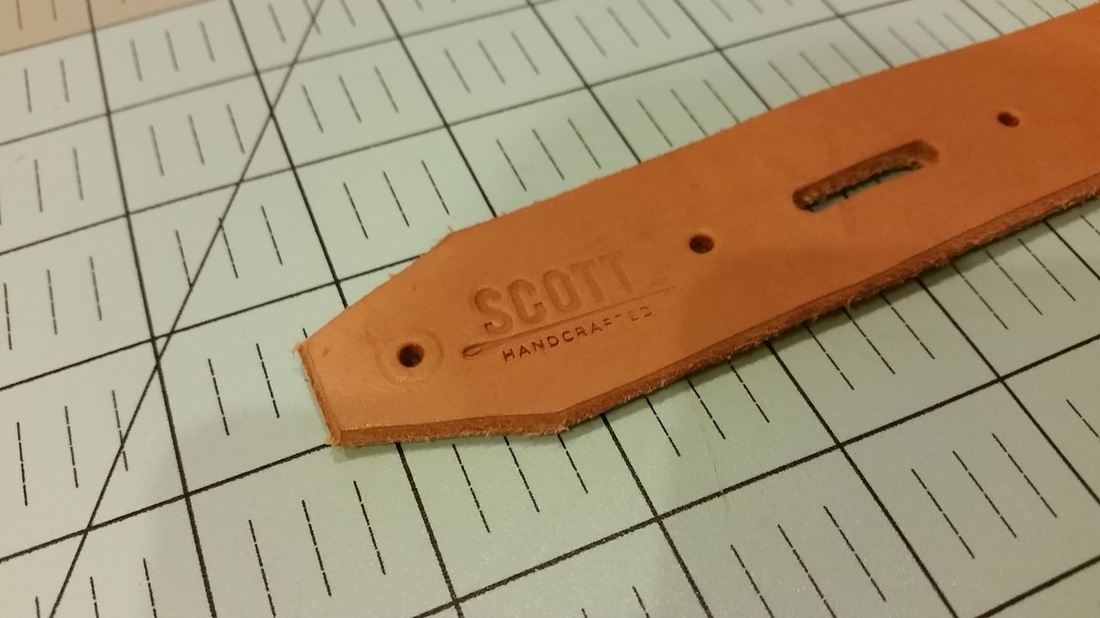
After punching the holes for the rivets and buckle needle, I needed to shape the tip of the belt. This step is a whole lot easier if you have a strap end punch, but I don't. When making my first belt, I just used a pencil to sketch out the tip of the belt and then cut it with my knife. However, it didn't turn out as clean as I would've liked. This time I drew the shape of the belt tip I wanted in Photoshop and printed it out as a template to trace on the belt and cut. This actually worked extremely well.
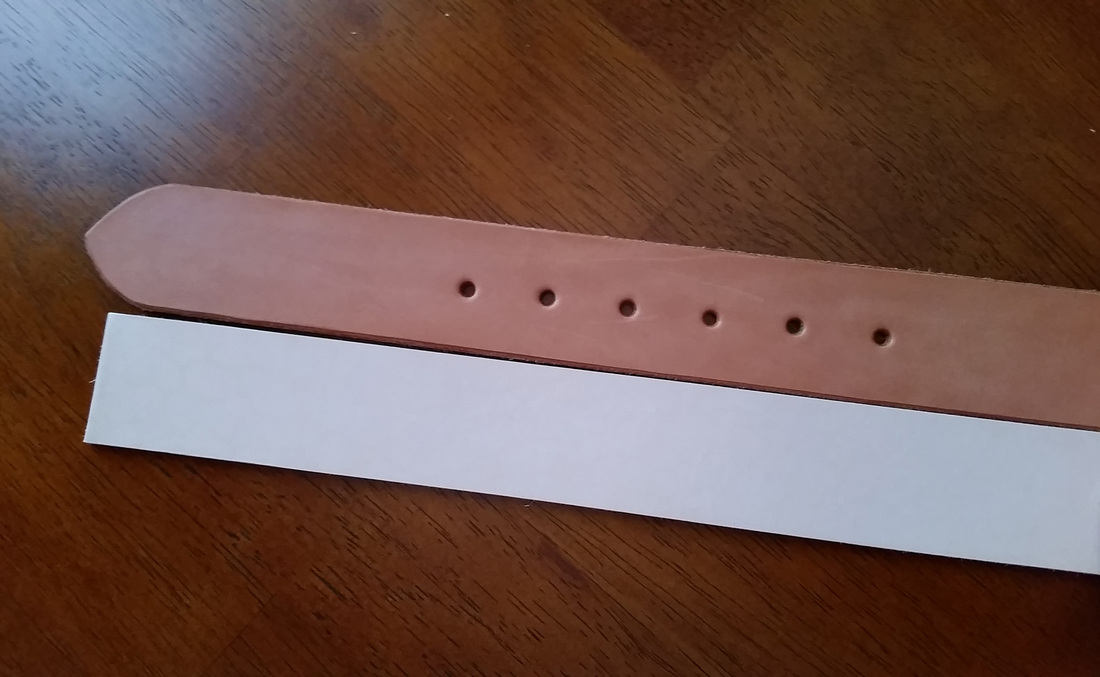
I then punched out the belt holes, beveled the edges, and stamped my logo on the part that folds over the buckle (I forgot to take pictures of these steps before I tanned the belt. Oops.). I've read multiple articles and forums about people naturally darkening their leather by exposing it to direct sunlight for hours at a time. I wanted to give this belt a deeper tan tone but I knew using tan leather dye might over do it. So I left it outside for 7 hours one Sunday while I was out and about and the results were exactly what I was looking for. I took the belt inside and rubbed the top of it with extra virgin olive oil to replenish some of the oils in the leather. Baking it in the sun all day dried it out completely. After the EVOO dried, I added some Leather Balm with Atom Wax to finish it off. Below is a photo of the sun-dyed belt next to a veg-tanned belt strap off the rack from Tandy for comparison.
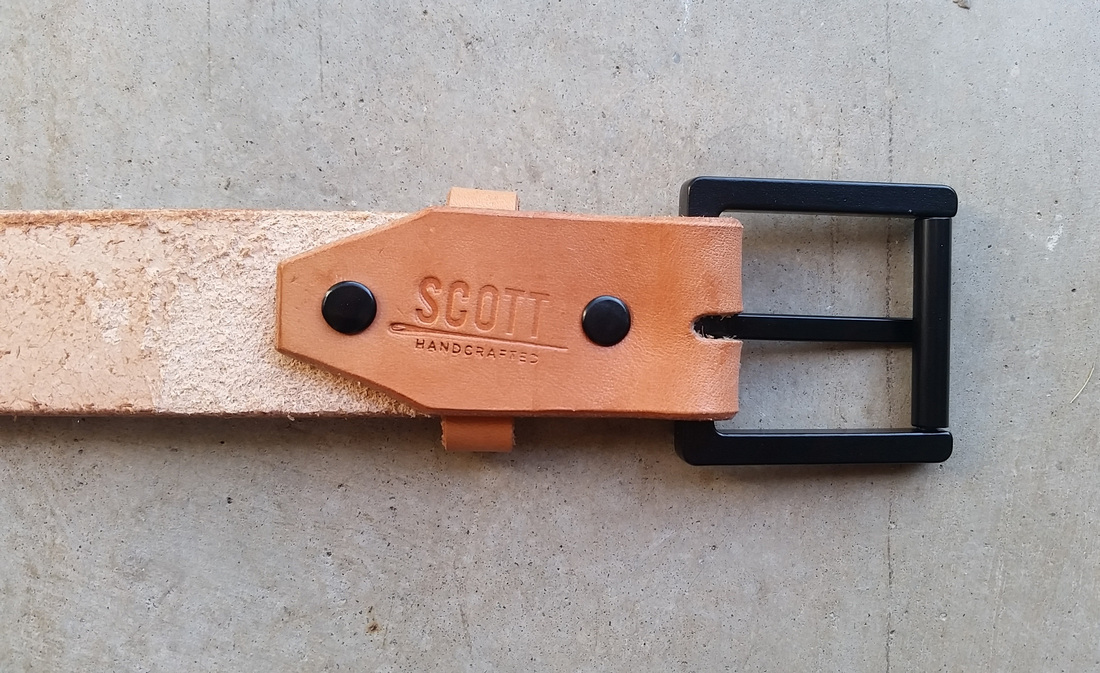
The only thing I'm unhappy about is the way the stamp turned out. I dont have the proper hammering surface and I tried to align and hammer the stamp in my dark garage. As a result, it came out crooked and poorly impressed in the leather. It was the end of the night at this point so I decided to just go to bed and pick up where I left off the following day.
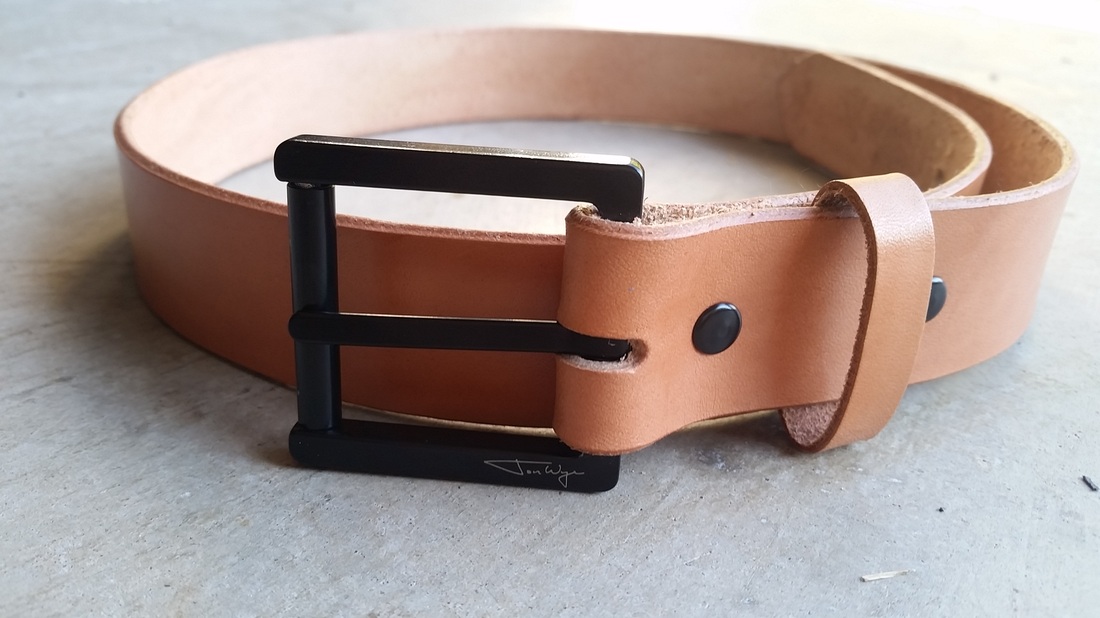
The next step was to burnish the edges. In the past I've used a plastic edge slicker attached to my electric drill, but I haven't been 100% satisfied with that technique. I read about a guy vigorously rubbing the edges with a piece of canvas after applying gum tragacanth. I tried this out and loved it. This method takes a little bit longer, but it definitely worked better than using the plastic edge slicker. After that, I skived the back of the belt where it was to be folded over and put through the buckle, and applied the hardware! I'm thrilled with the way it turned out, and Ricky loves it too which makes me even happier.
The next step was to burnish the edges. In the past I've used a plastic edge slicker attached to my electric drill, but I haven't been 100% satisfied with that technique. I read about a guy vigorously rubbing the edges with a piece of canvas after applying gum tragacanth. I tried this out and loved it. This method takes a little bit longer, but it definitely worked better than using the plastic edge slicker. After that, I skived the back of the belt where it was to be folded over and put through the buckle, and applied the hardware! I'm thrilled with the way it turned out, and Ricky loves it too which makes me even happier.
